RO CSVI
Margin plugin
| RO CSVI
The Margin plugin let's you set a margin to the product price (for example) and imports the new price according to the value set.
From Components -> RO CSVI ->Templates tab -> Rules, Click New to add a new rule for margin plugin.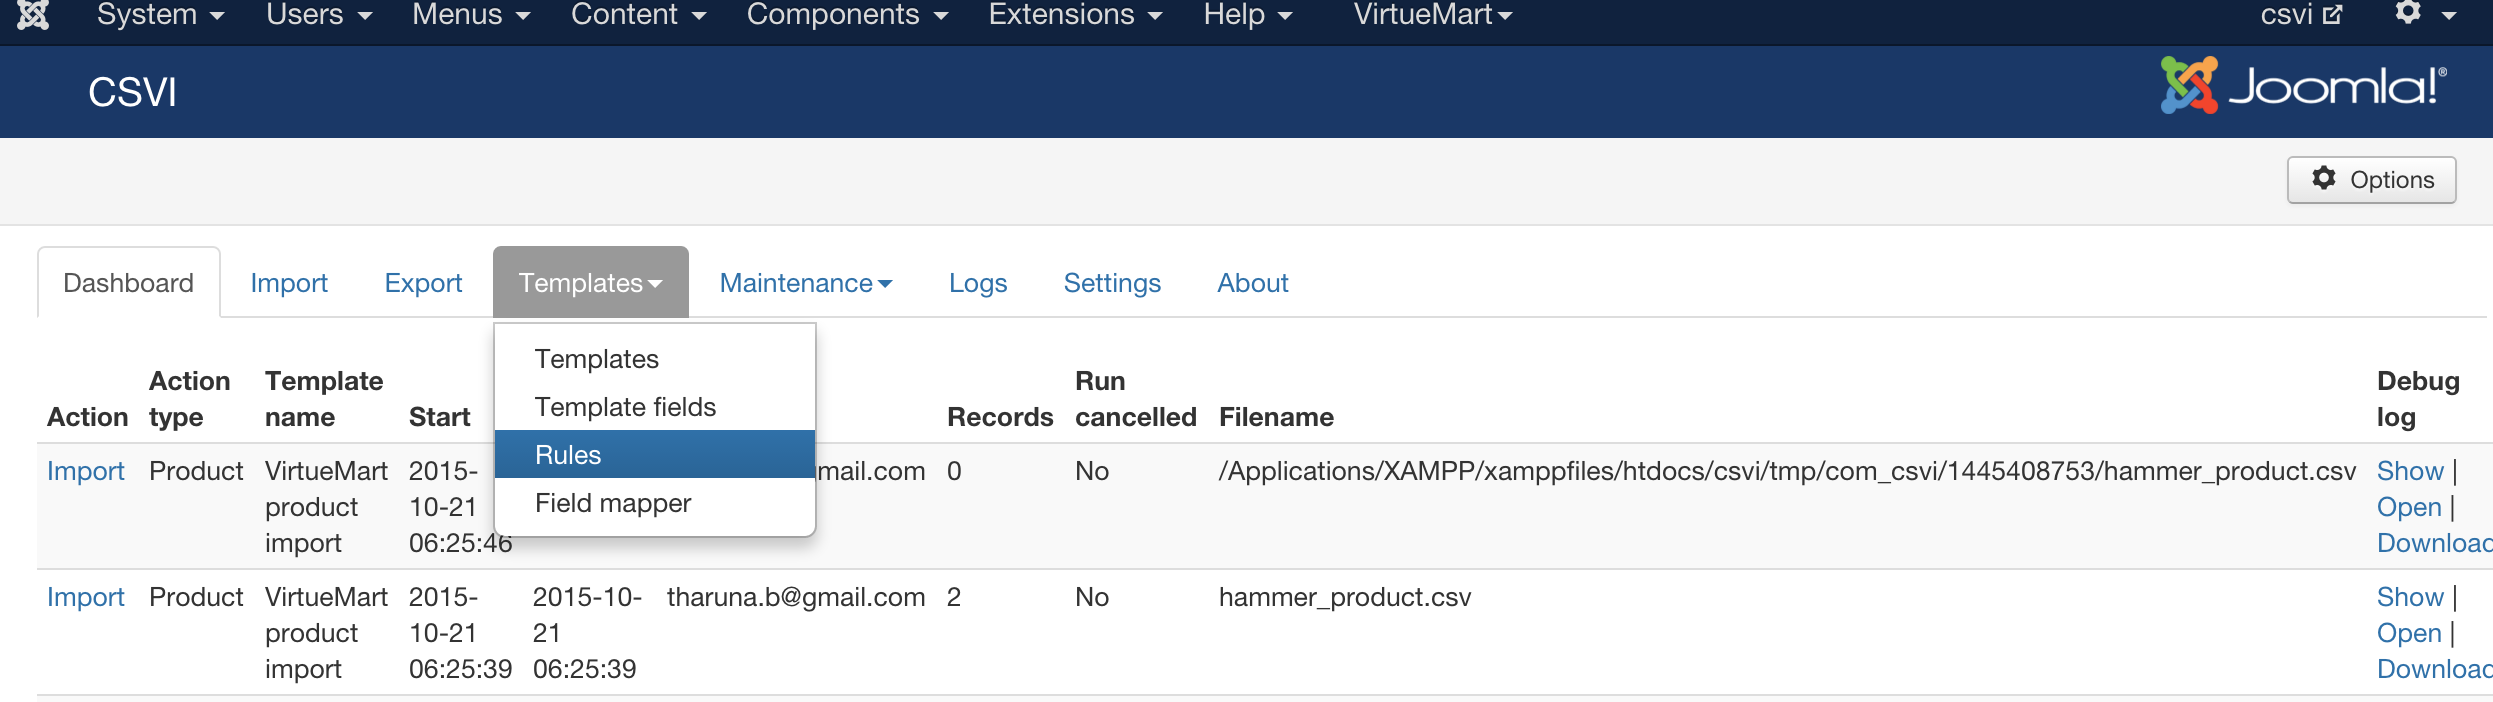
For example to create a rule to set 20% margin for product_price field of a virtuemart product.
- Give a Descriptive name for the rule in name field.
- Select Action as Import.
- Select Plugin as RO CSVI margin.
- Click on load plugin button.
You will now see three new fields appears
- Value type field to select how the margin is calculated either percentage or value.
- Margin field to set how much percentage or value to be added, For example here its 20.
- Operation type used to calculate the margin.
Example
Here is an example on how to create a rule using margin plugin for a product_price field in virtuemart.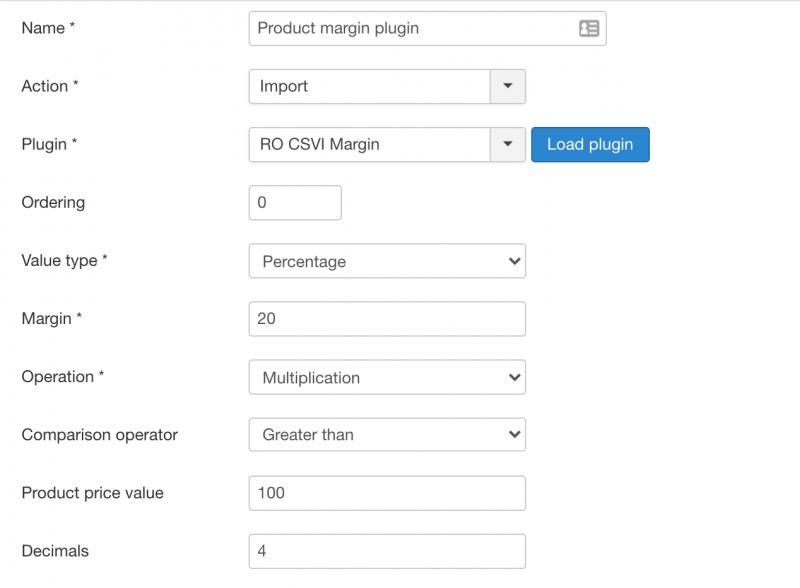
Explanation on the fields
Value type
Take the percentage of value or the value itself.
Margin
Value to be taken for percentage, with the example in the above screenshot, 20% is taken as margin.
Operation
The type of arithmetic operation to be used for calculating the margin. This example uses Multiplication. So for 100 as product_price, margin as 20% with the rule applied, final product_price would be 120 on import.
Comparison Operator
Compare product_price value before applying the margin.
Product price value
The value to compare product_price with. With the above settings in the screenshot, product_price is compared if it is greater than 100 before applying the margin.
Decimals
The number of decimals to be taken after the margin calculation. In this case 4 decimals are taken.
Now set this rule to template fields to use the margin plugin like below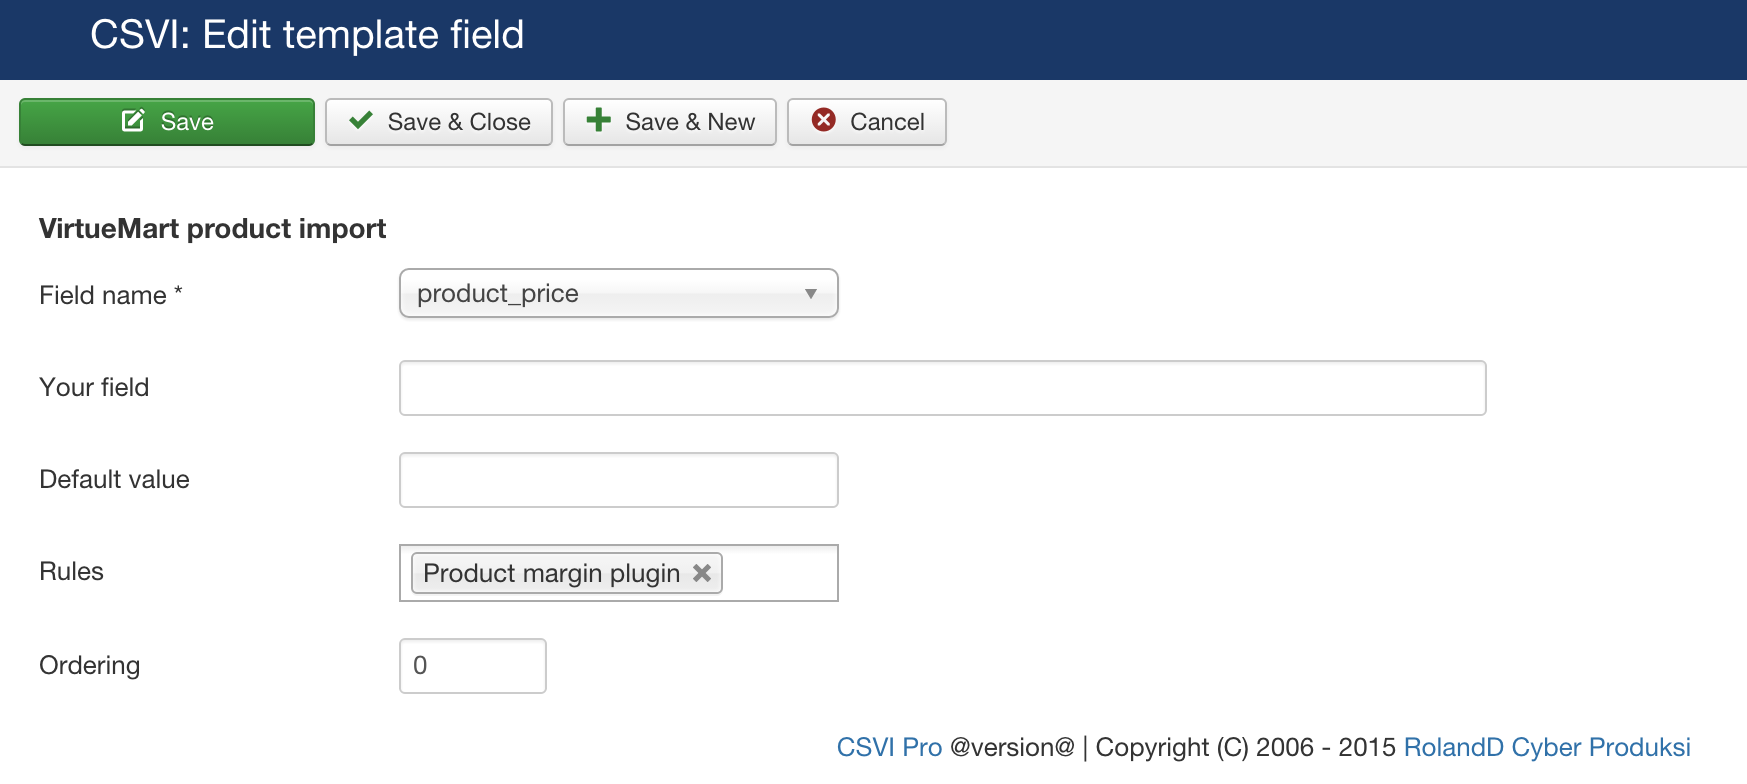
When the fields are set with rules you can see a small fire icon next to the field name in Template fields tab.
Important Note :
- Make sure that product_price (example used in this template) are added in template fields list.
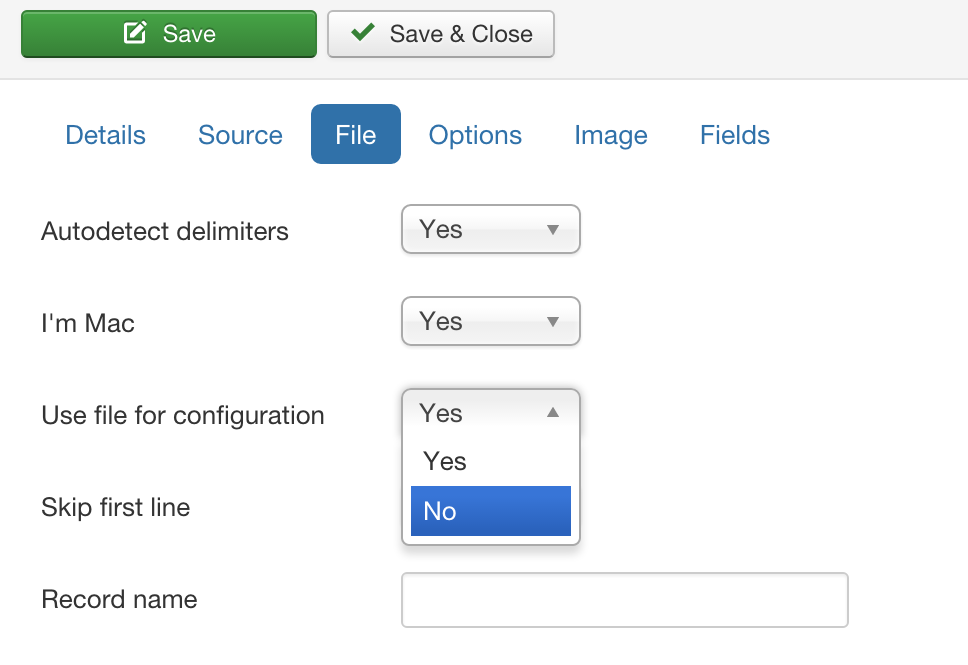
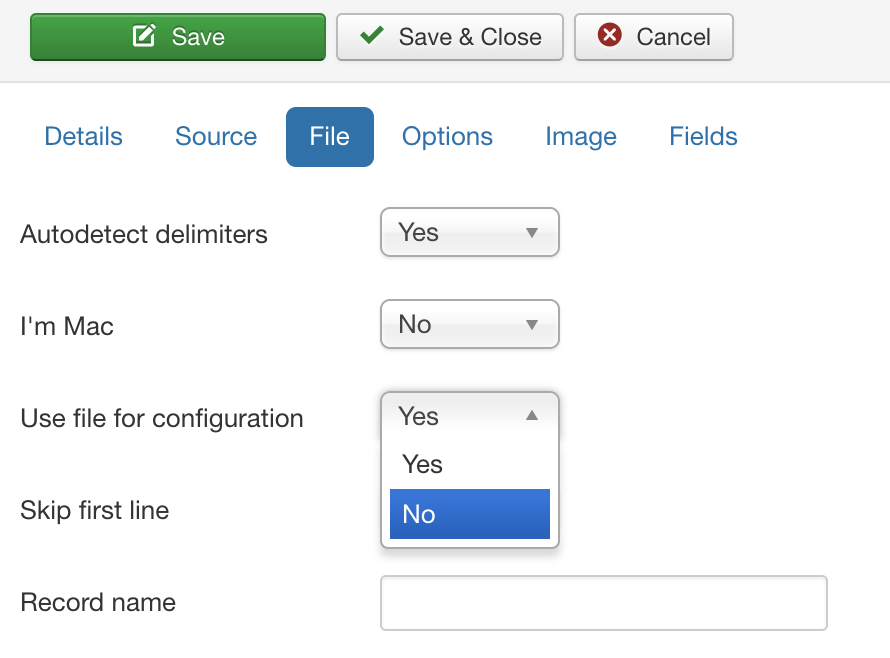
- Use file for configuration option in templates->template name->file tab set to No.
Now that all rules and fields are set, CSVI will automatically calculate the product_price according to the new margin set. Say here for an example the product_price in CSV file has been given as 100. While import CSVI will calculate the price and show as below.

Import multiple files from folder
| RO CSVI
Its more often that users think that CSVI can import only one file at a time but that is not the case at all, CSVI can run import for multiple files if the location is set to be a folder instead of file. The below steps will explain how an import from folder can be set for an import routine.
1. Create a import template needed for the routine as explained in the Create template tutorial.
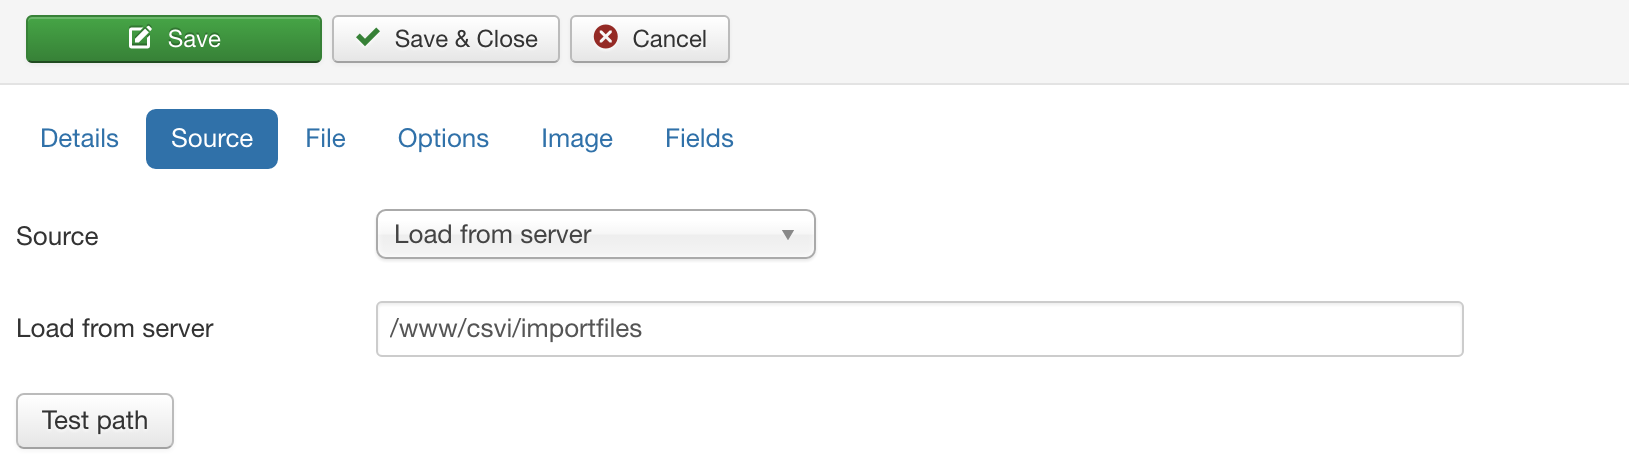
2. Now edit the template and go to Source tab.
3. In the drop down list, select the option "Load from Server".
4. A text box to give the path is shown, enter the path of the folder where CSVI needs to read the files from.
5. Save the template.
And thats all has to be done for importing multiple files. Now run the import and CSVI will read the files one by one from the folder and does the import.
Skip rule plugin in RO CSVI
| RO CSVI
RO CSVI has a flexibilty to skip the records on import and export based on any specific text. This can be achieved using Skip rule plugin.
The example document will explain how to skip records based on text in category_path field in import. The operation used here is VirtueMart product import.
Consider that the import file looks like the content in the below table and you need to skip the import of records with text cooper and reebok in category_path.
| product_sku | product_name | product_desc | product_price | product_currency | product_in_stock | manufacturer_name | category_path |
| NI091SH97UHYINDFAS | Nike Kaishi 2.0 Grey Sneakers | Nike presents these grey sneakers, especially designed for men who love to stay ahead in the style game. | 64.55 | EUR | 3 | Nike | shoes/nike/men/sneakers |
| PU102SH00KOXINDFAS | Puma Sam Idp Navy Blue Flip Flops | Experience the blissful comfort as you wear these navy blue flip-flops from PUMA. | 61.2 | EUR | 5 | Puma | shoes/puma/men/flipflops |
| LE080SH77ZDIINDFAS | Lee Cooper Black Loafers | Latest in fashion, these black coloured dress shoes from the house of Lee Cooper will look smart when teamed with your business suits! | 57.75 | EUR | 2 | Lee Cooper | shoes/leecooper/men/loafers |
| AD004SH94JPDINDFAS | Adidas Zg Bounce Trainer White Training Shoes | Make your fitness sessions even more effective by wearing these white coloured ?Zg Bounce Trainer? training shoes for men by adidas. | 62.34 | EUR | 6 | Adidas | shoes/adidas/men/trainers |
| RE105SH85GDYINDFAS | Reebok electrify speed running shoes | Reebok presents these black coloured 'Electrify Speed' running shoes, which will catch your fancy at once. | 68.99 | EUR | 4 | Reebok | shoes/reebok/men/runningshoes |
The first step is to create a product import template. A template can be created by following these steps:
- Go to Components -> RO CSVI -> Templates
- Click New
- Give the template a name, say for example VirtueMart Product import
- Set Action to Import
- Set Component to VirtueMart
- Set Operation to Product
- Click Next: Select Source
- Source is set default to Load from your computer. No need for change.
- Click Next: Select options
- The default values are OK, change if needed.
- Click Next: Select fields
- Nothing needed here as we set to Use column headers as configuration in step 10.
- Click Next: Finalize
- All done here
- Click Close to return to the list of templates or Edit if you want to fine-tune the template further.
Set the Use file for configuration to No in import template settings on File tab. Save the template.
Add the needed template fields for the template. Template fields can be added by following these steps:
- Go to Components -> RO CSVI -> Templates
- Click on Template fields
- In the Search Tools select your template
- Click on New to add a single field or click on Quick Add to add multiple fields.
Quick Add
The Quick Add Option allows you to quickly add multiple fields to a template. It is not possible to set any settings per field here but that can be done after the fields have been added to the template.
Now create a Skip rule and apply the rule on category_path field.
- Go to Components -> RO CSVI -> Rules
- Click New
- Give the rule a name, say for example Skip categories
- Set Action to Import
- Select Plugin to CSVI Skip
- Method to match is Regular text
- Values to match as cooper,reebok
- Save the rule
- Set the rule on category_path field in template fields page.
Run the import. The import can be run by following these steps:
- Go to Components -> RO CSVI -> Import
- Select the template created earlier with name VirtueMart product import
- Click Select file
- Select the file to import
- Click Preview
- You now see a preview of the file as to how CSVI sees the file. Here you can also see that CSVI has skipped two rows with text cooper and reebok in category_path field. If you still see the rows then there is something wrong with your Skip rule setting. Cross check the settings again.
- Click Start import
- The import is run and you can see that CSVI showing messages in log details page that the rows are skipped because of skip rule settings.
- The Log details page will be shown with information regarding the import if the Enable logging is enabled in the template
Regular expressions
Instead of matching an exact text, you can also use regular expressions to skip rows.
A regular expression stars and ends with a forward-slash /. For example, you want to skip all rows that match garden, the regular expression looks like:
/^garden$/
Multiple values can be separated with a pipe-symbol in regular expressions:
/^garden$|^townhouse$/
With regular expressions you can make much more complex constructs, there are a lot of tutorials available on the internet.
Skip rule for Date expressions
Starting with RO CSVI 8.3.0 version, we are introducing a new feature of comparing date values using Skip rule so to skip a record based on dates.
Fields offered
- Select method to match as Date expression
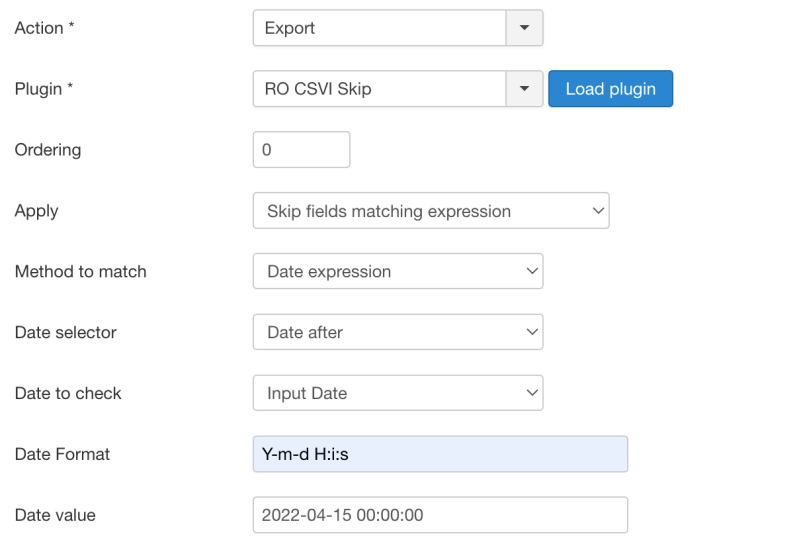
- We offer three types of date selectors. Date before, Date after and Date equal. This acts as comparison operator to check the date values
- Date to check is offered with current date and input date. Current date will check the date value against today's date. Input date compares with the date as entered in Date value field with database value and skips the record if it matches the condition.
- Date format field is to set the format in which date value is compared. Default format is set to "Y-m-d H:i:s"
Example
Consider that you need to check for product_available_date field is more than a specific date(2022-04-15 00:00:00) in VirtueMart products export and skip those records. Set the Skip rule like the image below and apply the rule on product_available_date field in template fields.
I want to import VirtueMart products with images
| RO CSVI
Import product images in VirtueMart using CSVI with few steps. Learn how to do link images to products.
Date and Custom date in Multi replace plugin
| RO CSVI
Most of the times we would need to export or import today's date or a custom format date in our export and import operations. This can be now be easily accompolished using RO CSVI Multi replace rule plugin.
Date format on export
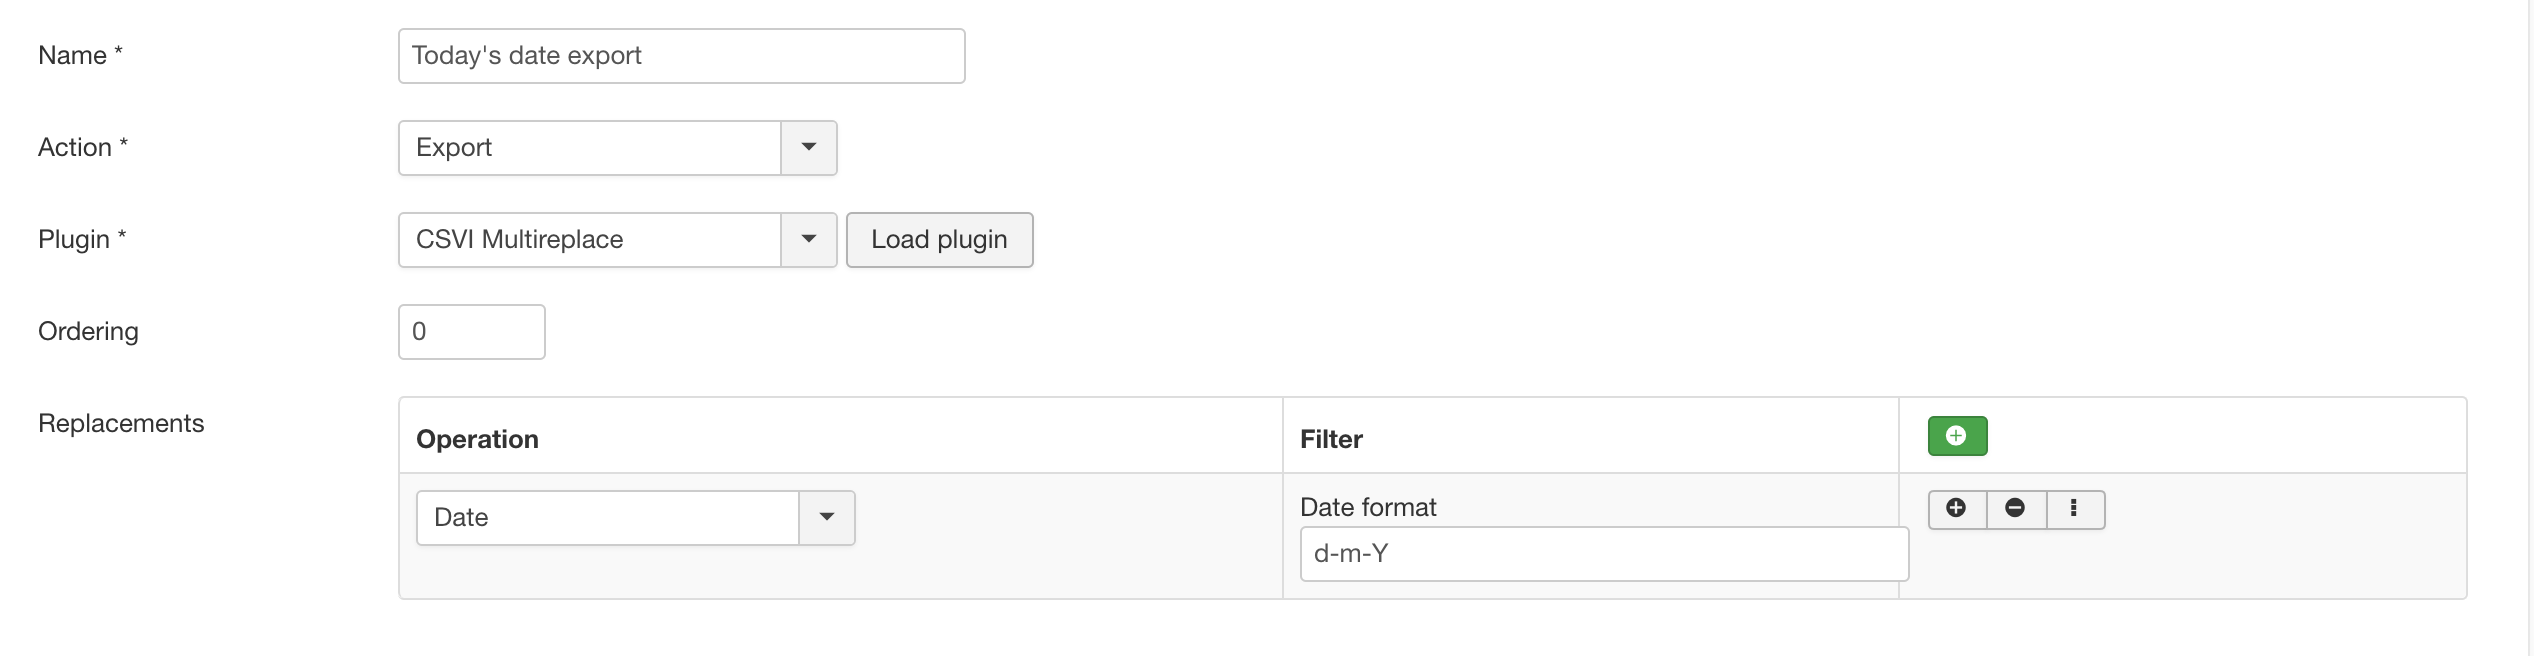
The example here explains on how to create a rule in Multi replace plugin for exporting today's date in your exports, the same can be followed for import too.
- Create a new Multi replace rule for export
- Select Operation as Date
- Under Filter section and Date format field enter the format you want to export date, for example like d-m-Y. Check for other date formats with PHP date documentation.
- Save the rule
- Apply the rule on your export template fields.
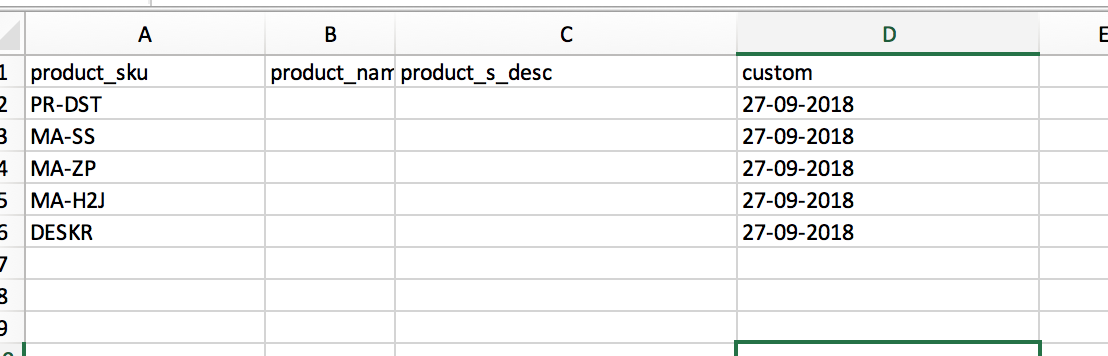
Running an export by setting Today's date export on custom template field, an example in export file will look like below
Date format on import
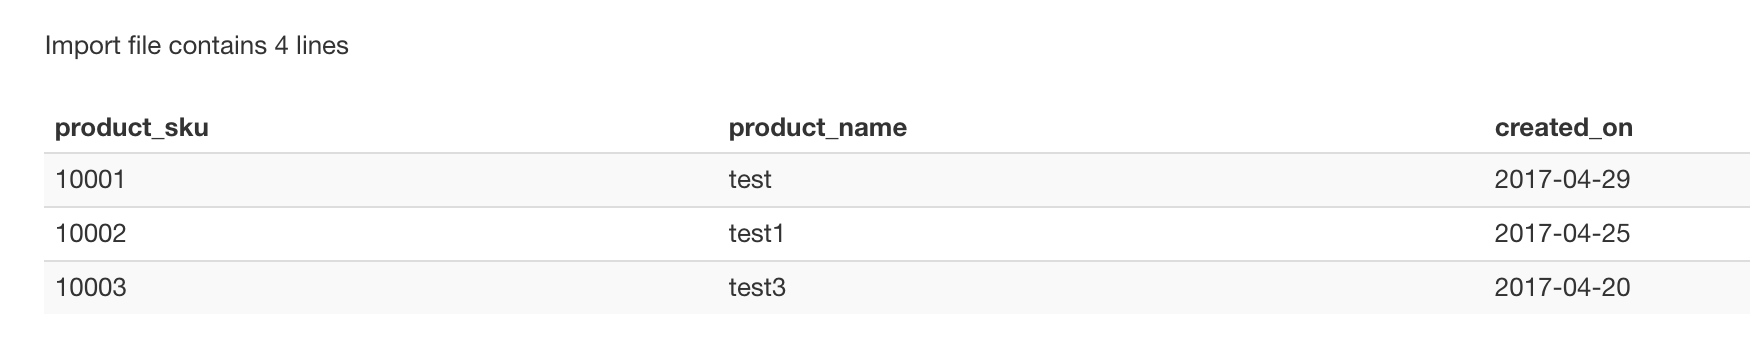
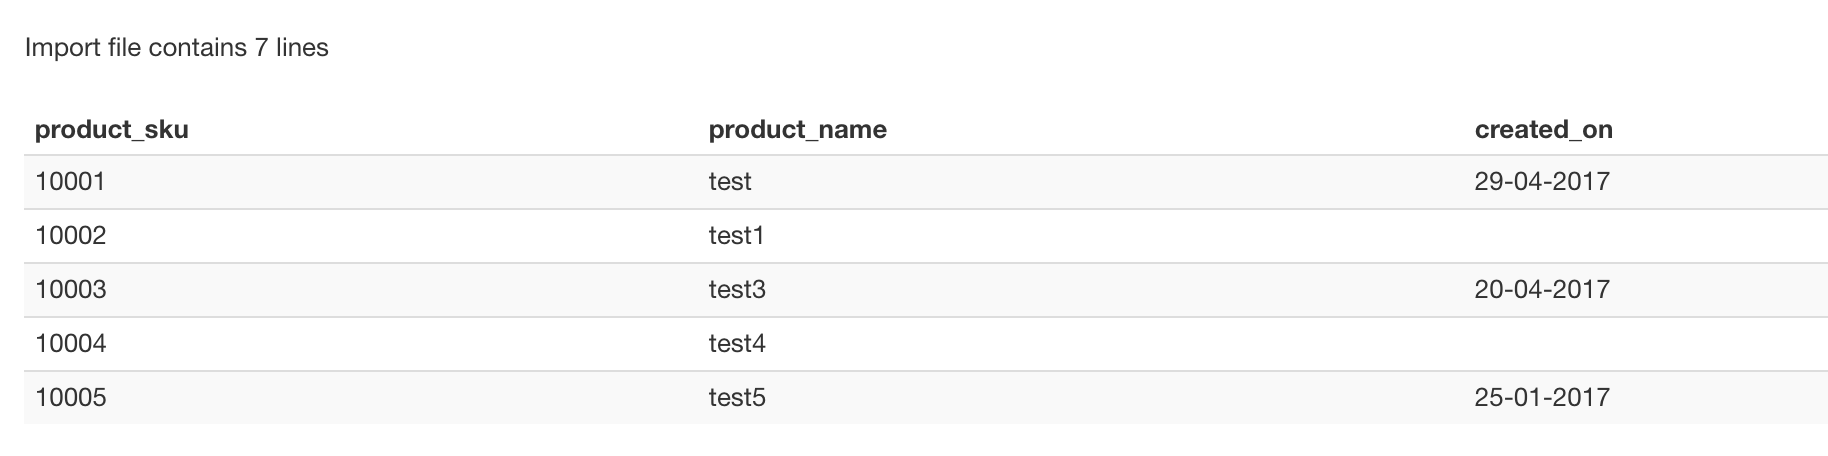
An example for import using date format for field created_on in VirtueMart Product import is explained below.
1. Create VirtueMart Product import template and add created_on as one of the field in import
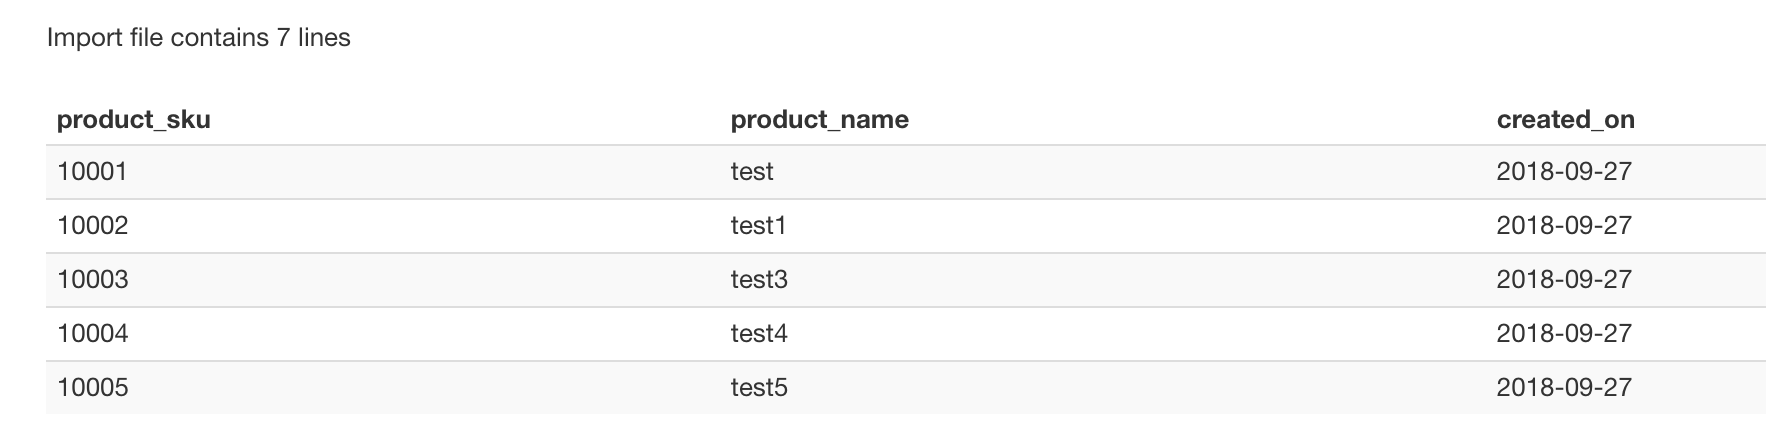
2. This is the preview page before applying the date rule.
3. Now create a rule using Multi replace plugin with date as operation. Add a date format to the rule.
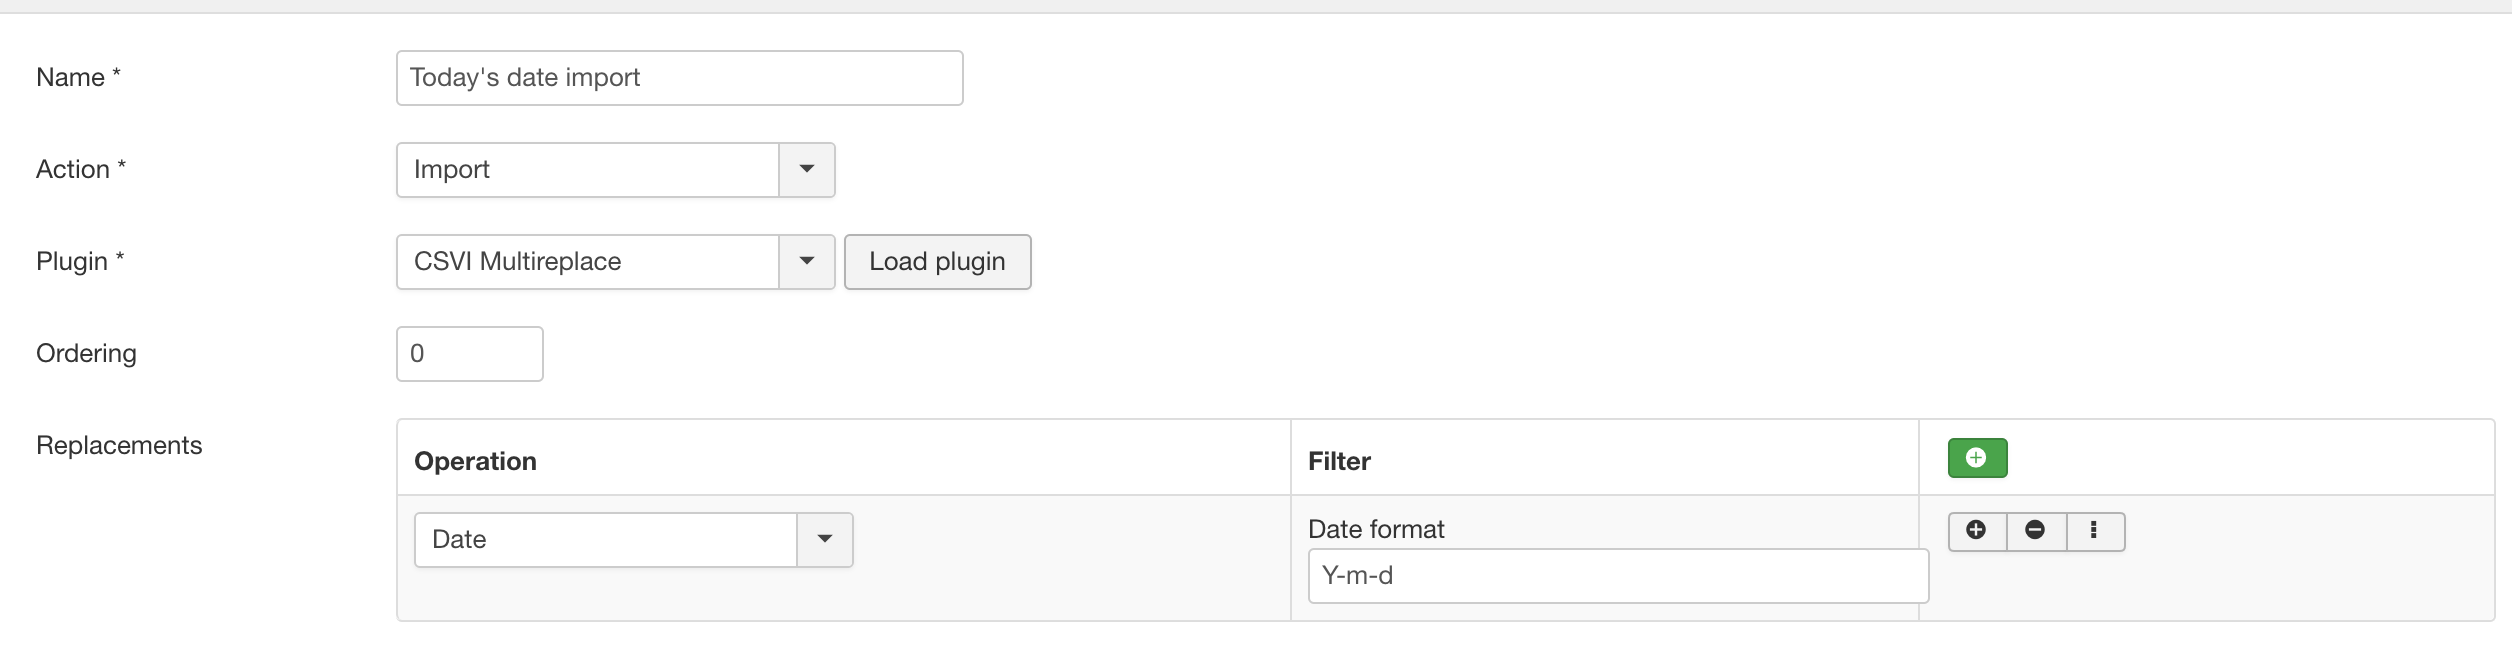
4. Apply the rule on created_on field
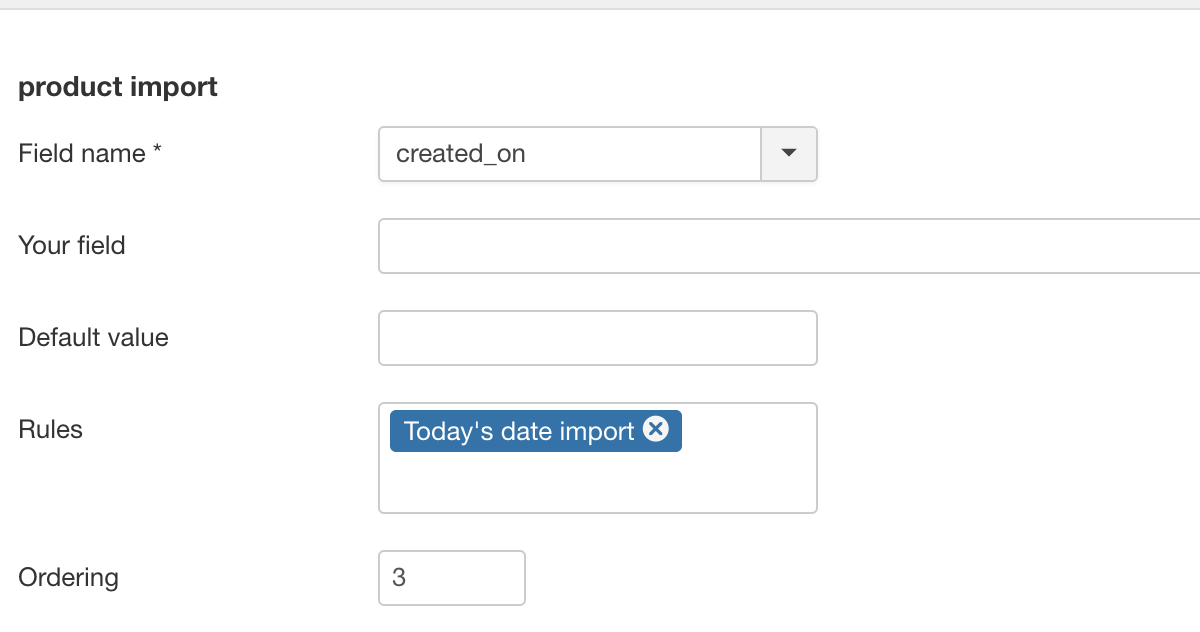
5. Run the import and check the preview page.
Custom date format
It is sometimes needed to change the date format you need to import or export from or to database. Custom date format operation in RO CSVI Multi replace plugin will help you with this. The below example explains changing date format for export, the same can be followed for import too.
Custom date format for export
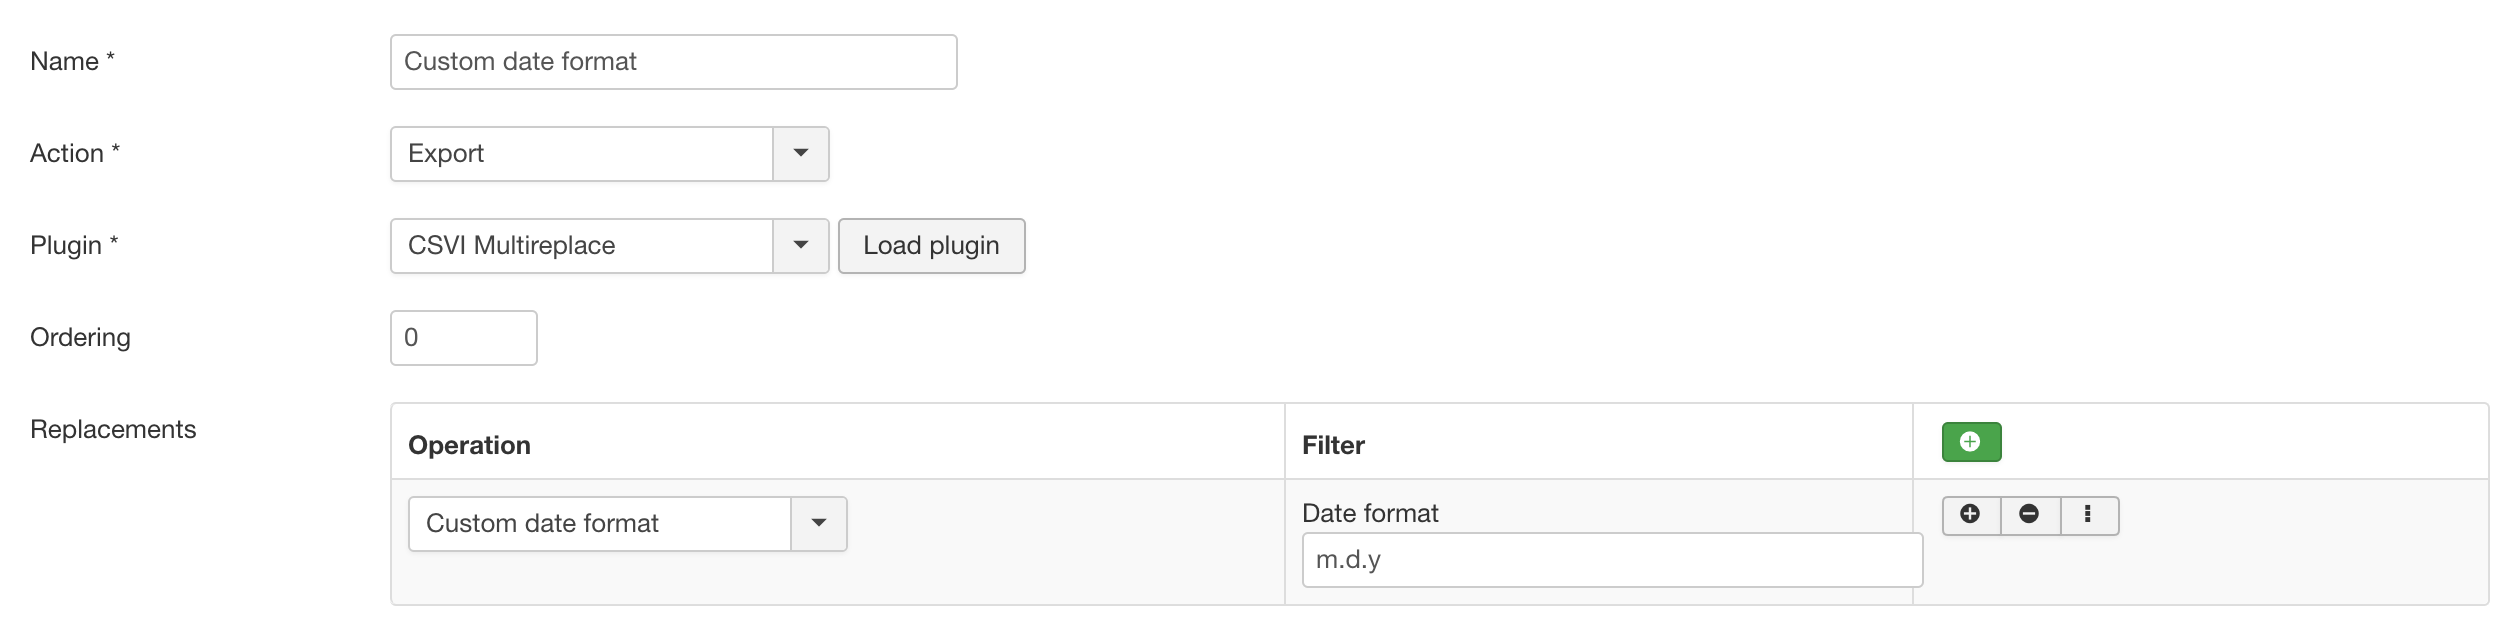
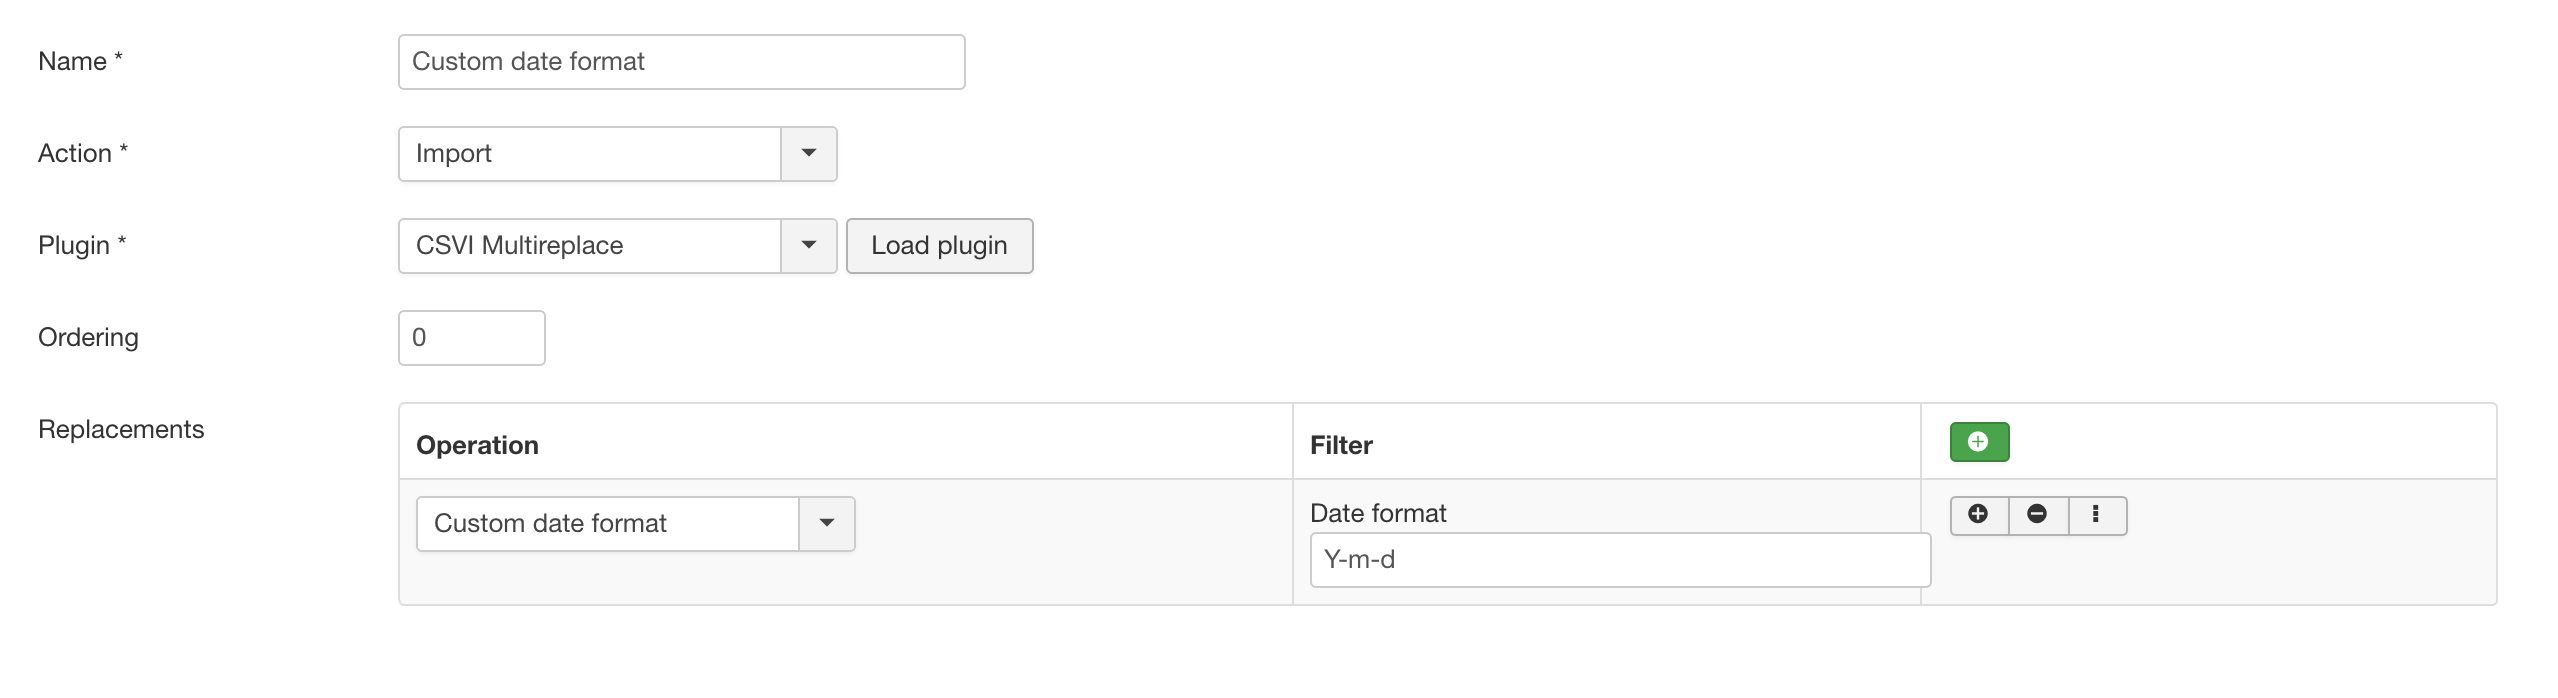
- Create a new Multi replace rule for export
- Select Operation as Custom date format
- Under Filter section and Date format field enter the format you want to change the date to, for example like m.d.y
- Save the rule
- Apply the rule on your export template fields.
The default date format stored in database is Y-m-d H:i:s where Y is the year, m is the month, d is the date, H is the hour, i is the minutes and s is the seconds. You can change this default format to any needed custom format in your export and in import you can change the date format in your import file to database supported format. Check for other date formats with PHP date documentation.
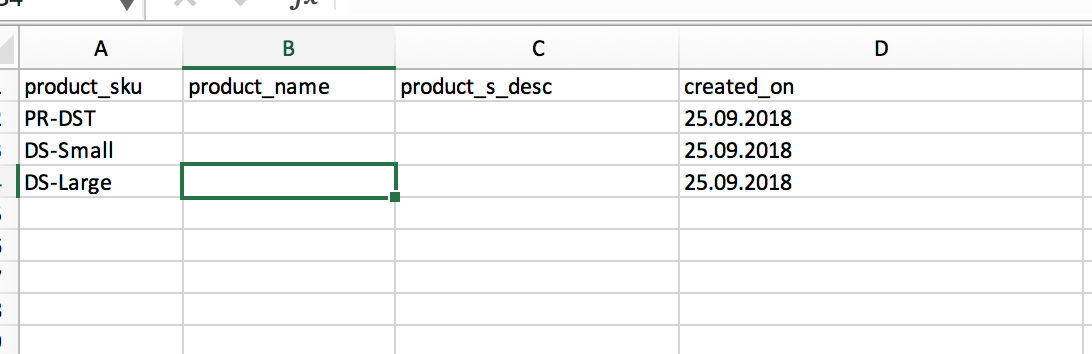
An example export file created by applying Custom date format rule on created_on field in VirtueMart product export is shown below
Custom date format for import
Here in this example we are explaining about using custom date format to change the format of created_on date on VirtueMart product import to database supported format Y-m-d H:i:s.
1. Create a rule using Multi replace plugin
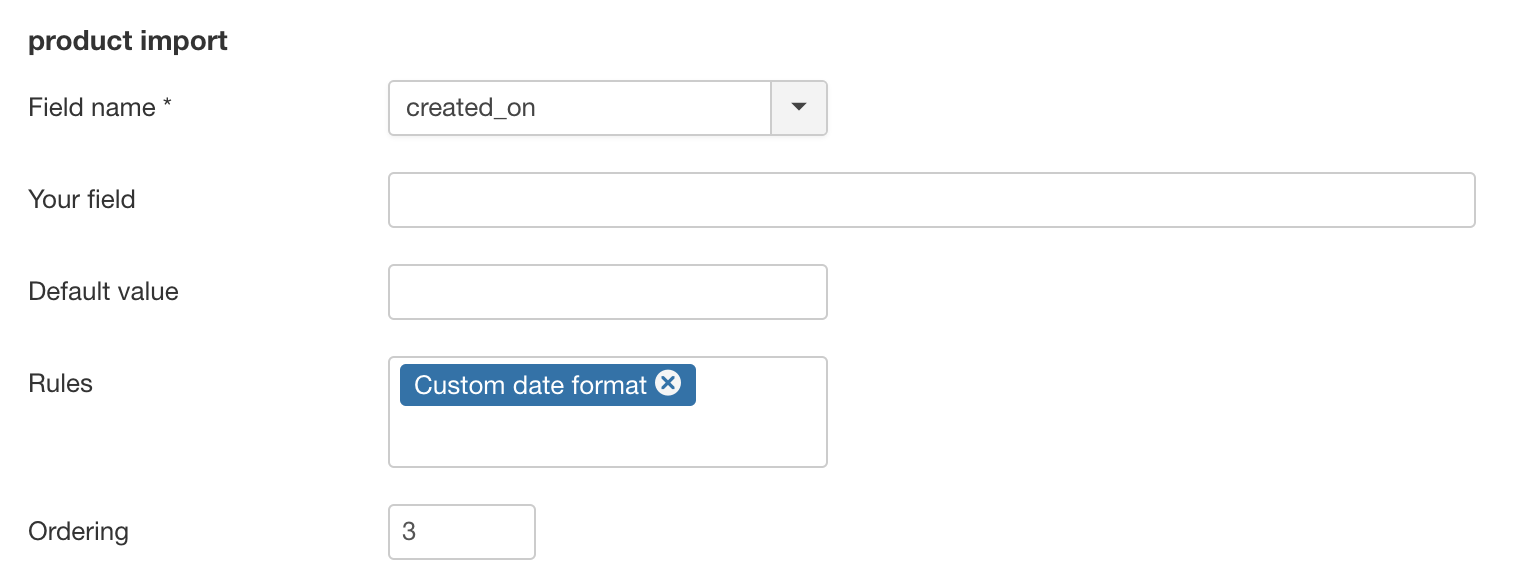
2. Create VirtueMart Product import template and add created_on as a template field. Apply custom date rule on created_on field.
3. Run the import and check the preview page.