RO CSVI
Deal with different collations in MySQL
| RO CSVI
One of the common issue which arises after migration of database is dealing with different collations in tables. Database cannot handle the mix of these collations and throw error like
Illegal mix of collations (utf8_general_ci,IMPLICIT) and (utf8mb4_general_ci,COERCIBLE) for operation '='
The cause for this error is because two different fields are been set with two different collation in same table.

To solve this problem
1. Go to PhpMyAdmin, select your database.
2. Look for the table having the issue, in this case it is #__virtuemart_products table.
3. Check the field which is having a different collation than other fields, in this example it is product_gtin. Normally fields use utf8_general_ci as collation or check what is the collation for your other fields in the table.
4. Select the Structure tab to see the complete field structure of the table.
5. Click on the edit icon or Change link for the field, here it is product_gtin. In the collation drop down look for utf8_general_ci and save the field.

Thats all to be done. If you still continue having the error, check for the same issue in other related tables.
Here are the few queries which can be used to convert column name or table or database to required collation.
To convert a column:
ALTER TABLE `your_table` CHANGE `your_column` `your_column` your_field_column_type
CHARSET utf8 COLLATE utf8_general_ci NULL;
your_field_column_type is the data type of the column like VARCHAR(10).
You need to replace this to the type of your column you are changing the collation.
To convert a Table:
ALTER TABLE your_table_name CONVERT TO CHARACTER SET utf8 COLLATE utf8_general_ci;

To convert a Database
ALTER DATABASE your_database_name CHARACTER SET utf8 COLLATE utf8_general_ci
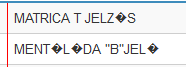
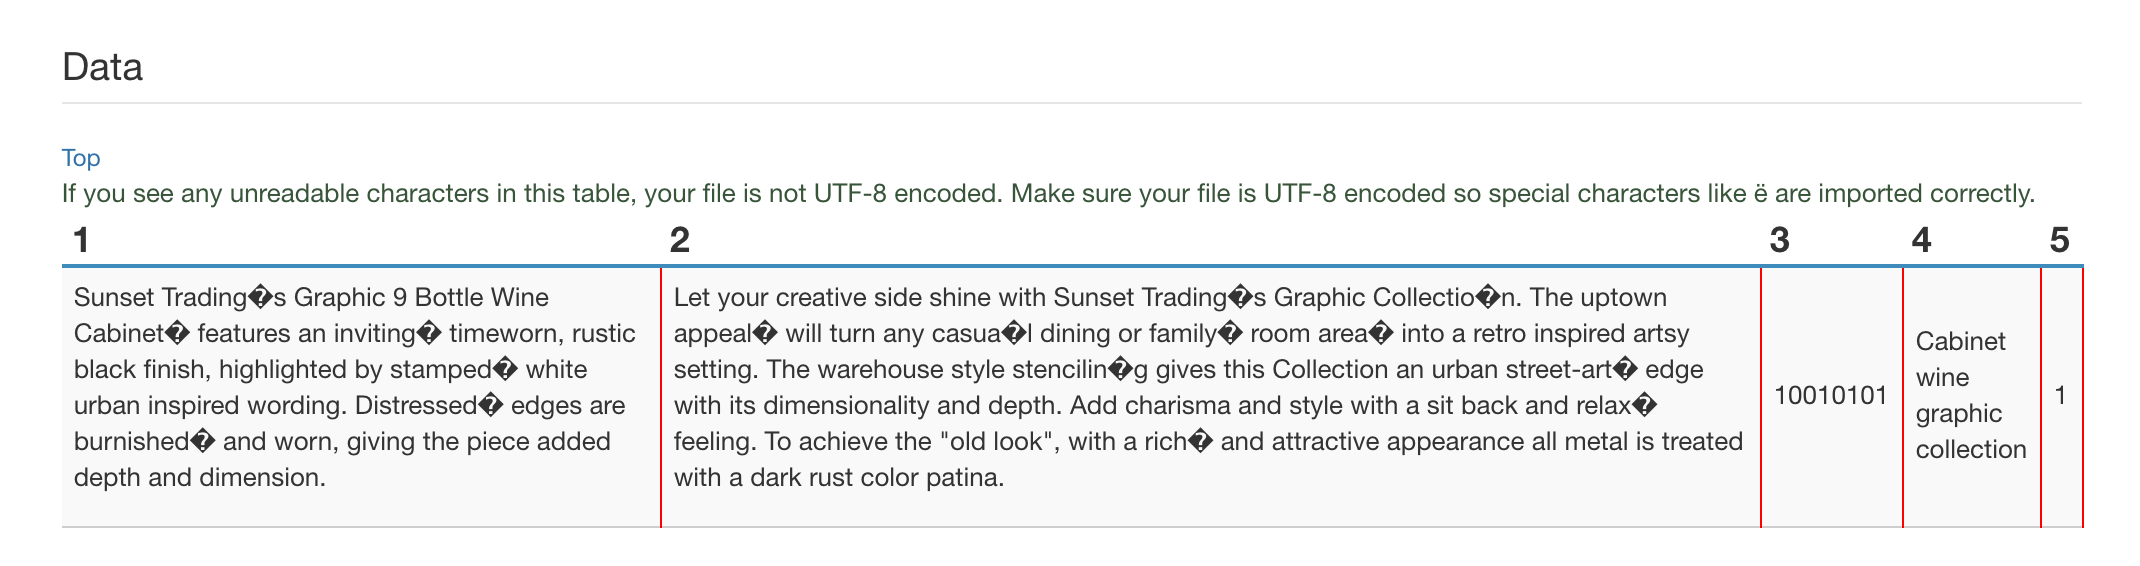
If you have collation looking good on tables and columns and you still have this error, Check if your import file is UTF-8 encoded. You can check that by using CSVI Analyser page. If you see any unreadable characters as in the image then you need to Save your CSV file as UTF8 encoded file before running the import.
More articles on this subject
I want to import articles with images
| RO CSVI
With RO CSVI it is possible to import Joomla articles with images for fields image_intro and image_fulltext.
RO CSVI versions
| RO CSVI
This is a list with all the RO CSVI versions that have come out and which version of Joomla is supported. The list also shows the end-of-life of each major version and if support is available. All available versions can be downloaded from the Download section.
| RO CSVI Version | Joomla! Version | Available | Support | End of Life | Latest Release |
| 1 | 1.5 |  |
|
November 16, 2009 | 1.9.2 |
| 2 | 1.5 | |
|
February 19, 2011 | 2.3.18.1 |
| 3 | 1.5 |  |
|
February 6, 2012 | 3.8.4 |
| 4 | 2.5 | |
|
August 8, 2012 | 4.5.2 |
| 5 | 2.5 / 3.X | |
|
December 2015 | 5.21.2 |
| 6 | 3.X | |
|
December 2017 | 6.6.4 |
| 7 | 3.8+ | |
|
November 24, 2021 | 7.20.0 |
| Joomla! 3.10 as a minimum is required. | |||||
| 8 | 3.10+ / 4.x / 5.x | |
|
September, 2025 | 8.21.0 |
| Joomla! 5 as a minimum is required. | |||||
| 9 | 5.x / 6.x | |
9.11.0 | ||
Customizing the export filename
| RO CSVI
Requirement: CSVI VirtueMart 2.3.18 or higher
To customize the filename CSVI VirtueMart creates on export you can specify the following tags to have them replaced on export:
| Tag | Meaning | Example |
| [Y] | A full numeric representation of a year, 4 digits | 1999 or 2003 |
| [y] | A two digit representation of a year | 99 or 03 |
| [M] | A short textual representation of a month, three letters | Jan through Dec |
| [m] | Numeric representation of a month, with leading zeros | 01 through 12 |
| [F] | A full textual representation of a month, such as January or March | January through December |
| [n] | Numeric representation of a month, without leading zeros | 1 through 12 |
| [d] | Day of the month, 2 digits with leading zeros | 01 to 31 |
| [D] | A textual representation of a day, three letters | Mon through Sun |
| [j] | Day of the month without leading zeros | 1 to 31 |
| [l] | A full textual representation of the day of the week | Sunday through Saturday |
| [g] | 12-hour format of an hour without leading zeros | 1 through 12 |
| [G] | 24-hour format of an hour without leading zeros | 0 through 23 |
| [h] | 12-hour format of an hour with leading zeros | 01 through 12 |
| [H] | 24-hour format of an hour with leading zeros | 00 through 23 |
| [i] | Minutes with leading zeros | 00 to 59 |
| [s] | Seconds with leading zeros | 00 to 59 |
Source: http://www.php.net/manual/en/function.date.php
Specifying a filename like:
product_export_[Y]_[m]_[d].csv will create a file called product_export_2010_11_06.csv.
CSVI Analyser
| RO CSVI
Are you seeing errors while importing your file and don't know what to do or how to find out whats wrong with the file? There is nothing to worry, CSVI has an amazing inbuilt tool to check the errors in import files and it is the best place to make you get aware of the problems you have with your import file. It works on both CSV and XML files.
Analyser with CSV file
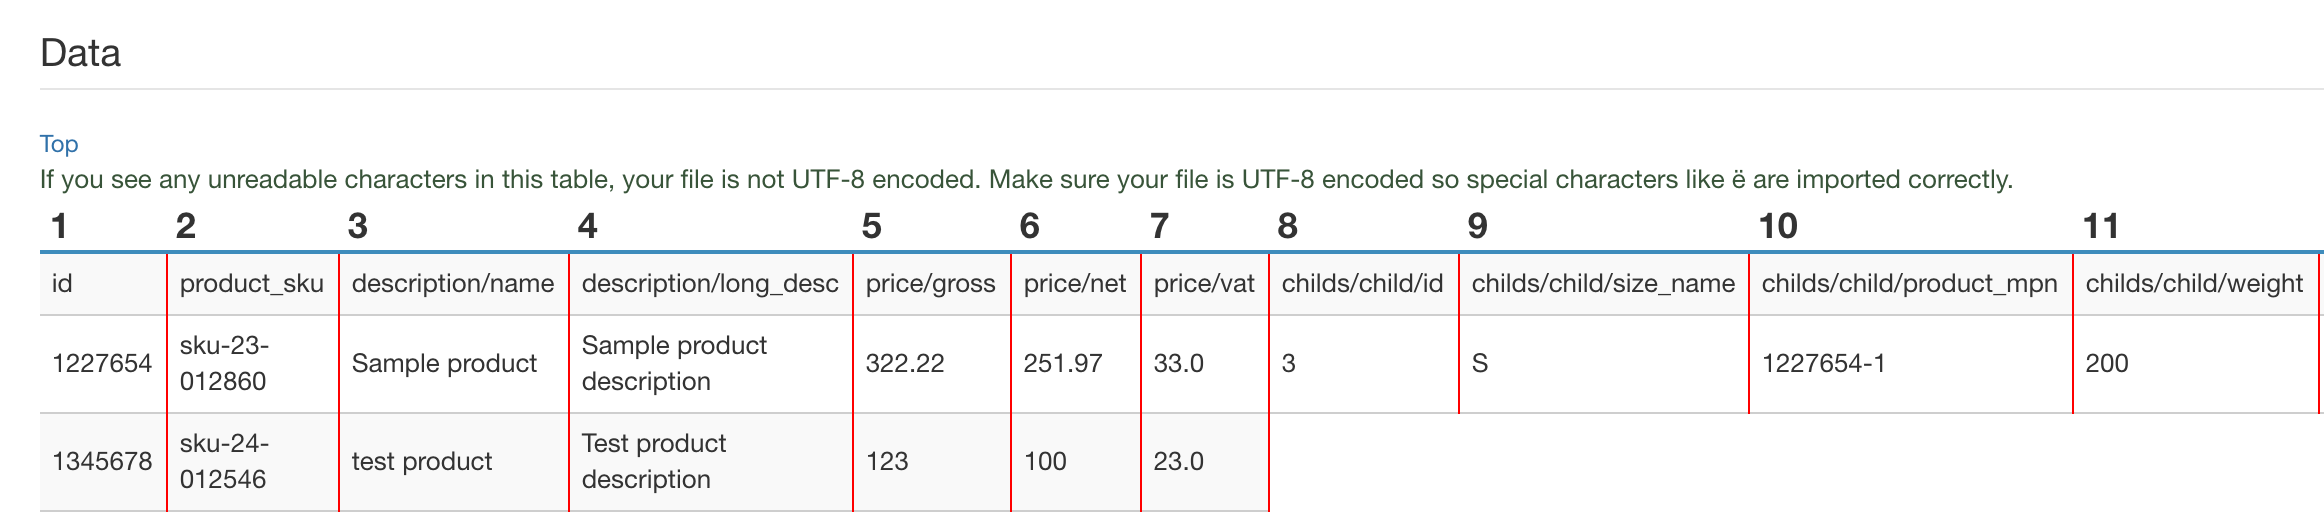
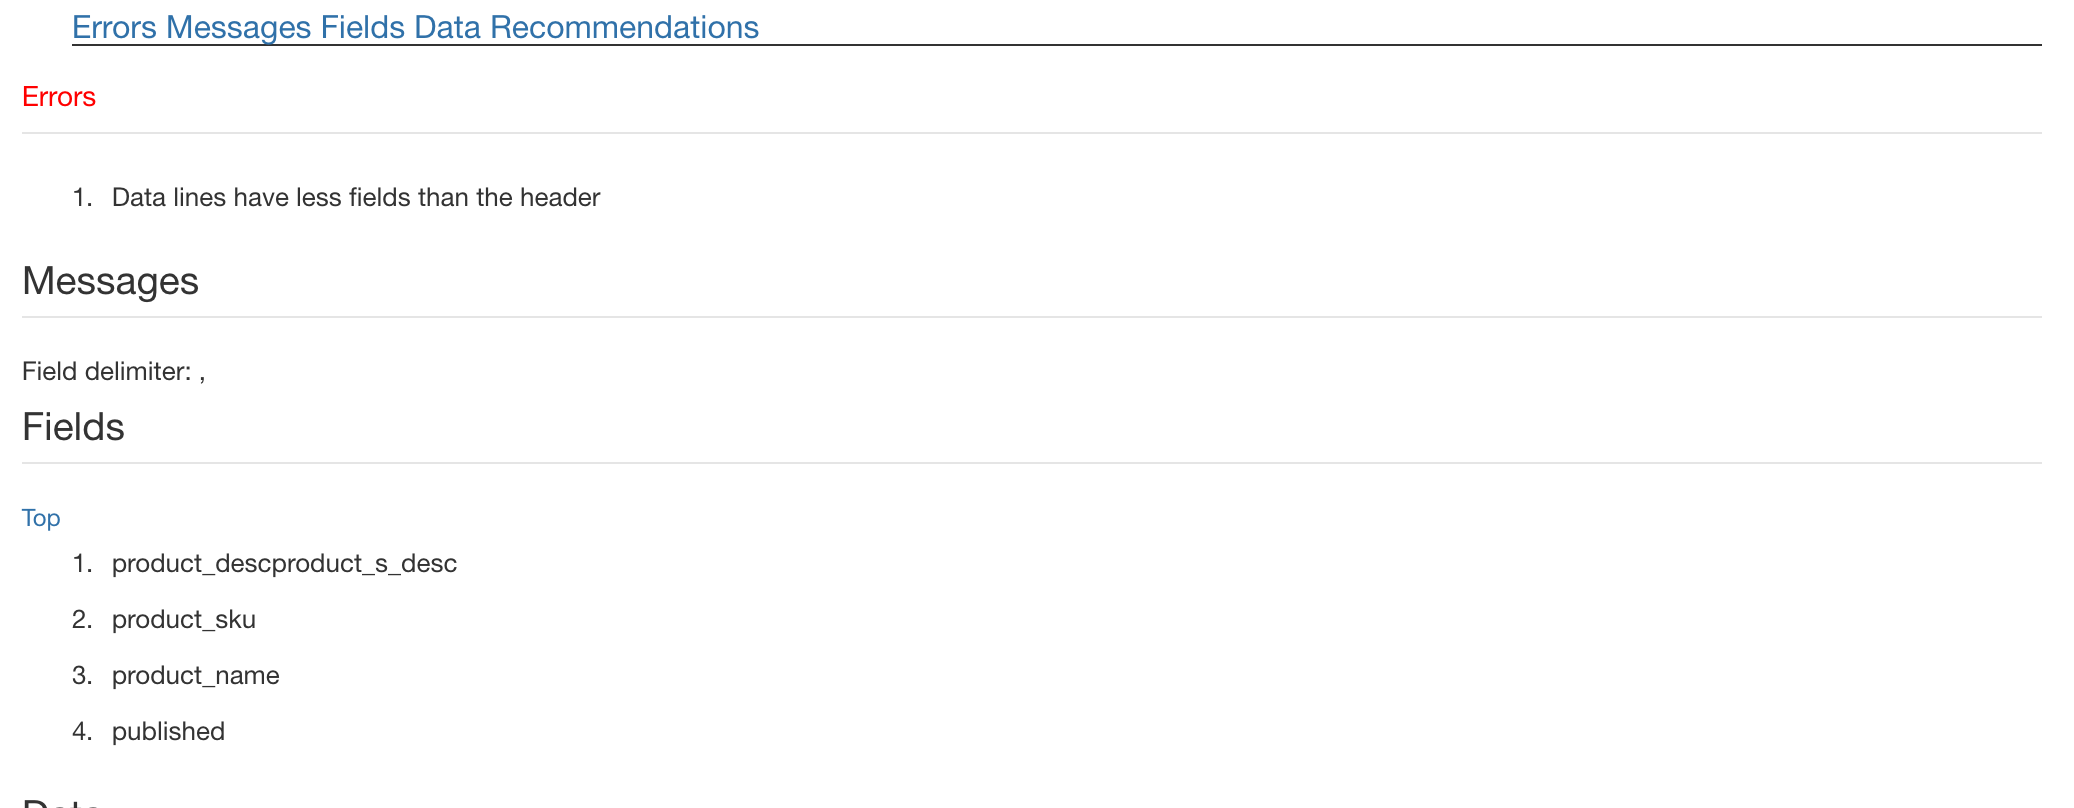
To analyse your csv file, Go to Analyser page from the side menu, select your csv file and set the number of lines to show. By default lines to show is 3, change it if needed. Click on Analyse button on top. CSVI will list out the errors if any in the Errors section else list out the records from import file. If there are no errors shown and your CSV content is displayed perfect in Analyser then your CSV file is a valid one for import.
Analyser with XML file
CSVI Analyser can also be used to check an XML file. To do that, Go to Analyser page from the CSVI side menu, select the XML file in File section and in the Record name set the node name of each item, say for example if its <product> node which has data of each product then set Record name as product. Change Lines to show as needed and click on Analyse button.
If in the analyser shows any non readable characters in your content as shown below then it means that your CSV file is not UTF-8 encoded and you need to convert your file to UTF-8 format. Have a look at the document Save CSV file as UTF-8 encoded to know on how save your import file as a UTF-8 encoded document.
If the CSV file is not formatted properly and has messed up columns, the error shows up in error section
Inconsistent number of nodes in XML
If there are inconsistent number of nodes in XML file from one item to another then the Analyser would show empty columns for the missing nodes. The XML can still be imported just for the second product in this example the child fields are ignored.