VirtueMart
Import ICEcat product specifications
Import ICEcat product specifications
To import the product specifications from ICEcat the field features must be added to the import file or template. Since the specifications are added to the end of the product description, it is advised to also include the product_desc field.
A sample CSV file would look like this:
product_sku;manufacturer_name;product_name;product_desc;product_s_desc;features
NP-R522-ET01DE;Samsung;;;;
This example CSV will load the Samsung R522-Aura T6400 Edira laptop product information.
Styling the table
The product specifications are added as a table to the end of the product description. The table has an ID called prod_features, this can be used to style the table. Each table row that contains the group name has a class called feature.
VirtueMart Users import
A template can be created by following these steps:
- Go to Components -> CSVI Pro -> Templates
- Click New
- Give the template a name, say for example VirtueMart Users info import
- Set Action to Import
- Set Component to VirtueMart
- Set Operation to Users Info
- Click Next: Select Source
- Source is set default to Load from your computer. No need for change.
- Click Next: Select options
- The default values are OK, change if needed.
- Click Next: Select fields
- Nothing needed here as we set to Use column headers as configuration in step 10.
- Click Next: Finalize
- All done here
- Click Close to return to the list of templates or Edit if you want to fine-tune the template further.

- Go to Components -> CSVI Pro -> Templates
- Click on Template fields
- In the Search Tools select your template
- Click on New to add a single field or click on Quick Add to add multiple fields.
Quick Add
The Quick Add Option allows you to quickly add multiple fields to a template. It is not possible to set any settings per field here but that can be done after the fields have been added to the template.

- Go to Components -> CSVI Pro -> Import
- Select the template created earlier with name VirtueMart Users info import
- Click Select file
- Select the file to import
- Click Preview
- You now see a preview of the file as to how CSVI sees the file
- Click Start import
- The import is run
- The Log details page will be shown with information regarding the import if the Enable logging is enabled in the template

VirtueMart Shipping Rates import with RO CSVI
This tutorial explains how to create a VirtueMart Shipping rates import template, add the fields and how to run the import. Step by step we show you how to perform each task. A video will show you the steps in action so you can follow that as well.
Shipment method Configuration
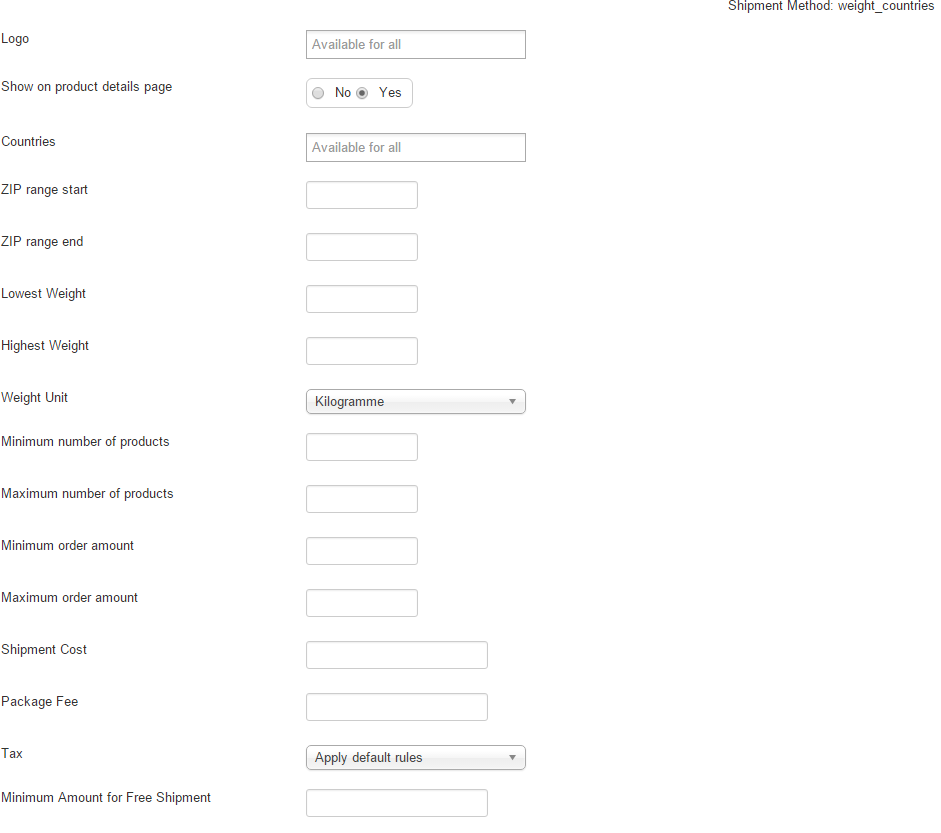
| VirtueMart | CSVI Import | CSVI Export |
|---|---|---|
| Logo | shipment_logos | shipment_logos |
| Countries | countries | countries |
| ZIP range start | zip_start | zip_start |
| Zip range end | zip_stop | zip_stop |
| Lowest Weight | weight_start | weight_start |
| Highest Weight | weight_stop | weight_stop |
| Weight Unit | weight_unit | weight_unit |
| Minimum number of products | nbproducts_start | nbproducts_start |
| Maximum number of products | nbproducts_stop | nbproducts_stop |
| Minimum order amount | orderamount_start | orderamount_start |
| Maximum order amount | orderamount_stop | orderamount_stop |
| Shipment Cost | cost | cost |
| Package Fee | package_fee | package_fee |
| Tax | tax_id tax |
tax_id |
| Minimum Amount for Free Shipment | free_shipment | free_shipment |
Import manufacturers in a multi-lingual VirtueMart shop
Objective
The objective is to import Dutch manufacturer names into an English setup multi-lingual shop. The English manufacturers have already been imported.
Example data
"mf_name";"mf_name_trans"
"Dutch manufacturer 1";"English manufacturer 1"
"Dutch manufacturer 2";"English manufacturer 2"
Setting up the template
To import manufacturers in a multi-lingual shop, we need to setup the template first. Follow these steps:
- Select the Manufacturer import options and click on Go

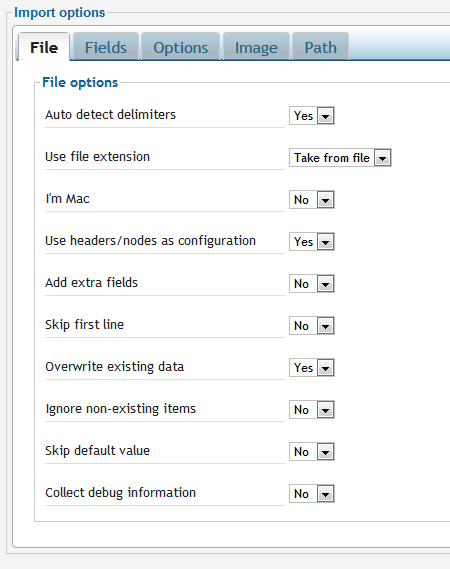
- Set the import settings
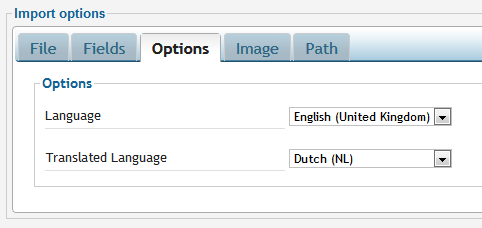
- Set the language options. The shop uses English as the main language so the Language is set to English. Dutch is an additional language and we are importing this, so we set Translated Language to Dutch
Import the file
Now that the template is set, you can select the file you want to import and click Import. After that you can check the manufacturer names in VirtueMart.