VirtueMart
Import ICEcat product information
Required fields
You must have an account with ICEcat before you can access ICEcat data.
Setting up ICEcat
To be able to use CSVI with ICEcat, a few things need to be setup first. These things are:
- ICEcat account
- Index files need to be loaded
- Files index
- Manufacturer index
ICEcat account
An ICEcat account can be requested at the ICEcat website.
Index files
There are two index files that need to be loaded:
- Files index
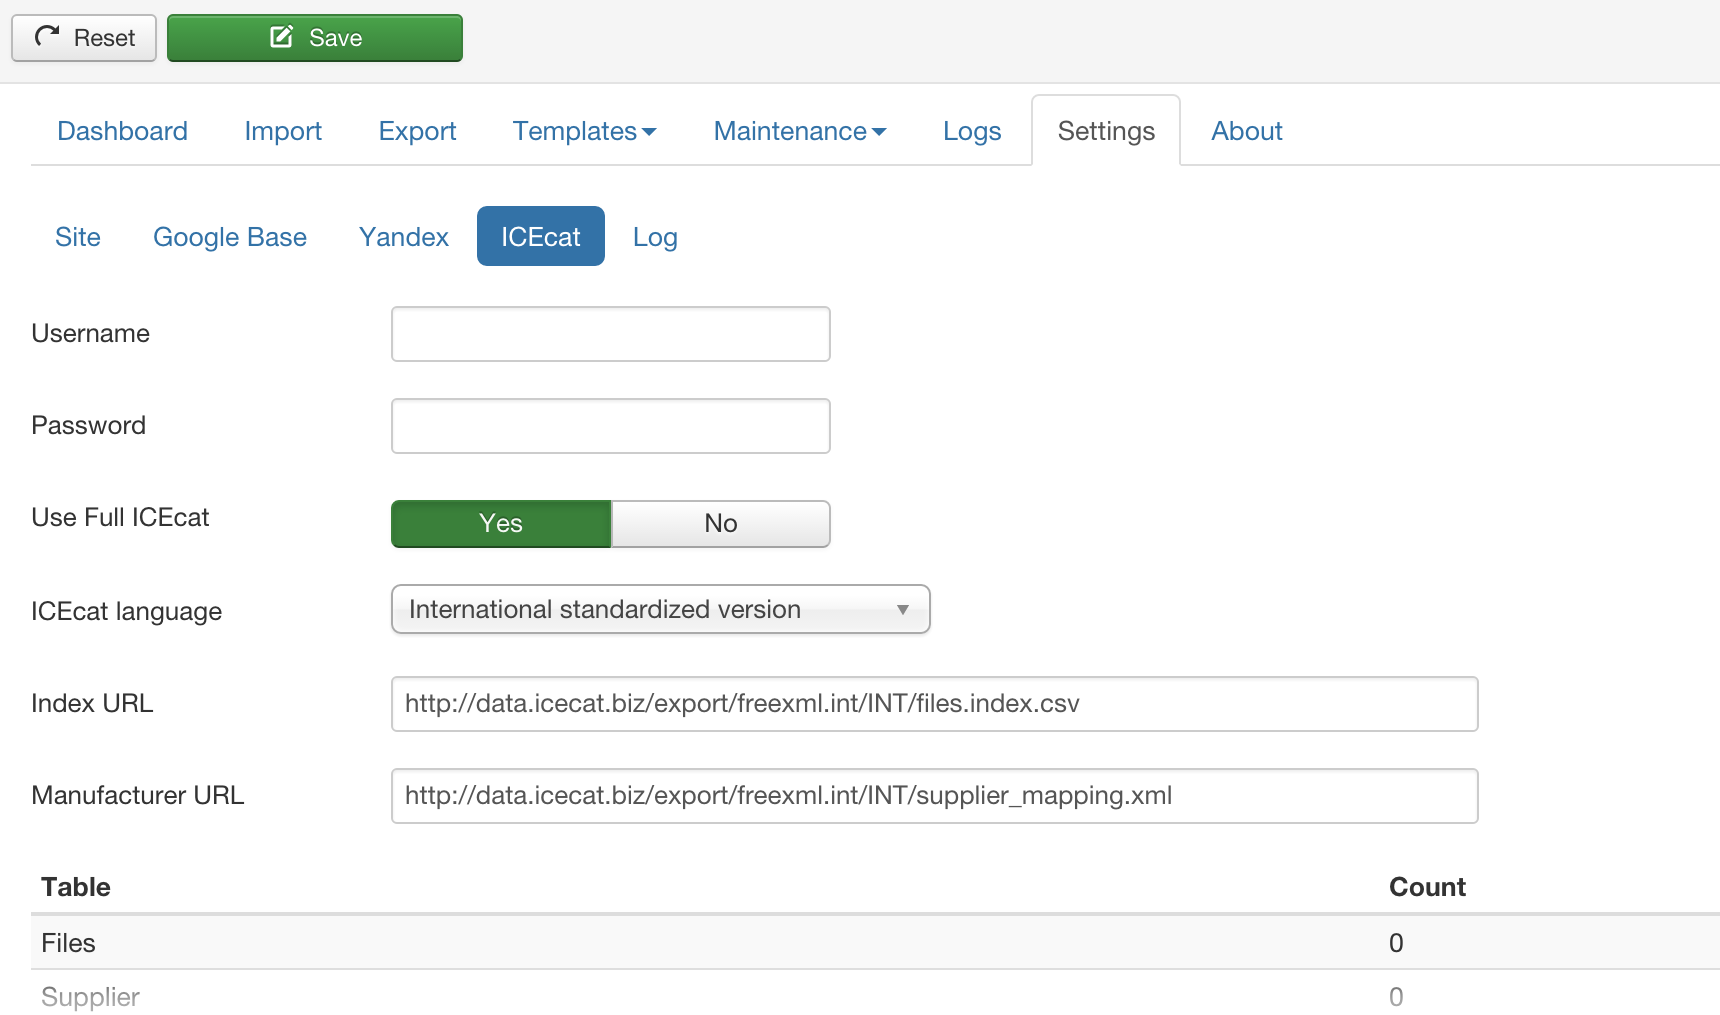
The files index is a list of URLs that are available on the ICEcat server. This file must be loaded into the
database as CSVI VirtueMart will check this list if product information is available. The default file index is
located at https://data.icecat.biz/export/freexml.int/INT/files.index.csv - Manufacturer index
The manufacturer index is a list of manufacturers that are available on the ICEcat server. This file must be
loaded into the database as CSVI VirtueMart will check this list if product information is available. The
default file index is located at https://data.icecat.biz/export/freexml.int/INT/supplier_mapping.xml
The index files are increasingly getting bigger so it might not be possible to have RO CSVI download the files for you. In that case you need to prepare the files manually.
Manual loading of the index files
Use these steps to manually download the index files:
- Download the Files index from https://data.icecat.biz/export/freexml.int/INT/files.index.csv or if you have a paid account from https://data.icecat.biz/export/level4/INT/files.index.csv
- Upload the downloaded file to your server to the file /tmp/com_csvi/icecat_index
- Download the Manufacturer Index from https://data.icecat.biz/export/freexml.int/INT/supplier_mapping.xml or if you have a paid account from https://data.icecat.biz/export/level4/INT/supplier_mapping.xml
- Upload the downloaded file to your server to the file /tmp/com_csvi/icecat_supplier
You can replace INT with the language of your choice. The language codes can be found at the end of the document.
Once the ICEcat account has been created, on RO CSVI backend settings tab, Provide the user credentials used for creating the account and save it.
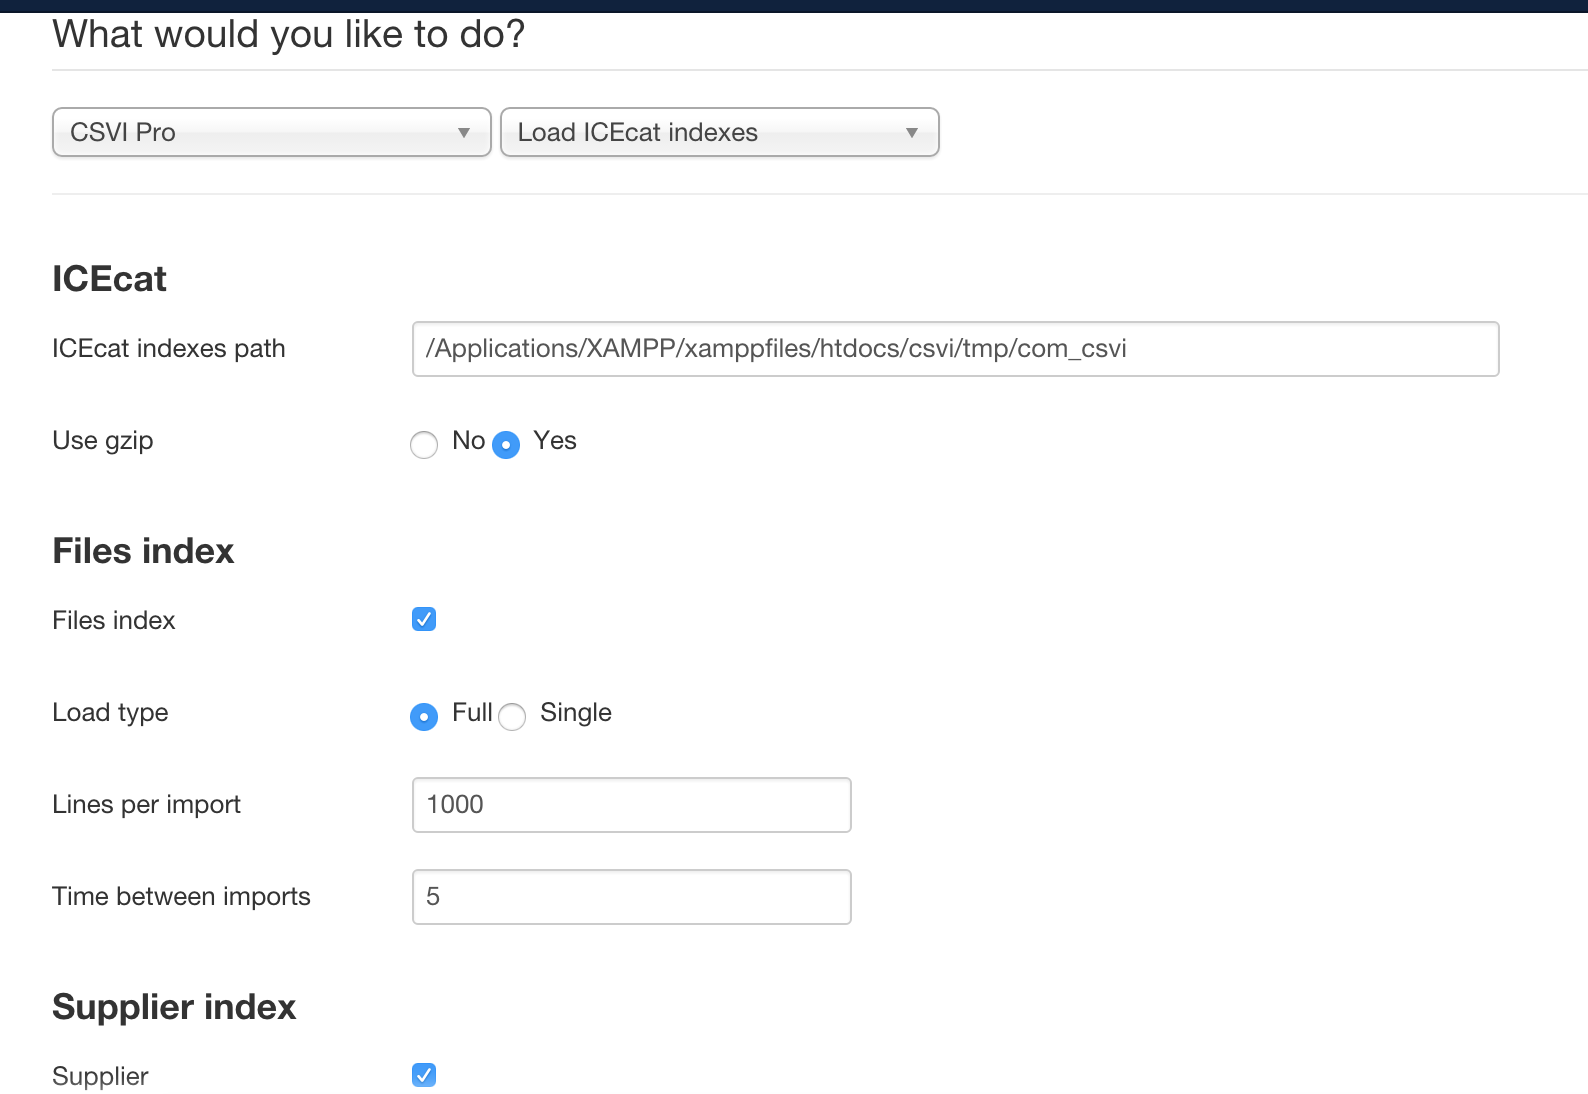
The index files are loaded via the Maintenance tab:
On loading the index files, CSVI follows this process:
- Check if the file icecat_index exists in the folder set by ICEcat indexes path
- If 1 does not exist, check if the file icecat_index.gzip exists in the folder set by ICEcat indexes path
- If 2 does not exist, check if the file icecat_index.zip exists in the folder set by ICEcat indexes path
- Check if the file icecat_supplier exists in the folder set by ICEcat indexes path
- If 4 does not exist, check if the file icecat_supplier.gzip exists in the folder set by ICEcat indexes path
- If 5 does not exist, check if the file icecat_supplier.zip exists in the folder set by ICEcat indexes path
If any of the above files are found, CSVI will use these local files to import the indexes. If none of the files are found, CSVI will try to download the files from the ICEcat server.
In case you have troubles loading the files index make sure the ICEcat indexes folder does not have any files in it.
Use gzip
This option is useful to download the large files index file as the size of this file is more than 100MB unpacked. The download is usually no problem but after the file is downloaded CSVI needs to unpack the zip file and can easily run out of memory. There are 3 solutions for this:
- Increase the available memory
- Download the unzipped file
- Unzip the file on your computer and upload it to the server
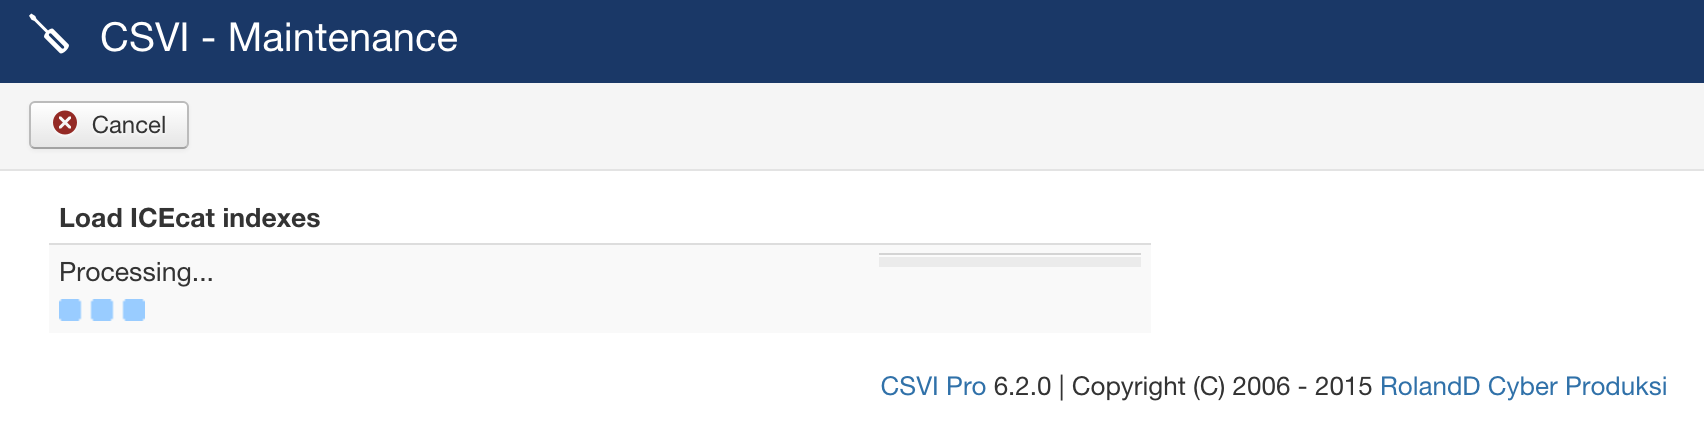
Once all the settings are done, Click on continue on the top corner and the file download process would start. Please note that this process would just look for the index files and would download. Actual import process would be done same as the Product Import .
The index file is a big file with over 500,000 entries. By default CSVI will load the files index in 1 step because this is the fastest and most efficient way of loading the files index.
To be able to load the file in 1 step the INFILE command needs to be enabled on the server. When the INFILE command is not enabled the error: Error occurred: The used command is not allowed with this MySQL version appears. To be able to load the index files, the MySQL needs to be configured to use the
INFILE command. This command can be enabled in the MySQL configuration file.
Add this line:
local-infile=1
to the /etc/my.cnf in the [mysql] section.
This is most likely done by the webhost.
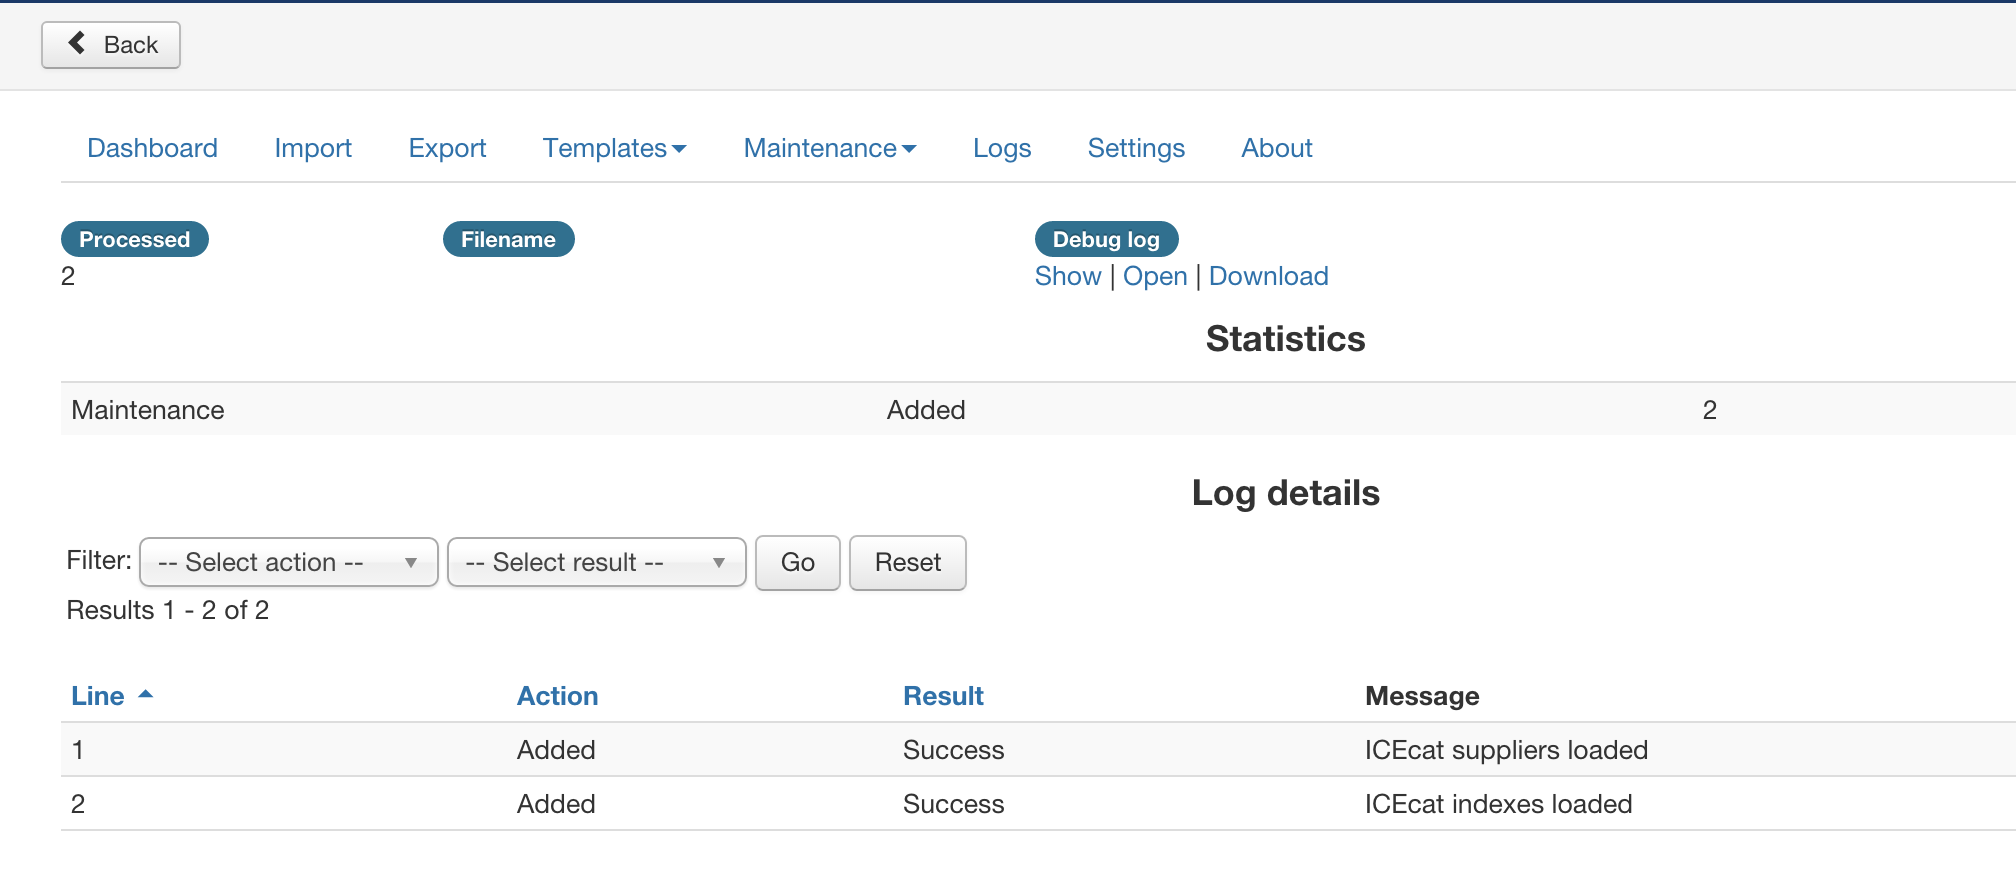
Once the files are downloaded, RO CSVI would notify the process is completed.
Load the files index in multiple steps
In case it is not possible to load the files index file in 1 step, it is possible to load it in multiple steps.
To load the file in multiple steps set the following options:
- Load type: Single
- Number of lines per import: 1000
This is the number of lines that is imported on each step. - Wait time between imports: 5
This time is when the import pauses to reduce the load on the server
When performing the ICEcat index loading using cron, the 1 step import is used.
Manufacturer Part Number
ICEcat identifies products based on the MPN (Manufacturer Part Number) and manufacturer name. If your product SKU is not the same as the MPN you must add a field to the VirtueMart product table to store the MPN.
On import you must also set in your template settings to use the MPN column instead of the product SKU as shown below. In this example the database column is called product_mpn.
What happens now on import is that not the column product_sku is used as unique identifier but the column product_mpn.
In case the product_sku is the only column and contains the MPN value, the custom column name can be set to product_sku.
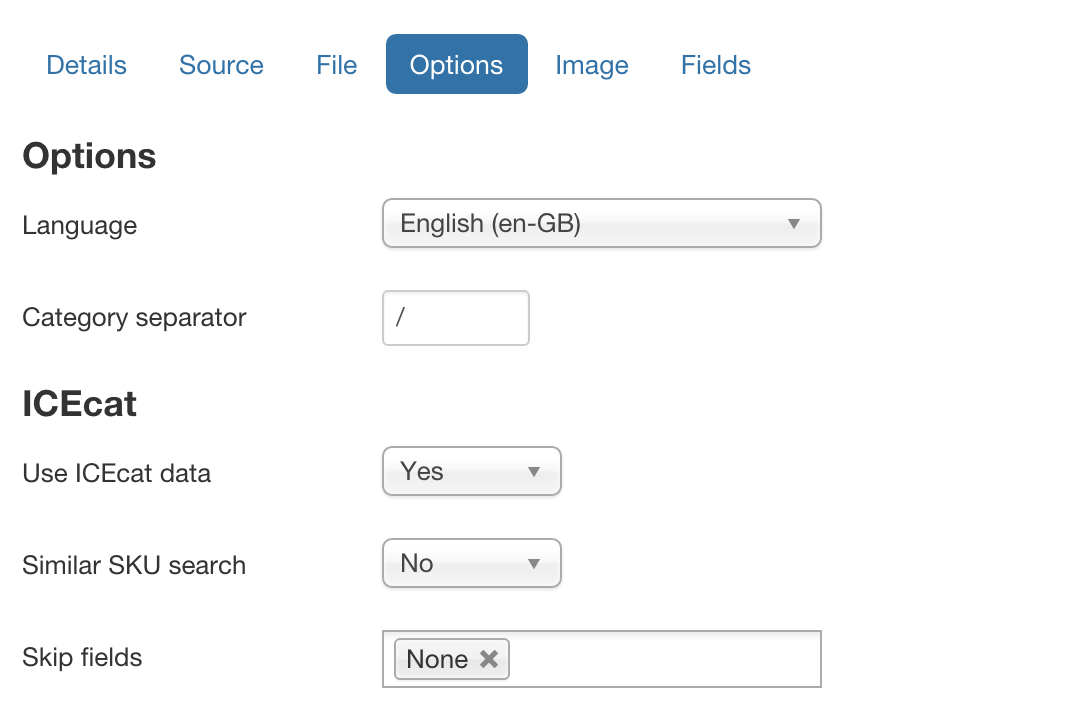
Enabling ICEcat Data
To tell CSVI that not the data in the import file needs to be used but to use ICEcat data instead, enable the ?Use ICEcat data? option as shown below.
Similar SKU search
The similar SKU search will search ICEcat for SKUs that are similar to the one being imported. This helps to find products that have an added identifier. For example the SKU A123 is imported but in ICEcat it is known as A123AA, CSVI will take the information from the A123AA ICEcat file.
Preparing the Import
CSVI will update the following fields with ICEcat data if found in the import file:
- category_path
- manufacturer_name
- product_sku
- product_name
- product_desc
- product_s_desc
- product_available_date
- file_url
- file_url_thumb
- features
- related_products
When importing ICEcat data only include the above fields you want updated with ICEcat information.
Example:
| category_path | manufacturer_name | product_sku | product_name | product_desc | file_url |
| Computersystems | Compaq | C8010A |
Import ICEcat Data
To import the ICEcat data the regular import process is followed. Check the examples at import the ICEcat data for Vituemart and import the ICEcat data for Hikashop
Supported Languages
INT - International standardized version of a data-sheet
EN - Standard or UK English
US - US English
NL - Dutch
FR - French
DE - German
IT - Italian
ES - Spanish
DK - Danish
RU - Russian
PT - Portuguese
ZH - Chinese (simplified)
SE - Swedish
PL - Polish
CZ - Czech
HU - Hungarian
FI - Finnish
NO - Norwegian
TR - Turkish
BG - Bulgarian
KA - Georgian
RO - Romanian
SR - Serbian
JA - Japanese
UK - Ukrainian
CA - Catalan
HR - Croatian
Updating products stock in VirtueMart with RO CSVI
This document explains on how to update product stock in VirtueMart using RO CSVI import. To update stock for VirtueMart products only 2 fields are needed.
RO CSVI Yandex Export for VirtueMart Extension
This tutorial explains how to export Yandex details from VirtueMart using RO CSVI.
Requirements
Creating the export template
A template can be created by following these steps:
- Go to Components -> RO CSVI -> Templates
- Click New
- Give the template a name
- Set Action to Export
- Set Component to VirtueMart
- Set Operation to Yandex
- Click Next: Select Source
- Destination is set default to Download. No need for change.
- Click Next: Select options
- The default values are OK, change if needed.
- Click Next: Select fields
- Fields must be added otherwise there is nothing for CSVI to export. Click Edit template fields.
- A new window opens with the Template fields page. You can add new fields by clicking New or Quick Add.
- When all fields are added you can close the window
- Click Next: Finalize
- All done here
- Click Close to return to the list of templates or Edit if you want to fine-tune the template further.
Add template fields
Template fields can be added by following these steps:
- Go to Components -> RO CSVI -> Template fields
- In the Search Tools select your template
- Click on New to add a single field or click on Quick Add to add multiple fields.
Quick Add
The Quick Add Option allows you to quickly add multiple fields to a template. It is not possible to set any settings per field here but that can be done after the fields have been added to the template.
Run the export
The export can be run by following these steps:
- Go to Components -> RO CSVI -> Export
- Select the template created earlier
- Click Export
- The export is run
- The Log details page will be shown with information regarding the export if the Enable logging is enabled in the template
Video showing the process
RO CSVI Google Merchant Export for VirtueMart
This tutorial explains how to export Google Merchant details from VirtueMart using RO CSVI
Requirements
Background information
Google Base exports are used to upload product information to Google Product Search. There is no default export as the fields required depend on the products being uploaded to Google Product Search and the country you are importing products for. The document here explains the basic settings on how to create a template, template fields and run the export. It also tells on how to link the template fields to Google Base fields.
To start with you can use the example Google export template attached here.
Google Merchant Export - Creating the export template
A template can be created by following these steps:
- Go to Components -> RO CSVI -> Templates
- Click New
- Give the template a name
- Set Action to Export
- Set Component to VirtueMart
- Set Operation to Google Merchant
- Click Next: Select Source
- Destination is set default to Download. No need for change.
- Click Next: Select options
- The default values are OK, change if needed.
- Click Next: Select fields
- Fields must be added otherwise there is nothing for RO CSVI to export. Click Edit template fields.
- A new window opens with the Template fields page. You can add new fields by clicking New or Quick Add.
- When all fields are added you can close the window
- Click Next: Finalize
- All done here
- Click Close to return to the list of templates or Edit if you want to fine-tune the template further.
Google Merchant Export - Add the fields to export
Template fields can be added by following these steps:
- Go to Components -> RO CSVI -> Templates
- Click on Template fields
- In the Search Tools select your template
- Click on New to add a single field or click on Quick Add to add multiple fields.
Quick Add
The Quick Add Option allows you to quickly add multiple fields to a template. It is not possible to set any settings per field here but that can be done after the fields have been added to the template.
Which fields are required for you, depends on the country and the products you want to import in the Google Product Search. Check the attribute requirements to find out which fields are required for you.
Here we will demonstrate some general required fields:
- id
- title
- description
- google product category
- link
- image link
- condition
Google Merchant Export - Setting up the export fields
First step is to map the Google fields with the RO CSVI template fields:
| RO CSVI | |
|---|---|
| id | product_sku |
| title | product_name |
| description | product_desc |
| google product category | category_path |
| link | product_url |
| image link | picture_url |
| condition | custom |
Now that we know which fields are need to be used, we will add them to the export template fields. Each field will be added with the following settings:
| Field name | Column header | Default value |
|---|---|---|
| product_sku | g:id |
|
| product_name | title | |
| product_desc | description |
|
| category_path | g:google_product_category |
|
| product_url | link | |
| picture_url | g:image_link |
|
| custom | g:condition |
new |
Google Merchant Export - Run the export
The export can be run by following these steps:
- Go to Components -> RO CSVI -> Export
- Select the template created earlier
- Click Export
- The export is run
- The Log details page will be shown with information regarding the export if the Enable logging is enabled in the template
Video showing the process
Further reading
- By default RO CSVI exports the category_path with a /, this is automatically changed on export to the Google Product Search attribute >
- If your category structure does not match that of Google Product Search, you can use the Replacement feature to replace your category names with those of Google Product Search
- If the field g:tax is used, the default value must be set to follow the layout country:region:rate:tax_ship. RO CSVI will change this to the appropriate tags on export
- To add your own shipping rates, use the Field name custom_shipping and Column header g:shipping
- If the field g:shipping is used, the default value must be set to follow the layout country:service:price. RO CSVI will change this to the appropriate tags on export
- To add identifier_exists field add the custom template field with column header set to g:identifier_exists and default value set to Yes or No.
Resources
Generation of Thumbnail images in VirtueMart
With Virtuemart Product import operation in RO CSVI, images and thumbnail images are imported using the file_url and file_url_thumb fields. Sometimes it happens that even though the images have been imported into the database, VirtueMart shows them as "No image" in its views. This issue is not because of an import problem but to check VirtueMart. This document explains how thumbnails are generated in VirtueMart code. This may help in finding out why thumbnails are not shown on backend as well as on frontend.