VirtueMart
Setting up a VirtueMart multi-language shop
To setup and maintain a multi-language site in VirtueMart 2 requires planning and care.
Before you start
There are a few things that needs to be done before you can start with a multi-language site. These things are:
- Which languages do I want to use?
The first thing to do is decide which languages you are going to use and install them in your site so they become available to VirtueMart and CSVI. - Which language is my primary language?
This is a very important decision as all translations will be based off this language. - Configure VirtueMart
In VirtueMart you need to configure which languages you are going to use
In this document we will use English and Dutch as our languages where English is our primary language.
Configure VirtueMart
Now that we know we will use English and Dutch we will tell VirtueMart we want to use them. Go to Configuration in VirtueMart:

and set the lanugages in the Languages Options:
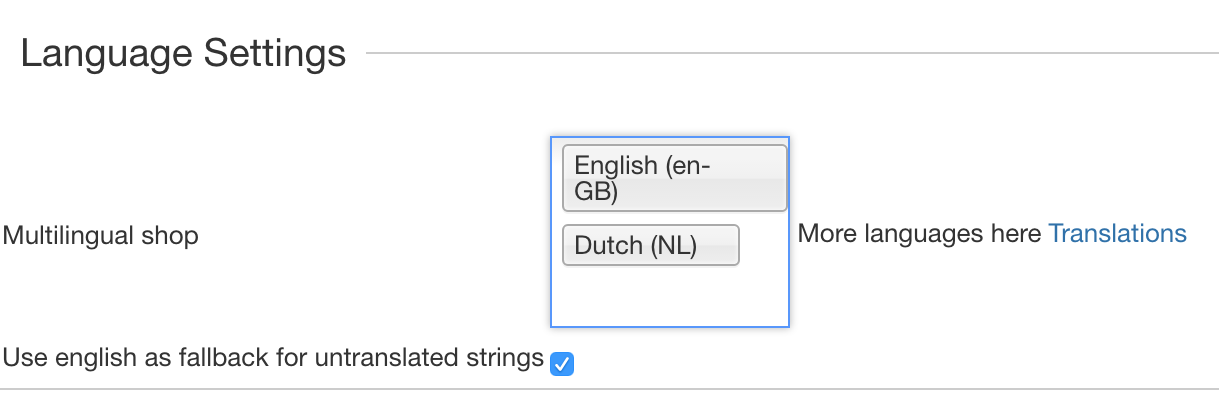
with the languages set click on Save & Close to store the settings.
Preparing Language Data
VirtueMart contains a few areas that are affected by multi-language settings, these areas are:
- Categories
- Manufacturers
- Manufacturer categories
- Products
- Payment methods
- Shipment methods
- Vendors
In this tutorial we will be setting up these areas as they are the most common to import for a multi-language site:
- Categories
- Manufactuers
- Products
Categories
To import the categories in English and Dutch we are going to need 2 files:
- The primary language file
- The translations file
One translation file per language is needed. In this case we add Dutch so we have 1 translation file. If you also have German and Italian, you will have a total of 3 translation files: Dutch, German and Italian.
Primary language file
The primary language file contains the category data you want to import. The primary language file can look like this:
"category_path";"published"
"Power Tools/Outdoor Tools";"1"
"Power Tools/Indoor Tools";"1"
"Garden Tools";"1"
Translation language file
The translation language file contains only the translation of the category information. A translation is indicated by adding _trans to the field name, this gives us the field name category_path_trans.
The translation language file can look like this:
"category_path";"category_path_trans"
"Power Tools/Outdoor Tools";"Elektrisch gereedschap/Buitenshuis"
"Power Tools/Indoor Tools";"Elektrisch gereedschap/Binnenshuis"
"Garden Tools";"Tuingereedschap"
Manufacturers
To import the manufacturers in English and Dutch we are going to need 2 files:
- The primary language file
- The translations file
One translation file per language is needed. In this case we add Dutch so we have 1 translation file. If you also have German and Italian, you will have a total of 3 translation files: Dutch, German and Italian.
Primary language file
The primary language file contains the manufacturer data you want to import. The primary language file can look like this:
"mf_name";"published"
"Apple";"1"
"Samsung";"1"
"Nokia";"1"
Translation language file
The translation language file contains only the translation of the manufacturer information. A translation is indicated by adding _trans to the field name, this gives us the field name mf_name_trans.
The translation language file can look like this:
"mf_name";"mf_name_trans"
"Apple";"Apple"
"Samsung";"Samsung"
"Nokia";"Nokia"
Importing Categories/Manufacturers/Shipping rates
The import process of categories and manufacturers is the same, only the categories is shown here. The order in which we are going to import is:
- Primary language
Since this is the language where all other languages are based on, this goes first - Translation languages
We can only import translations if there is a primary language, so this comes after the primary language has been imported
To make the imports a success it is important that the first time the import is done the categories, manufacturers and/or shipping rates are empty. The categories are stored in the tables virtuemart_categories and virtuemart_categories_xx_xx where xx_xx is the languages you use. The manufacturers are stored in the tables virtuemart_manufacturers and virtuemart_manufacturers_xx_xx where xx_xx is the languages you use. The shipping rates are stored in the tables virtuemart_shipmentmethods and virtuemart_shipmentmethods_xx_xx where xx_xx is the languages you use. At the moment of writing, there is a bug in VirtueMart 2 that when you delete manufacturers, the manufacturer tables are not emptied. The advice is to use PhpMyAdmin to empty these tables manually.
Importing the primary language
Step 1
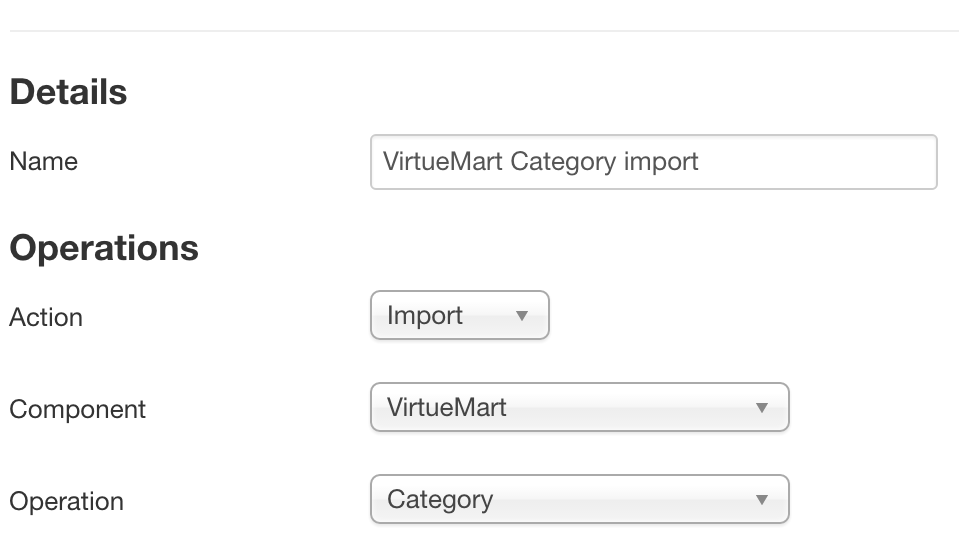
We want to do a category import so we create a template with Action as Import, component as VirtueMart and operation as Category. Save the template. When importing the manufacturers or shipping rates choose the appropriate import type.
Step 2
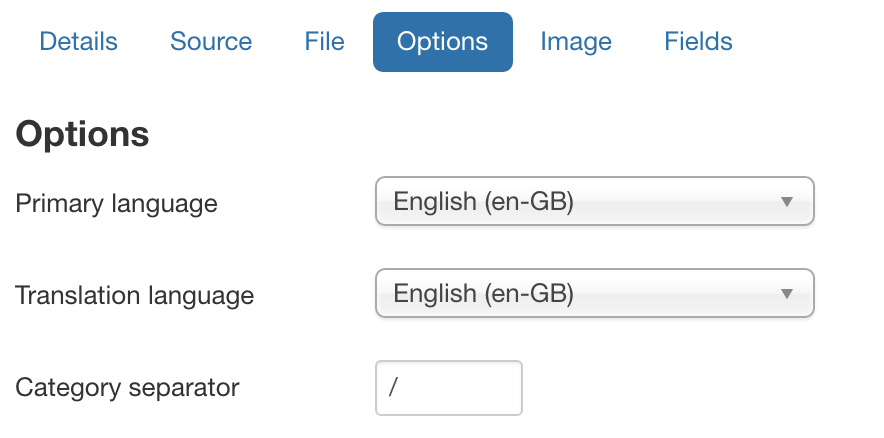
To import the primary language set the option Language and Translated Language to the same language. Our primary language is English, so here English is chosen for both.
Step 3
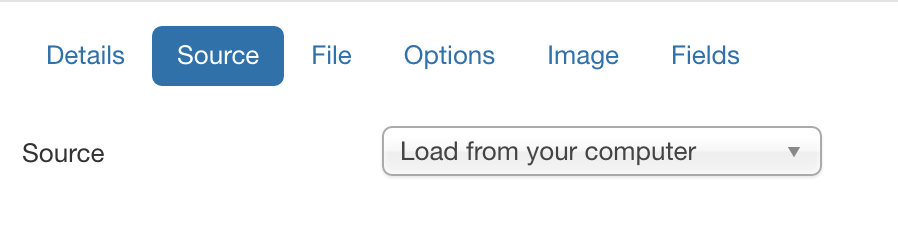
With all the settings done we are going to load the file from our computer and import the primary categories, manufacturer or shipping rates file.
Step 4
Click on Process and let CSVI import the primary language categories, manufacturers or shipping rates.
Importing the translation language
After the import of the primary language is done, we can continue and import the translations.
Step 1
We want to do a category import so we create a template with Action as Import, component as VirtueMart and operation as Category. Save the template. When importing the manufacturers or shipping rates choose the appropriate import type.
Step 2
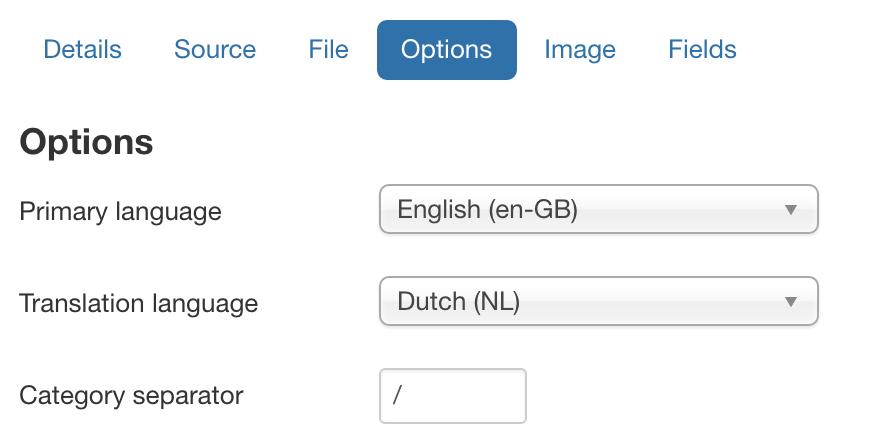
To import the translation language set the option Language to the primary language and Translated Language to the language included in the import file. Our primary language is English, so here English is chosen, the translation language we use is Dutch so Translated language is set to Dutch.
Step 3
With all the settings done we are going to load the file from our computer and import the translation categories, manufacturer or shipping rates file.
Step 4
Click on Process and let CSVI import the translation language categories, manufacturer or shipping rates.
Importing Products
Product translations work different from the categories and manufacturers because products have a unique code, the product SKU. To import product translations we only need an import file per language.
Important! The category_path and the manufacturer_name must be in the same language as the product is.
An example file can look like this:
English
"product_sku";"product_name";"product_s_desc";"category_path";"manufacturer_name"
"G03";"Shovel";"Nice shovel. You can dig your way to China with this one.";"Garden Tools";"Apple"
Dutch
"product_sku";"product_name";"product_s_desc";"category_path";"manufacturer_name"
"G03";"Schep";"Mooie schep. Met deze schep graaf je een weg naar China.";"Tuingereedschap";"Apple"
Step 1
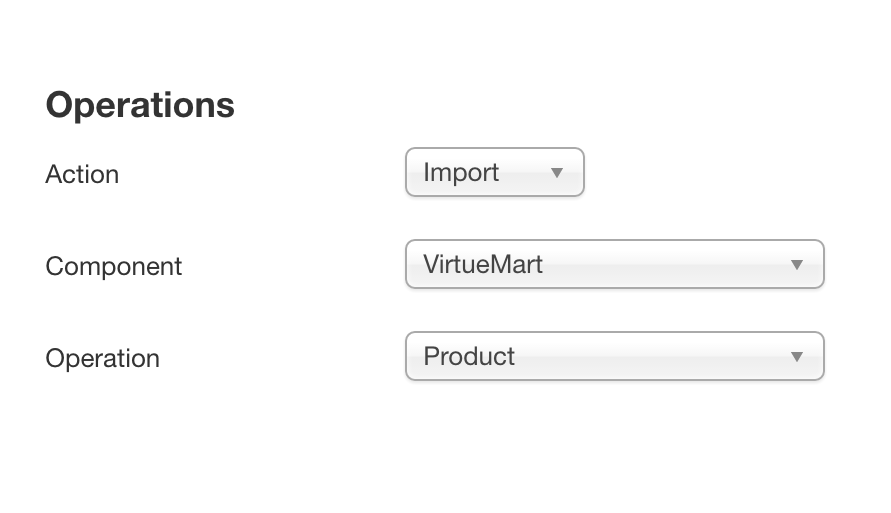
We want to do a product import so we choose the Action as Import, component as VirtueMart and operation as Product in the template settings and save the template.
Step 2
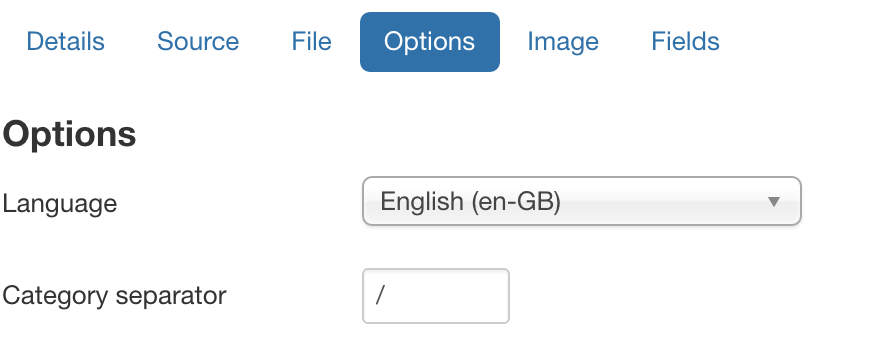
To import the product language set the option Language to the language your product import file is made for. We are now importing the English language so we choose Language English. When importing the Dutch product file, we choose Dutch here.
Step 3
With all the settings done we are going to load the file from our computer and import the product file.
Step 4
Click on Process and let CSVI import the product translation.
Products are not showing up in the product list
After you have imported products and go to VirtueMart to check and see if they are there you might find that no products show up. The reason for this is that VirtueMart uses a different language than what you imported them in. For example, your site has 2 languages, English and Dutch where English is your site default language.

(Extensions -> Language manager)
After you import your first products in the Dutch language, VirtueMart won't show them because it is looking for English products. To see the list of Dutch products you need to go to Extensions -> Language manager and set your Site language to Dutch as default. Now go back to VirtueMart and your products will show up.
Conclusion
We have now imported the categories, manufacturers and products in 2 languages, more languages can be added by importing more translations lists.
It is important to always respect the primary language. Any changes made to the primary language must be made to the translations as well. Especially important is when something is deleted from the primary language, it must be deleted from the translation language also as otherwise the link between the primary language and the translation is broken.
Delete out of stock products
The deletion of out of stock products is a three-step procedure.
- Export all products
- Clean up the list of products
- Import list of products to delete
Export all products
The first step is to export all products and their stock level.
- Create a new export template of the type Product export
- Add the fields
product_sku
product_in_stock - Export the template
- Save the file on your computer
Clean up the list of products
Second step is to clean up the list of products by removing all products where the stock is more than 0
- Open the file in your favourite spreadsheet
- Sort the sheet on the product_in_stock field
- Delete all rows where the stock is greater than 0
- Add the column product_delete
- Set the column product_delete to Y for all rows
- Save the file
Import list of products to delete
Third step is to import the file to delete the products
- Create a new import template of the type Product import
- Set the template to use Column headers for configuration
- Import the file
- The products in the file will now have been removed
Product Information
VirtueMart Product Information
This image will show which VirtueMart fields are linked to the RO CSVI fields. This can be used to find out how to link the correct fields for your import or export.

| VirtueMart | RO CSVI Import | RO CSVI Export |
|---|---|---|
| Published? | published | published |
| Product SKU | product_sku | product_sku |
| Product Name | product_name | product_name |
| Product Alias | slug | slug |
| URL | product_url | product_url |
| Manufacturer | manufacturer_name | manufacturer_name |
| Product Categories | category_path | category_path |
| Shopper Group | shopper_group_name | shopper_group_name |
| Product Details Page | layout | layout |
| On Featured | product_special | product_special |
VirtueMart Waitinglists import with RO CSVI
This tutorial explains how to create a VirtueMart Waitinglist import template, add the fields and how to run the import. Step by step we show you how to perform each task. A video will show you the steps in action so you can follow that as well.
VirtueMart Shopper Fields import with RO CSVI
This tutorial explains how to create a VirtueMart Shopper fields import template, add the fields and how to run the import. Step by step we show you how to perform each task. A video will show you the steps in action so you can follow that as well.