VirtueMart
VirtueMart supported operations
In RO CSVI we offer a number of import and export routines to manage your VirtueMart data. This is the complete list of VirtueMart supported operations. The majority of operations are available for both import and export although some are for a specific task so they can only be used for either import or export.
Product Status
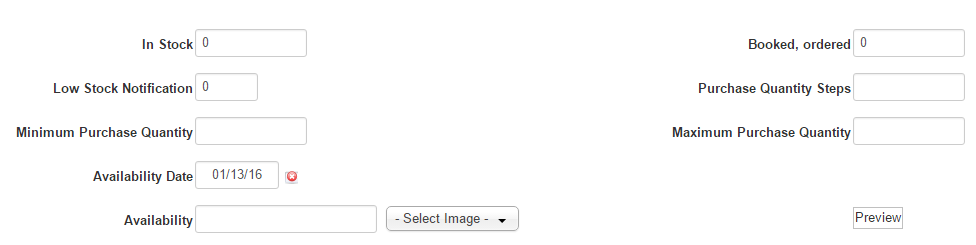
| VirtueMart | CSVI Import | CSVI Export |
|---|---|---|
| In Stock | product_in_stock | product_in_stock |
| Booked, ordered products | product_ordered | product_ordered |
| Low Stock Notification | low_stock_notification | low_stock_notification |
| Purchase Quantity Steps | step_order_level | step_order_level |
| Minimum Purchase Quantity | min_order_level product_params |
min_order_level product_params |
| Maximum Purchase Quantity | max_order_level product_params |
max_order_level product_params |
| Availability Date | product_available_date | product_available_date |
| Availability | product_availability | product_availability |
VirtueMart Products import
This tutorial explains how to create a VirtueMart Products import template, add the fields and how to run the import. Step by step we show you how to perform each task. A video will show you the steps in action so you can follow that as well.
VirtueMart Product Dimension Fields
This page shows which VirtueMart Product Dimension fields you can use for import and export.
VirtueMart Products export
This tutorial explains how to create a VirtueMart Products export template, add the fields and how to run the export. Step by step we show you how to perform each task. A video will show you the steps in action so you can follow that as well.