Background information
To import images into VirtueMart there are a few things you need to know before hand. The default location of images in VirtueMart is images/stories/virtuemart/, from here images are grouped by their type e.g.:
- product
- category
- etc.
All product images reside in the folder images/stories/virtuemart/product. How does RO CSVI know where to locate your images? This is a combination of 2 settings:
- Path set in the template
- Name in the CSV file
On import RO CSVI combines these 2 settings to get the full path to the image. As an example the path in the template is set to images/stories/virtuemart/product and the file_url field in the CSV file is set to example.jpg. This will create a full path of images/stories/virtuemart/product/example.jpg. This is the correct path.
Preparing the template
Load the template you want to use for import. If you don't have a template yet, see the Create a template tutorial on how to create one.
Adding the fields
Your template might already have some fields, for the images we need to add 2 more fields:
- file_url
- file_url_thumb
Optional field (Available as of CSVI Pro 6.6.0)
- media_published
You can publish media files by using the media_published field with a value of Yes/yes/Y/y/1 to publish or No/no/N/n/0 to unpublish. If this field is not added in import, product's published field value will be taken else default value is 0, which is unpublish state.

Let's tell RO CSVI which fields you want to import.
- Under the Field name column, select the field file_url
- The other options we leave empty as they are fine
- Click on the Save or Save&Close button
- Repeat step 1 - 3 for the file_url_thumb

To make sure we don't lose anything, click on Save again to save your template.
Setting the template image options
The Image tab has a lot of options for managing your images. For now we will look at the general options. The most important option here is the Process images.
- Yes
This means that RO CSVI will perform all the image options set for example, create a thumbnail - No
This means that RO CSVI will not do any image processing.
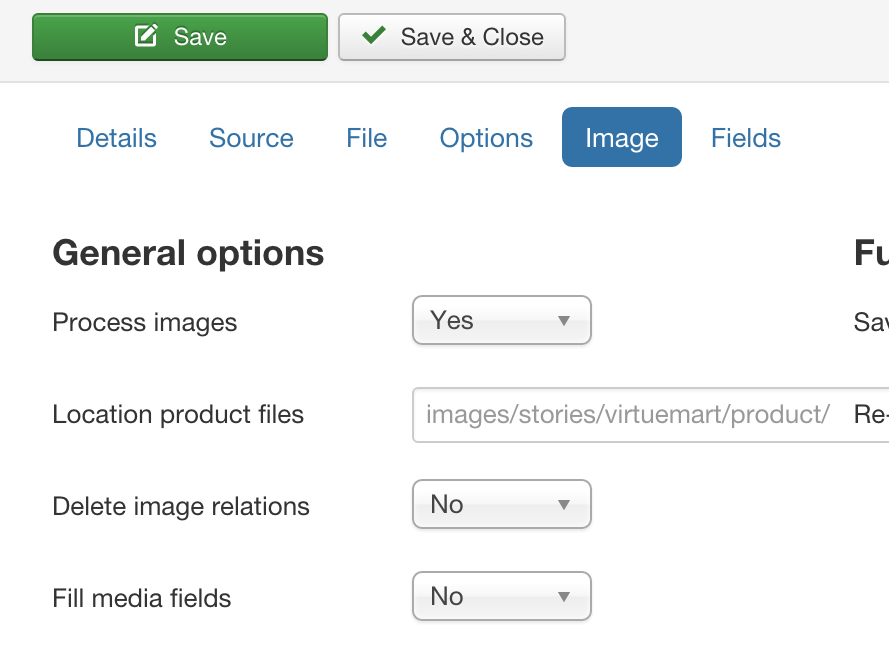
We set the Process images to Yes and then configure the thumbnail settings because we want to let RO CSVI create a thumbnail.
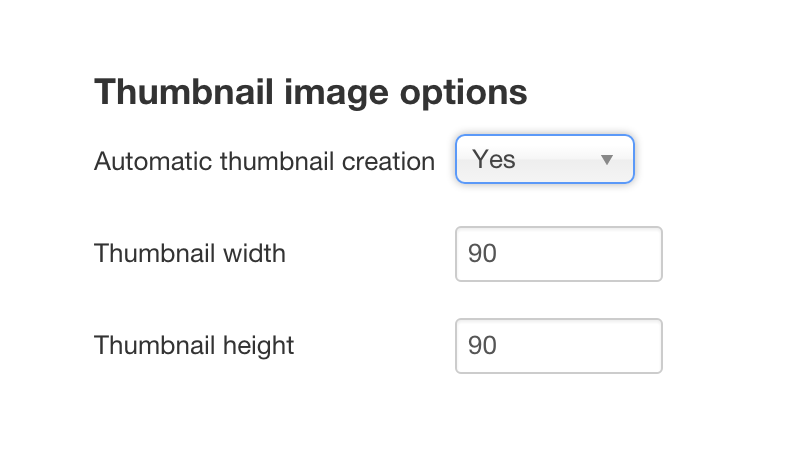
To enable the thumbnail creation set the option Automatic thumbnail creation to Yes and if you want set the thumbnail size you would like.
Creating the import file
In your import file, you need to add 2 more columns:
- file_url
Here you put the name of the main image for example hammer.png. Multiple images separated by |. - file_url_thumb
Here you put the name of the thumbnail image, always prefixed by resized for example resized/hammer.png. Multiple images separated by |.
Let's create our CSV file:
"product_sku", "product_name", "category_path", "product_desc", "file_url", "file_url_thumb", "file_title", "file_description", "file_meta", "file_ordering"
"H01", "Hammer", "Hand Tool/Indoors", "A great hammer to let out all your frustration", "hammer.png", "resized/hammer.png", "Hammer", "A great hammer", "hammer,tool","1"
Save these 2 lines in a file or download the file by clicking here.
This completes the second step of the image path, we now have a complete path of images/stories/virtuemart/product/hammer.png
To be able to create a thumbnail upload an image called hammer.png to your server in the folder images/stories/virtuemart/product.
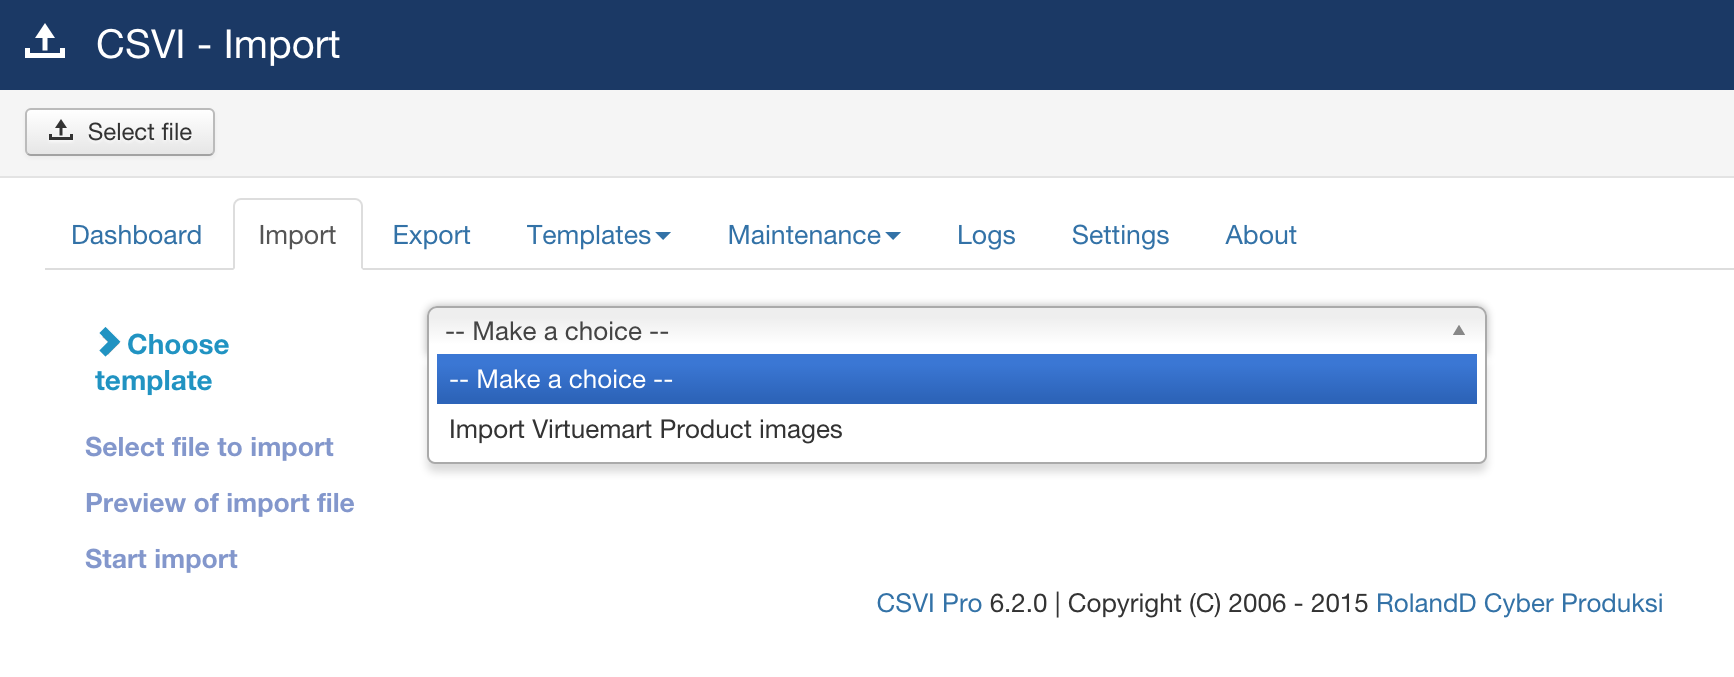
Import time
With our template configured and our file created, we are ready to import. Select the template from the import tab.
Click on Select File.
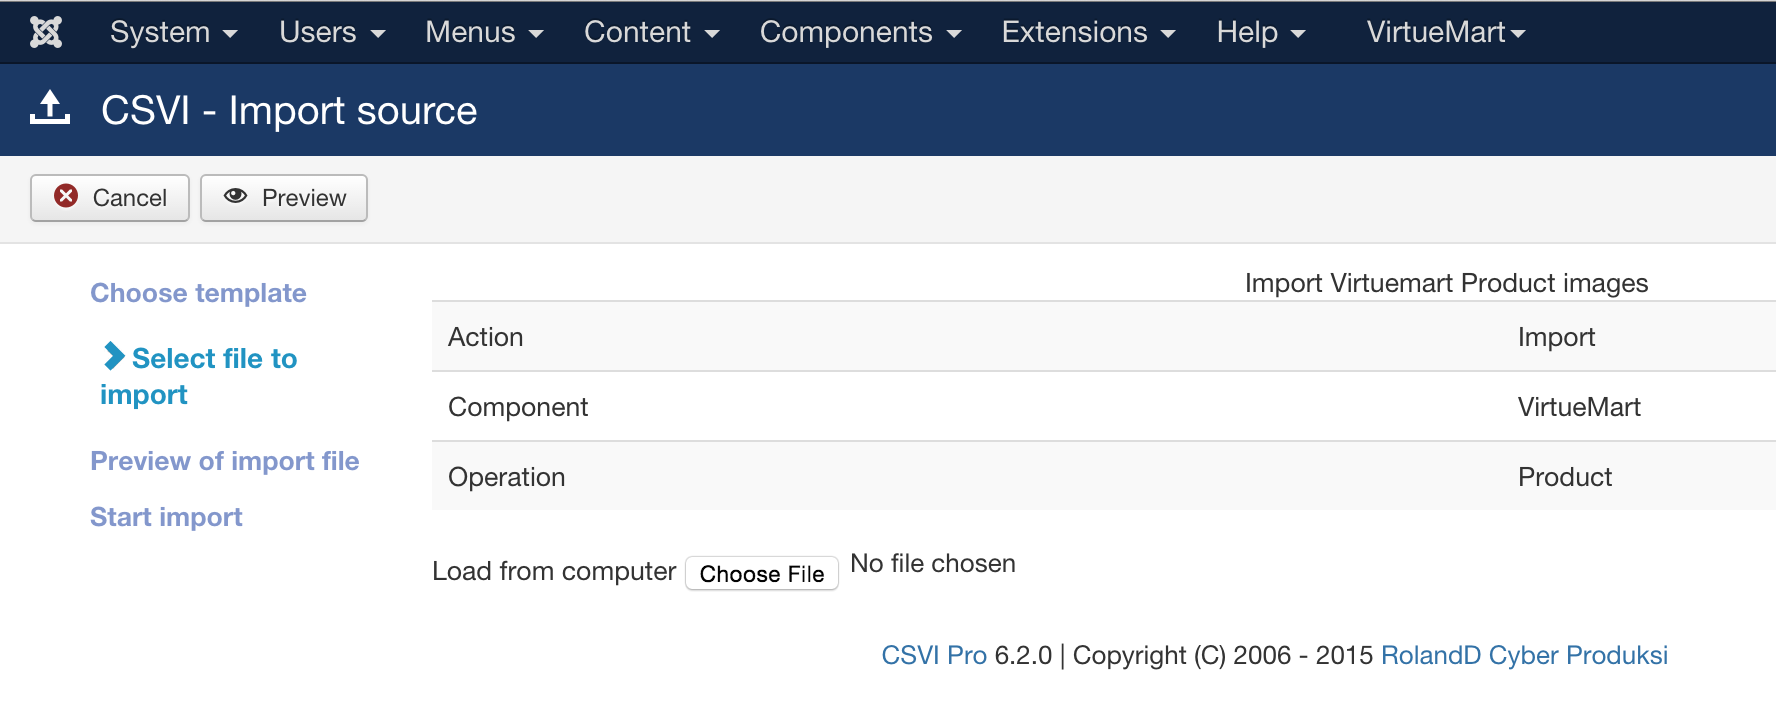
On the source option we will load the file from our computer. Click on Choose File and select your import file. Then click on the Preview button in the top right hand corner.
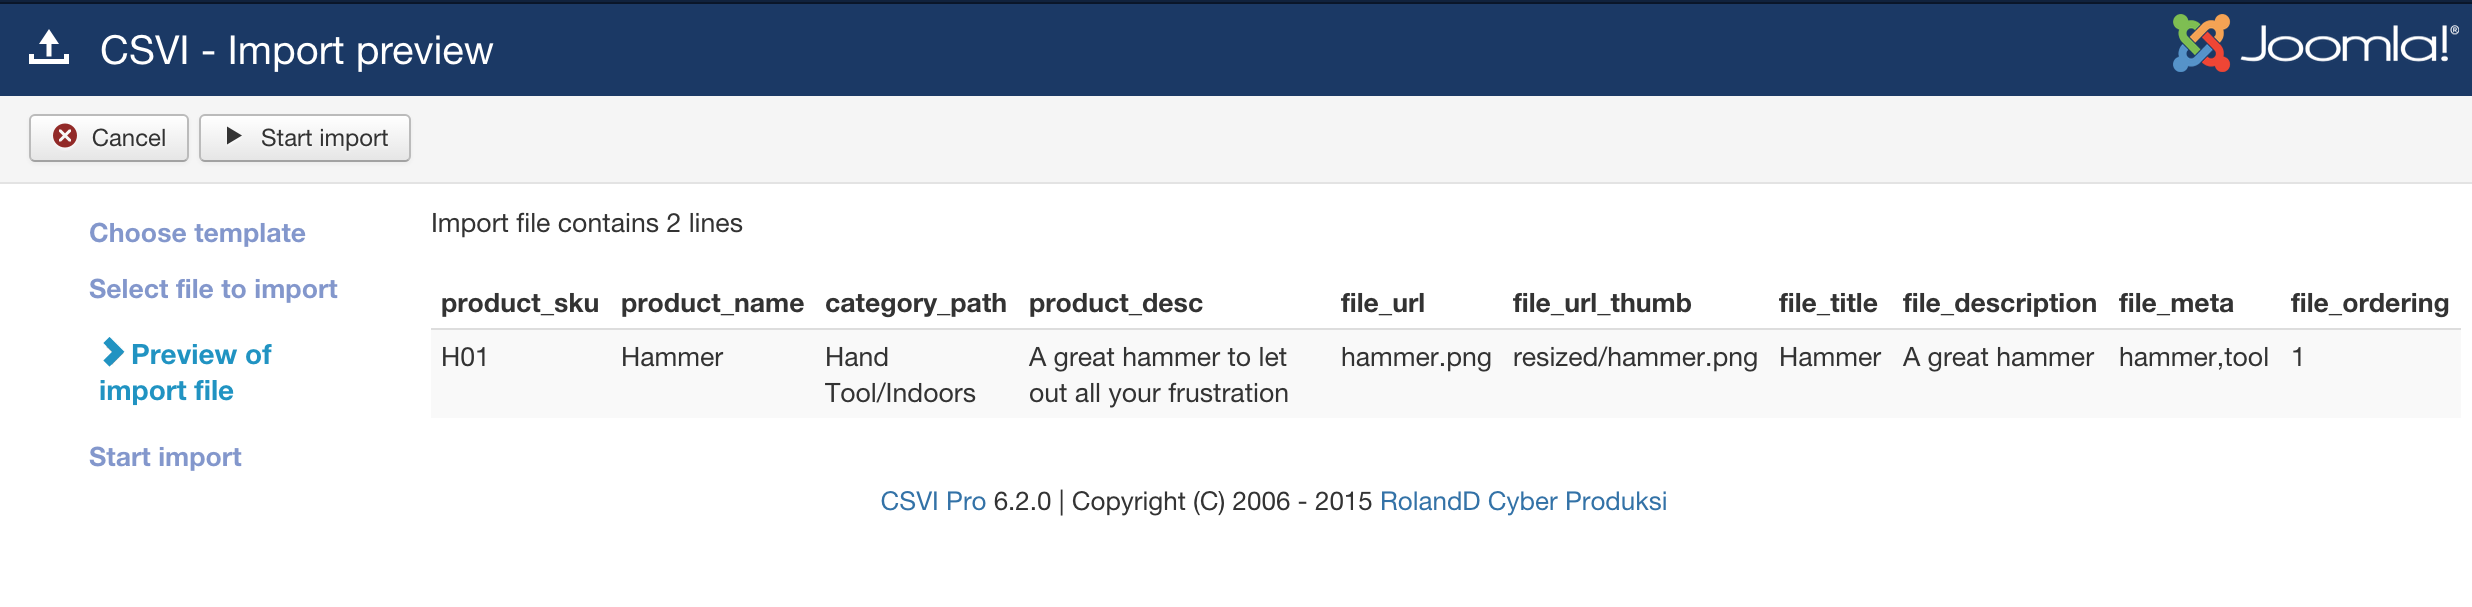
The list of fields in CSV would be shown as preview. Now click on Start import in the top right hand corner.
The result
When the import is done you will see a screen like this:
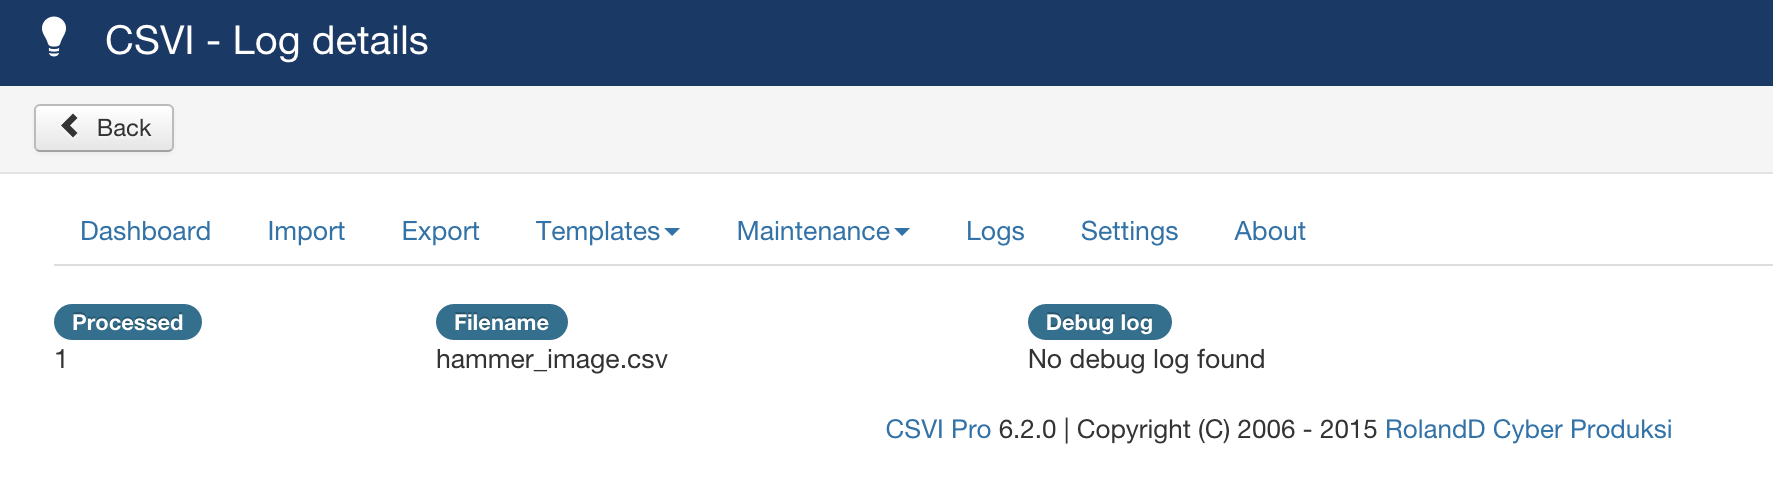
The final page shows that the processed file count and the name of the file with debug information. There you go, you have succesfully done a VirtueMart image import.
What's next?
The next thing you can do is, experiment. There are a lot of more features in RO CSVI you can use for example:
- Watermark images
- Store remote images on your server
- Resize large images
Troubleshooting
Even after succesful import if the images are not shown on VirtueMart backend, check the extension of the image. VirtueMart checks for image with extension as lowercase like .jpg or .gif. Make sure to change the case of your images and then import so VirtueMart can find the images.
Further reading
Other good sources of information are: