This document explains how to configure payment provider Adyen.
Prerequisites
To configure Adyen the following details are required:
- Merchant Key
- API Key
- Live URL Prefix (only used in production)
- Webhook HMAC
- Description
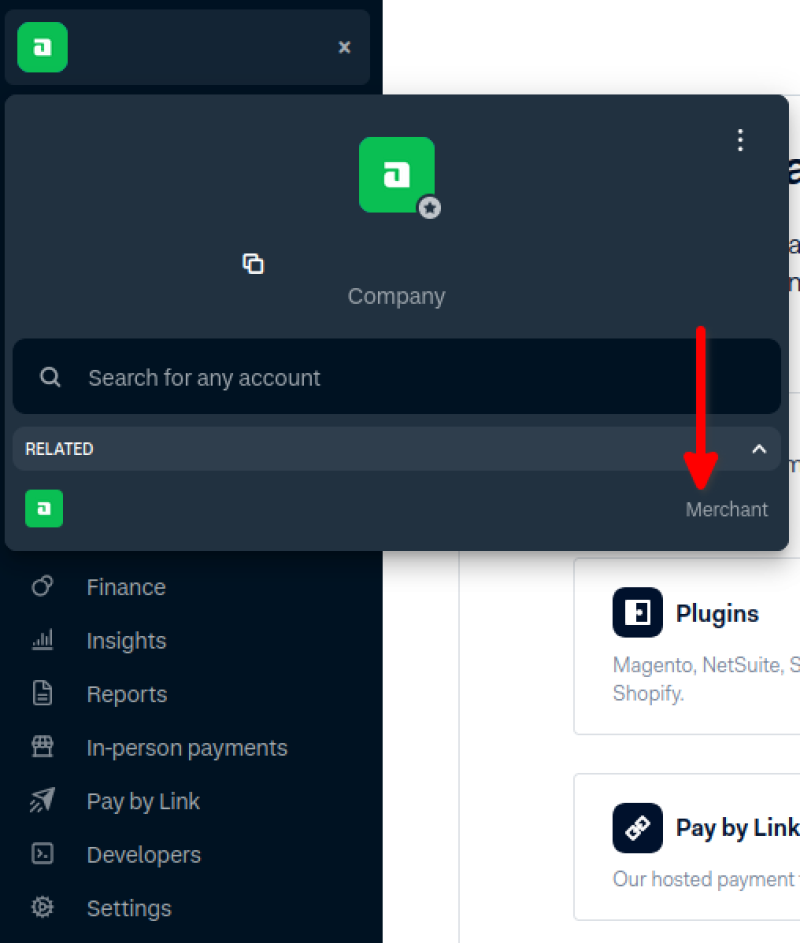
Make sure you have selected your merchant account in Adyen from the top left corner menu.

Test mode
You can enable the profile to be used in test mode or not. In test mode a Live URL Prefix is not used and can be left empty.
Merchant Key
The Merchant Key is the name of your merchant account.
- Click on Developers in the left side menu
- Click on API Credentials
- The Merchant Key is in the column Accounts
- Copy the name and paste it into the Merchant Key field
API Key
The API Key can be found on the API Credentials page as well.
- Click on Developers in the left side menu
- Click on API Credentials
- Click on the Username
- This opens the Configure API credential page
- Go to the second block that is called Server settings
- Either copy an existing API key from there or generate a new API key and copy the new key
- Paste the key into the API Key field
Live URL Prefix
To be able to use the Adyen profile in a live environment, you can skip this when you are still testing, you need to set a Live URL Prefix.
- Click on Developers in the left side menu
- Click on API URLs
- Copy your Live URL prefix from here
- Paste the Live URL prefix into the Live URL Prefix field
Webhook HMAC
The webhook HMAC is needed to be able to process any webhooks send from Adyen to the website and update payment statuses. First step is to create a webhook. Webhook should be changed at company level, so switch to the company first before creating the webhook.
- Click on Developers in the left side menu
- Click on Webhooks
- Click on Create new webhook
- Select Standard webhook
- Enter the General settings
- Enter a descriptive name for your webhook
- Select the appropriate merchant accounts that can use this webhook
- Enter the Server configuration settings
- The URL must be https://YOUR_DOMAIN/notify, replace YOUR_DOMAIN with the domain name where the website runs
- Set Method to JSON
- Set Encryption protocol to TLSv1.3
- Enter the Security settings
- The Basic Authentication is not used
- Generate a new HMAC ID
- Copy the HMAC ID
- Paste the HMAC ID into the Webhook HMAC field. After you save the configuration, the webhook HMAC will no longer be shown. In case you lost it, you will need to generate a new HAMC key.
- Enter the Events settings
- Select the following events:
- AUTHORISATION
- CANCELLATION
- EXPIRE
- PENDING
- The rest does not need to be filled out
- Save your configuration
Description
A description is required to be able to make a payment. The description will help customers identify their payment.
Order Numbers
You can choose which number is used as order number, by default RO Payments uses the order number but you can change this to be the order ID.