HikaShop
HikaShop Custom Fields Import
| HikaShop
The HikaShop Custom Fields Import explains how to setup and import Custom Fields for HikaShop.
HikaShop Shipping Rates Import
| HikaShop
This tutorial explains how to run the HikaShop shipping rates import to import shipping methods and shipping prices into Hikashop.
Import of HikaShop Variants using RO CSVI
| HikaShop
This document explains on how to import variants of HikaShop Product using Characteristics.
HikaShop Brands Import
| HikaShop
Requirements
Importing Brands into HikaShop is same as importing category into HikaShop except that category_type field value will be set to manufacturer.
category_path is a required field in brands import. Without this CSVI will not know if a record has to be added or updated. If the given category_path matches in the database records, the record will be updated else a new record will be inserted. So for updating we need to make sure the given category_path is correct. category_type value should be always manufacturer as HikaShop organises manufacturer as its category.
Creating the template
A template can be created by following these steps:
- Go to Components -> CSVI Pro -> Templates
- Click New
- Give the template a name, say for example Hikashop Brands import
- Set Action to Import
- Set Component to HikaShop
- Set Operation to Category
- Click Next: Select Source
- Source is set default to Load from your computer. No need for change.
- Click Next: Select options
- The default values are OK, change if needed.
- Click Next: Select fields
- Nothing needed here as we set to Use column headers as configuration in step 10.
- Click Next: Finalize
- All done here
- Click Close to return to the list of templates or Edit if you want to fine-tune the template further.

Adding the template fields
Template fields can be added by following these steps:
- Go to Components -> CSVI Pro -> Templates
- Click on Template fields
- In the Search Tools select your template
- Click on New to add a single field or click on Quick Add to add multiple fields.
Quick Add
The Quick Add Option allows you to quickly add multiple fields to a template. It is not possible to set any settings per field here but that can be done after the fields have been added to the template.

Required fields
- category_path
- category_type
Criteria
- category_path
Creating the import file
As in the example file, the fields we are trying to import are listed below, more fields can be added according to the requirement. Check the fields tab to know on the available fields for this import operation.
- category_name
- category_description
- category_path
- category_type (the value will be manufacturer)
- category_published
Run the import
The import can be run by following these steps:
- Go to Components -> CSVI Pro -> Import
- Select the template created earlier with name Hikashop Brands import
- Click Select file
- Select the file to import
- Click Preview
- You now see a preview of the file as to how CSVI sees the file
- Click Start import
- The import is run
- The Log details page will be shown with information regarding the import if the Enable logging is enabled in the template

Examples
"category_name";"category_description";"category_path";"category_type";"category_published"
"Lenovo";"Lenovo electronic products";"manufacturer/Lenovo";"manufacturer";"1"
"Apple";"Apple electronic products";"manufacturer/Apple";"manufacturer";"1"
Example file
Further reading
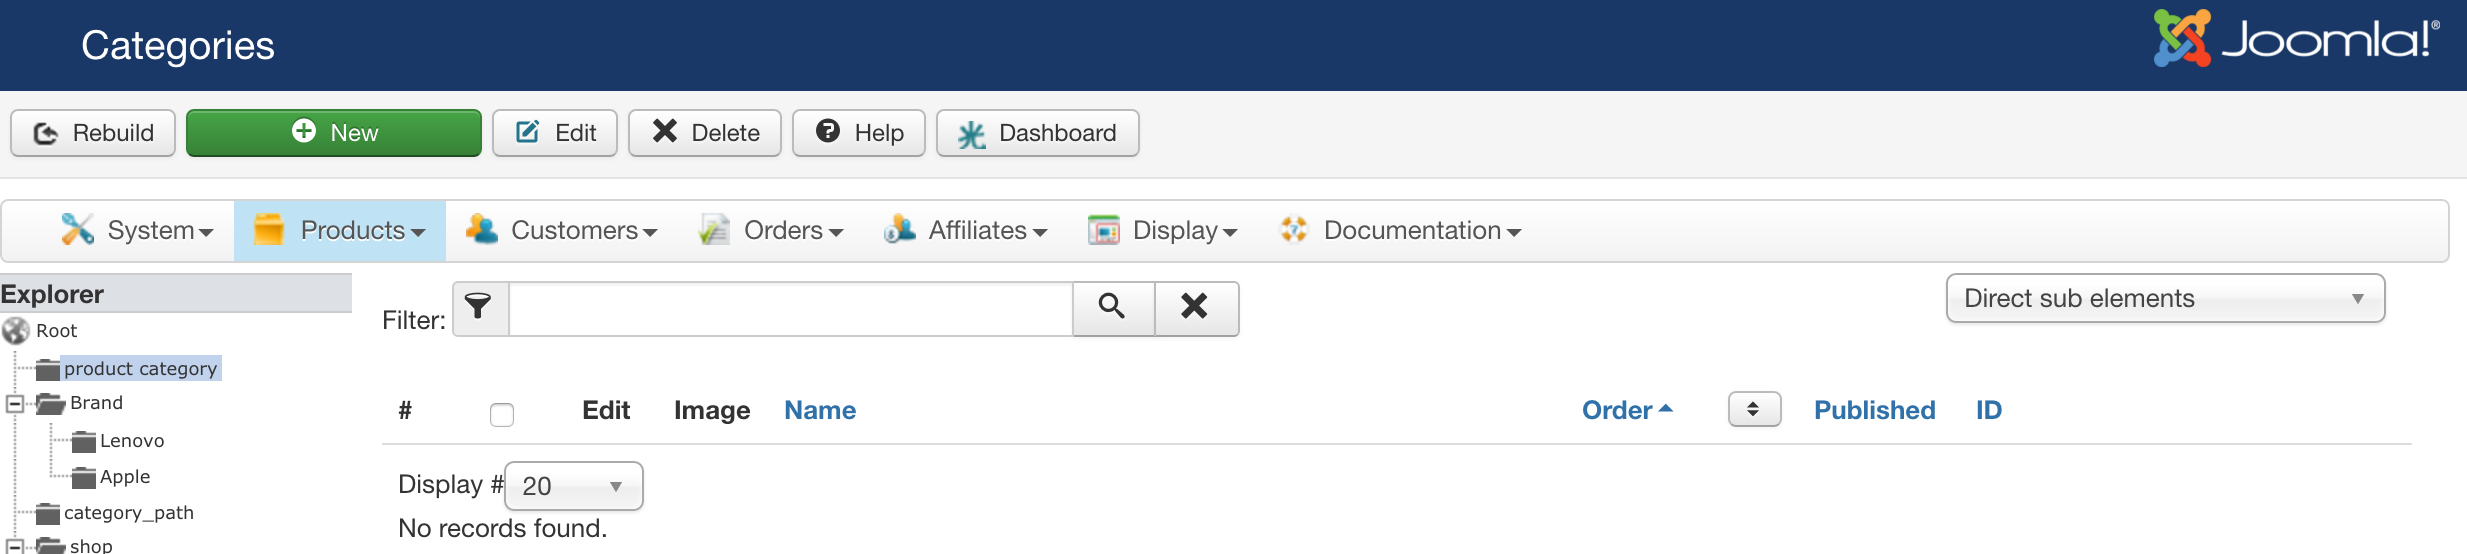
Import result can be seen in the HikaShop categories page.
Export HikaShop order after an order is created
| HikaShop
This document explains how to export an order immediately after an order has been created in HikaShop.
Required fields
The following is needed to export an order after it has been created in HikaShop:
- A HikaShop order export template must exist in RO CSVI
- The HikaShop RO CSVI Export plugin must be installed, active and the HikaShop order export template selected
- A Mass Action trigger for "After an order is created" needs to be created
HikaShop order export template
The first step is to create a HikaShop order export template in CSVI. Follow these steps:
- Go to Components -> RO CSVI
- Click on Templates -> Templates
- Click on New to create the new template
- Give the template a name
- Set the Enabled field to Yes
- Set the Enable front-end/cron field to Yes
- Set a Secret key, this is needed to run all automated import/export
- Set the Operations to:

- Fill in the rest of the template settings per your needs
- Save the template settings
- Go to Templates -> Fields
- Add the needed fields to your order export template
The destination of an export can be set to multiple locations:
- Download
- Save on server
- Save on FTP server
It will be good to know that the Download option cannot be used here because of the way the system works. It will not be much use either as you don't want the customer to get an export of the order.
HikaShop CSVI Export plugin
This plugin is needed because this picks up the trigger by HikaShop and calls RO CSVI to run the export. The plugin can be downloaded from the Download -> CSVI Extensions page.
After the plugin is downloaded it needs to be installed and configured following these steps:
- Go to Extensions -> Manage
- Install the HikaShop CSVI export plugin
- Once the installation is finished, go to Extensions -> Plugins
- Filter the list on csvi export
- Click on the HikaShop CSVI Export name to edit the plugin
- Select the HikaShop order template created earlier from the list
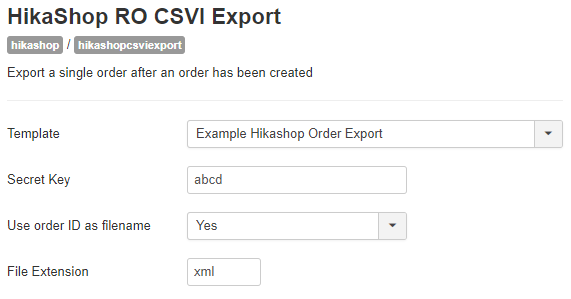
- Enter the secret key that was set in the template in step 7
- Set the Status to Enabled
- Optionally set also if you want to use the order ID as filename
- Optionally set a file extension
- Save the plugin settings
Mass Action trigger
To ensure that an export is run after an order is created in HikaShop, a mass action needs to be created.
- Go to Components -> HikaShop
- Click on System -> Mass actions
- Click on New to create a new mass action rule
- Fill in the details as below. The name can be anything you like.
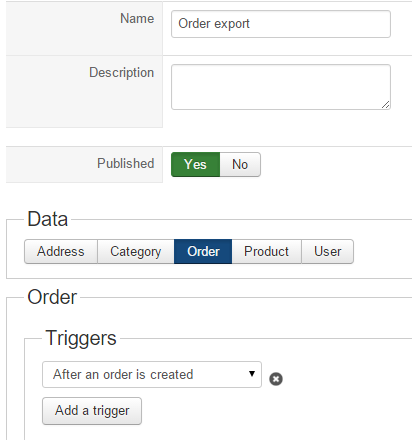
- The other settings on the page are not needed.
- Save the Mass action
Ready for use
Now that everything is configured, the system is ready for use. The procedure that is being followed is this:
- Customer places an order in HikaShop
- HikaShop triggers the mass action "After on order is created"
- The trigger is picked up by the HikaShop CSVI Export plugin
- The plugin will trigger the RO CSVI template selected in the plugin
- The template will export the order placed by the customer