Background information
This tutorial will explain how to import extra fields with the K2 Item import.
Open CSVI
Go to Components -> CSVI Pro and click on Templates tab -> Templates. You are next going to create a template for k2 the import/export.
Preparing the template
The next step is to create a template for import.
On the templates page, click on new and add the name of the template, say for example "K2 import".
Under Operations select the following:
- Select Import
- Select K2
- Select Item import
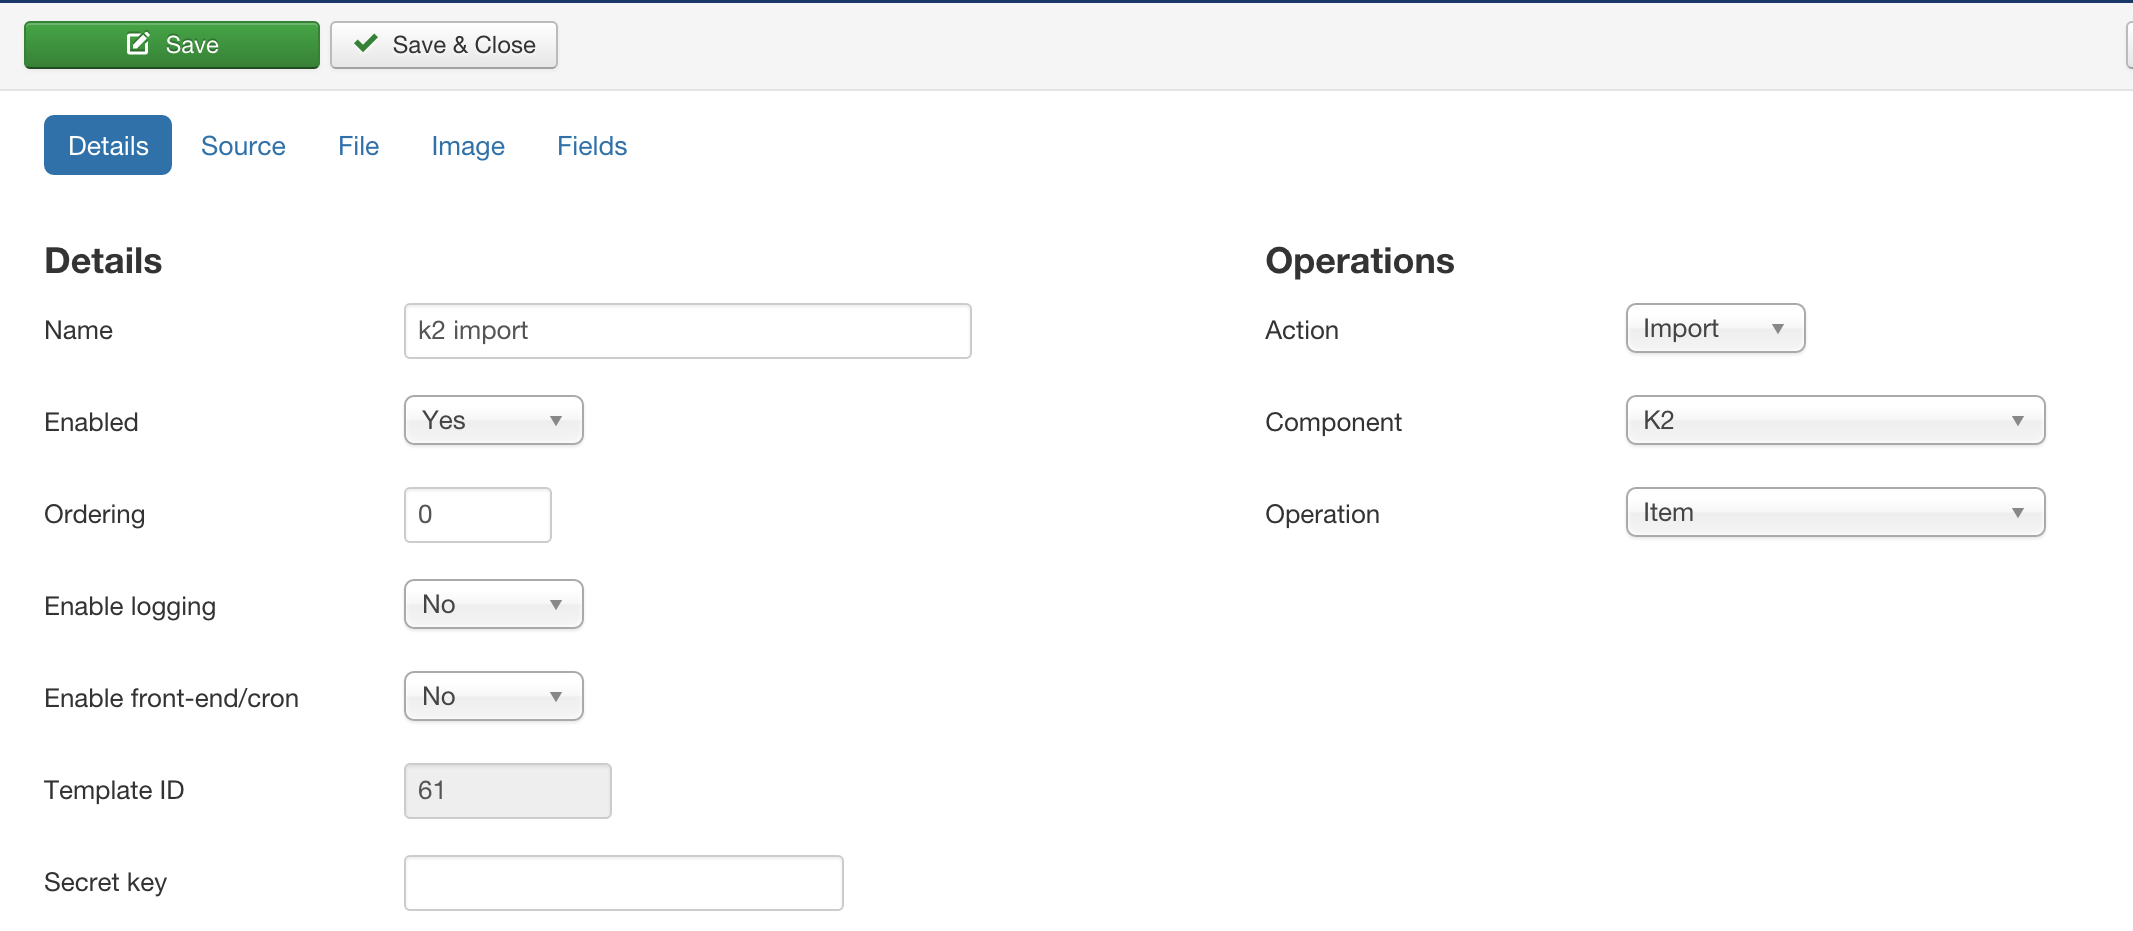
- Enable logging
This is a very important option. Setting this to Yes will tell CSVI to create a detailed log of all steps taken during import. This is a very useful report to find any potential problems. Whenever you post a question on the forum, make sure you post this file also. It is the only way to help you out. The How to collect debug information article explains this in further detail.
Save the template by clicking on Save or Save & Close.
Setting the file options
The next step is to tell CSVI something about the file you want to import.

- Auto detect delimiters
If your CSV file is using both the field delimiter and the text enclosure. You can set this to Yes otherwise it must be set to No and you can specify your own delimiters.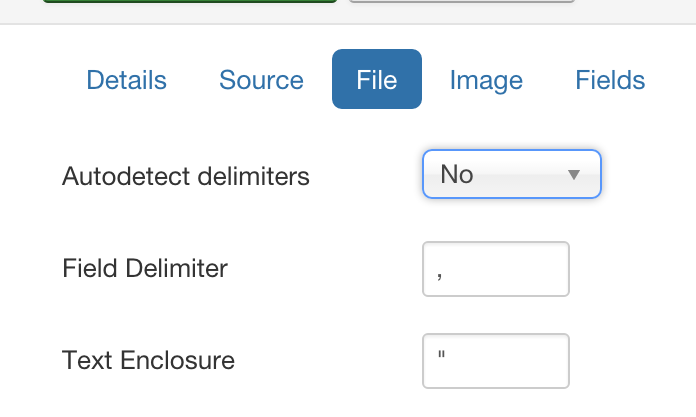
- I'm Mac
This is only needed if you are using a Mac computer and your file might be using Mac line-endings as opposed to Windows or Linux line-endings. - Skip first line
This can be used if you let CSVI take the fields from the template and not from the file and your file has your own column headers.
Now that the file options are set, CSVI knows how to read your file. Click on Save to save your changes in your template and make sure they don't get lost.
Adding the fields
The next step is to add the fields we want to import to our template. To import properties there are a few fields that are really needed:
- title
- alias
- category_path
- introtext
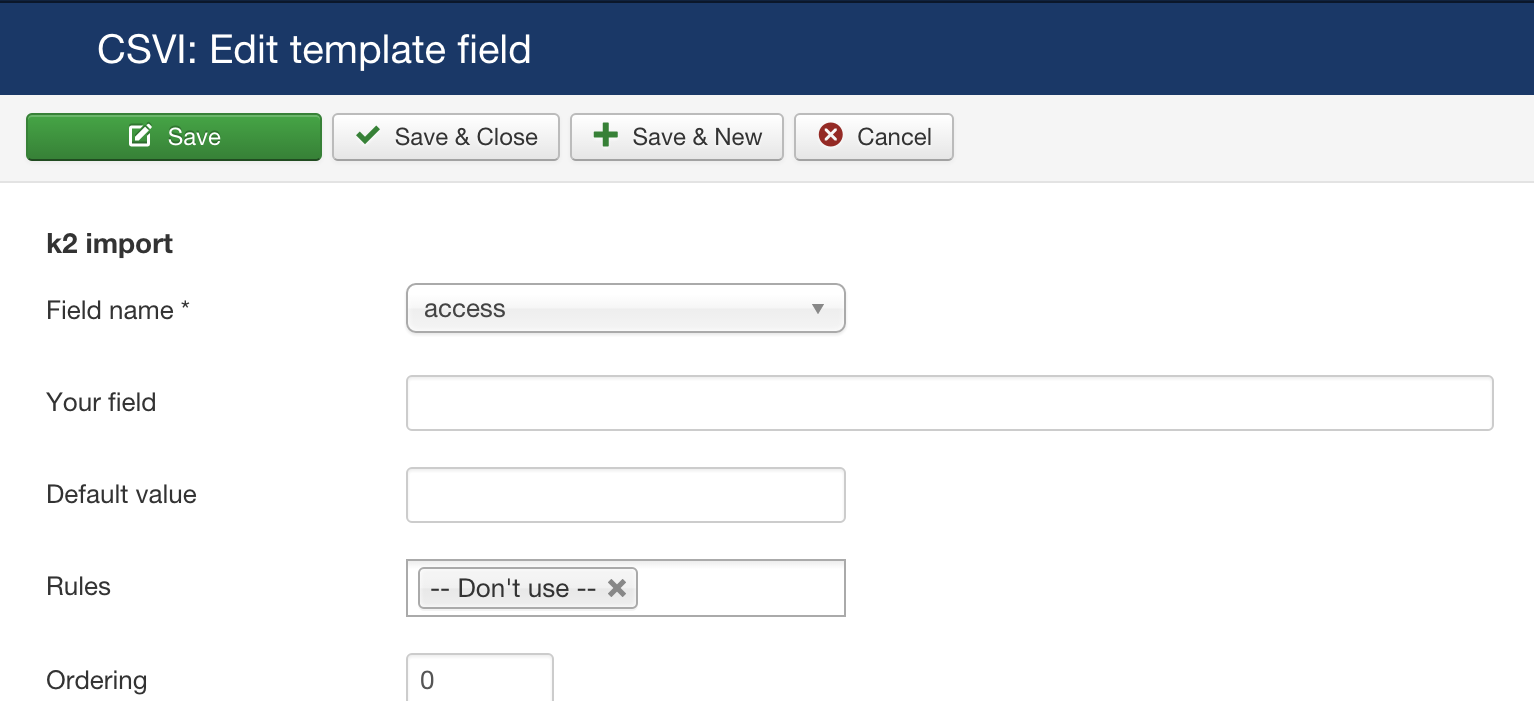
Let's tell CSVI which fields you want to import.
- Under templates tab, select templates fields or you can even add it by selecting the template , under fields tab, click on "Edit template fields" button.
- Select the field name and other options we leave empty as they are fine
- Click on Save or Save & Close or Save & New on top corner.
- Repeat step 1 - 3 for all fields
- Set the order of the fields in the Order column.
To make sure we don't lose anything, click on Save to save your template field.
The fields then look like this:

Creating the import file
With the template ready it is necessary to create our import file. You can create your import in almost any kind of spreadsheet or text editor. There are a few things to look out for though. The file must:
- be UTF-8 encoded
- have correct delimiters
Let's create our CSV file. We are going to import this item.
"title";"alias";"category_path";"introtext"
"Random article";"random-article";"news/local-news";"<p><a href="/"http://www.example.com/"">A random site</a></p>"
Save these 2 lines in a file.
The item is going to be imported in the category:
News
|- Local news
This structure is found in the category_path field where each category is separated by a / (forward-slash).
Import time
With our template configured and our file created, we are ready to import.

On the Import tab, select the template from the drop downlist and click on select file on top corner.
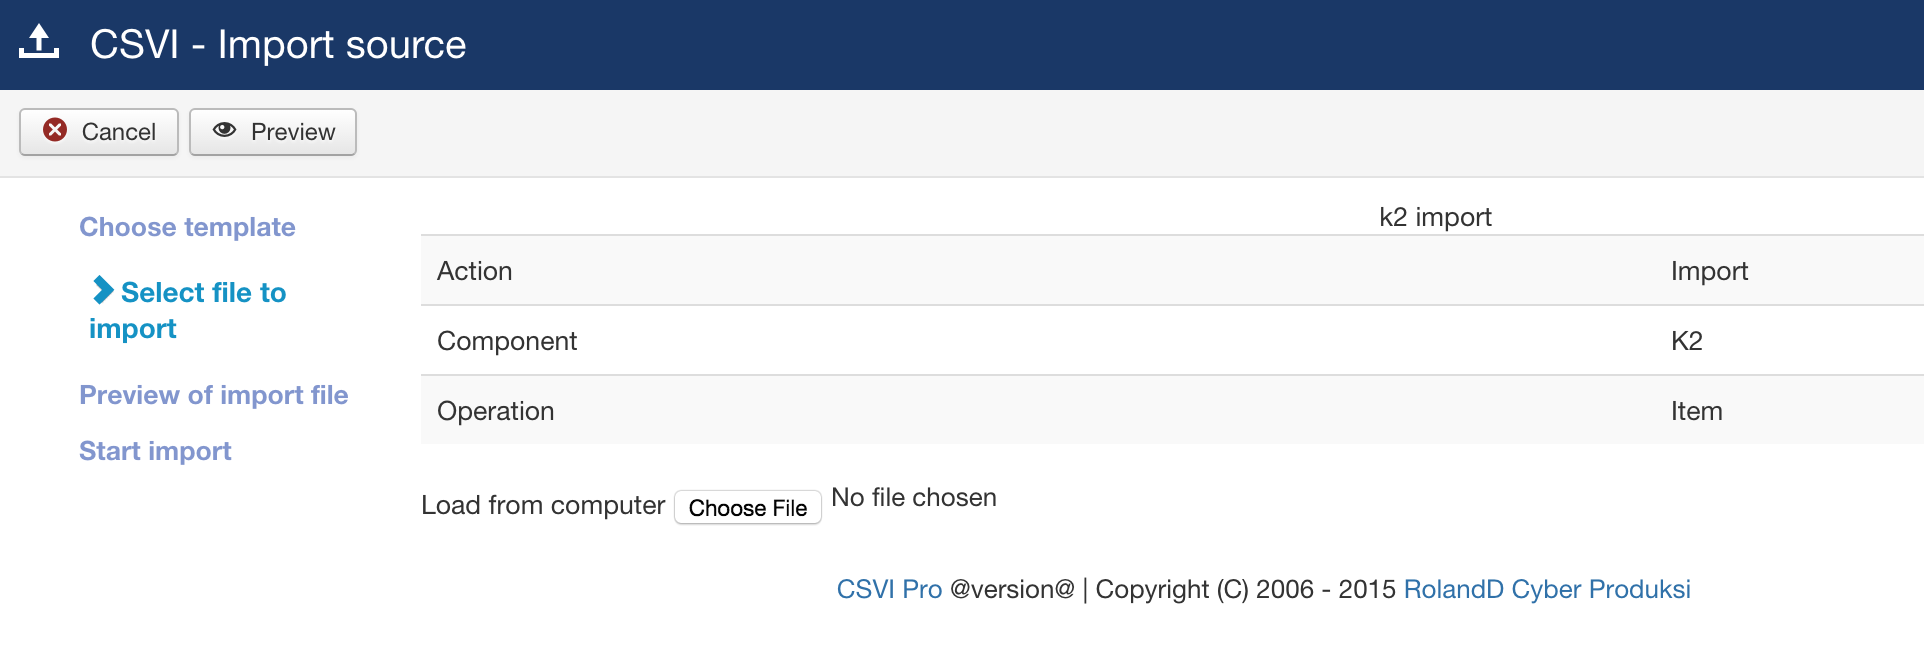
Select the file we created for importing. Click on Preview on top corner. CSVI will show the rows in csv before importing.

The result
When the import is done you will see a screen like this:

Here it says number of rows processed with the filename. There you go, you have succesfully done a K2 Item Import.
What's next?
The next thing you can do is, experiment. There are a lot of more features in CSVI you can use for example:
- Combine fields
- Replace fields
Further reading
Other good sources of information are: