Required fields
- CSVI Pro 6.0+
- Joomla 2.5 /3.x
- K2 Item export
Creating the template
First we will create an export template in which we can store all our preference. Let's call the export page:
- Go to Components
- Go to CSVI Pro
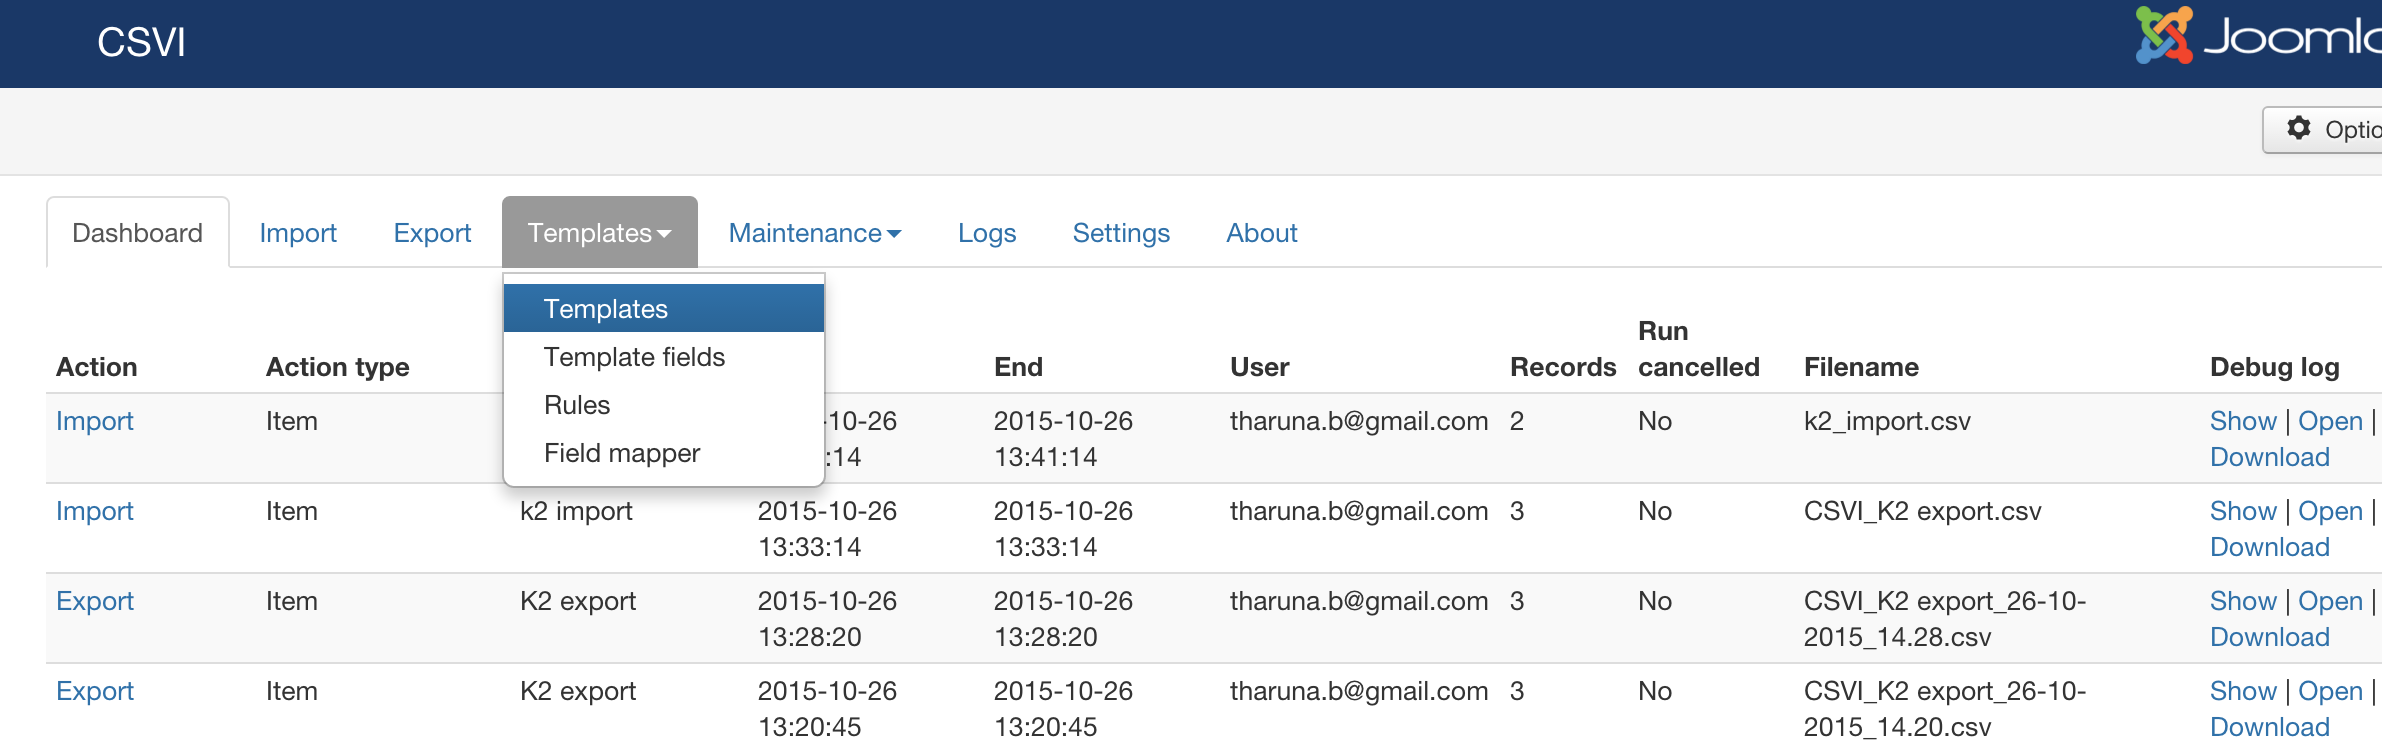
- Click on Templates -> Templates
Now you are on the templates page, this is where the import and export templates are created. Click on New button on top corner and follow the Create a template tutorial to create your export template. Example template is explained below

- Give a descriptive name for the template
- Select Export as Action
- Component as K2
- Operation as item
- Export frontend
If set to Yes, CSVI will allow you to use this template in the frontend for export - Enable logging if set to Yes
This is a very important option. Setting this to Yes will tell CSVI to create a detailed log of all steps taken during export. This is a very useful report to find any potential problems. Whenever you post a question on the forum, make sure you post this file also. It is the only way to help you out. The How to collect debug information article explains this in further detail.
Setting the file options
The next step is to tell CSVI something about the information you want to export.
- Filename for exported file
A specific filename can be set here, if left empty, CSVI will generate a filename automatically. - Export type
Here you can choose the type of file you want to export. For this tutorial we leave it at CSV. - Field delimiter
This field must be filled with a single character. This can be a unique character but also a character that is in your data but in that case the text enclosure must be filled out as well. A comma or a semi-colon are common values. - Text enclosure
This must be used if your field delimiter also appears in your data. It is best to always set this to double-quotes. - Excel CSV
If set to Yes, CSVI will add a BOM to the beginning of the file so Excel will read the file as a UTF-8 file. - From Record
If set CSVI will start from the specific record number - To Record, If set CSVI will export till the specified record number

Now that the file options are set, CSVI knows how to export your file. Click on Save to save your changes in your template and make sure they don't get lost.
Adding the fields
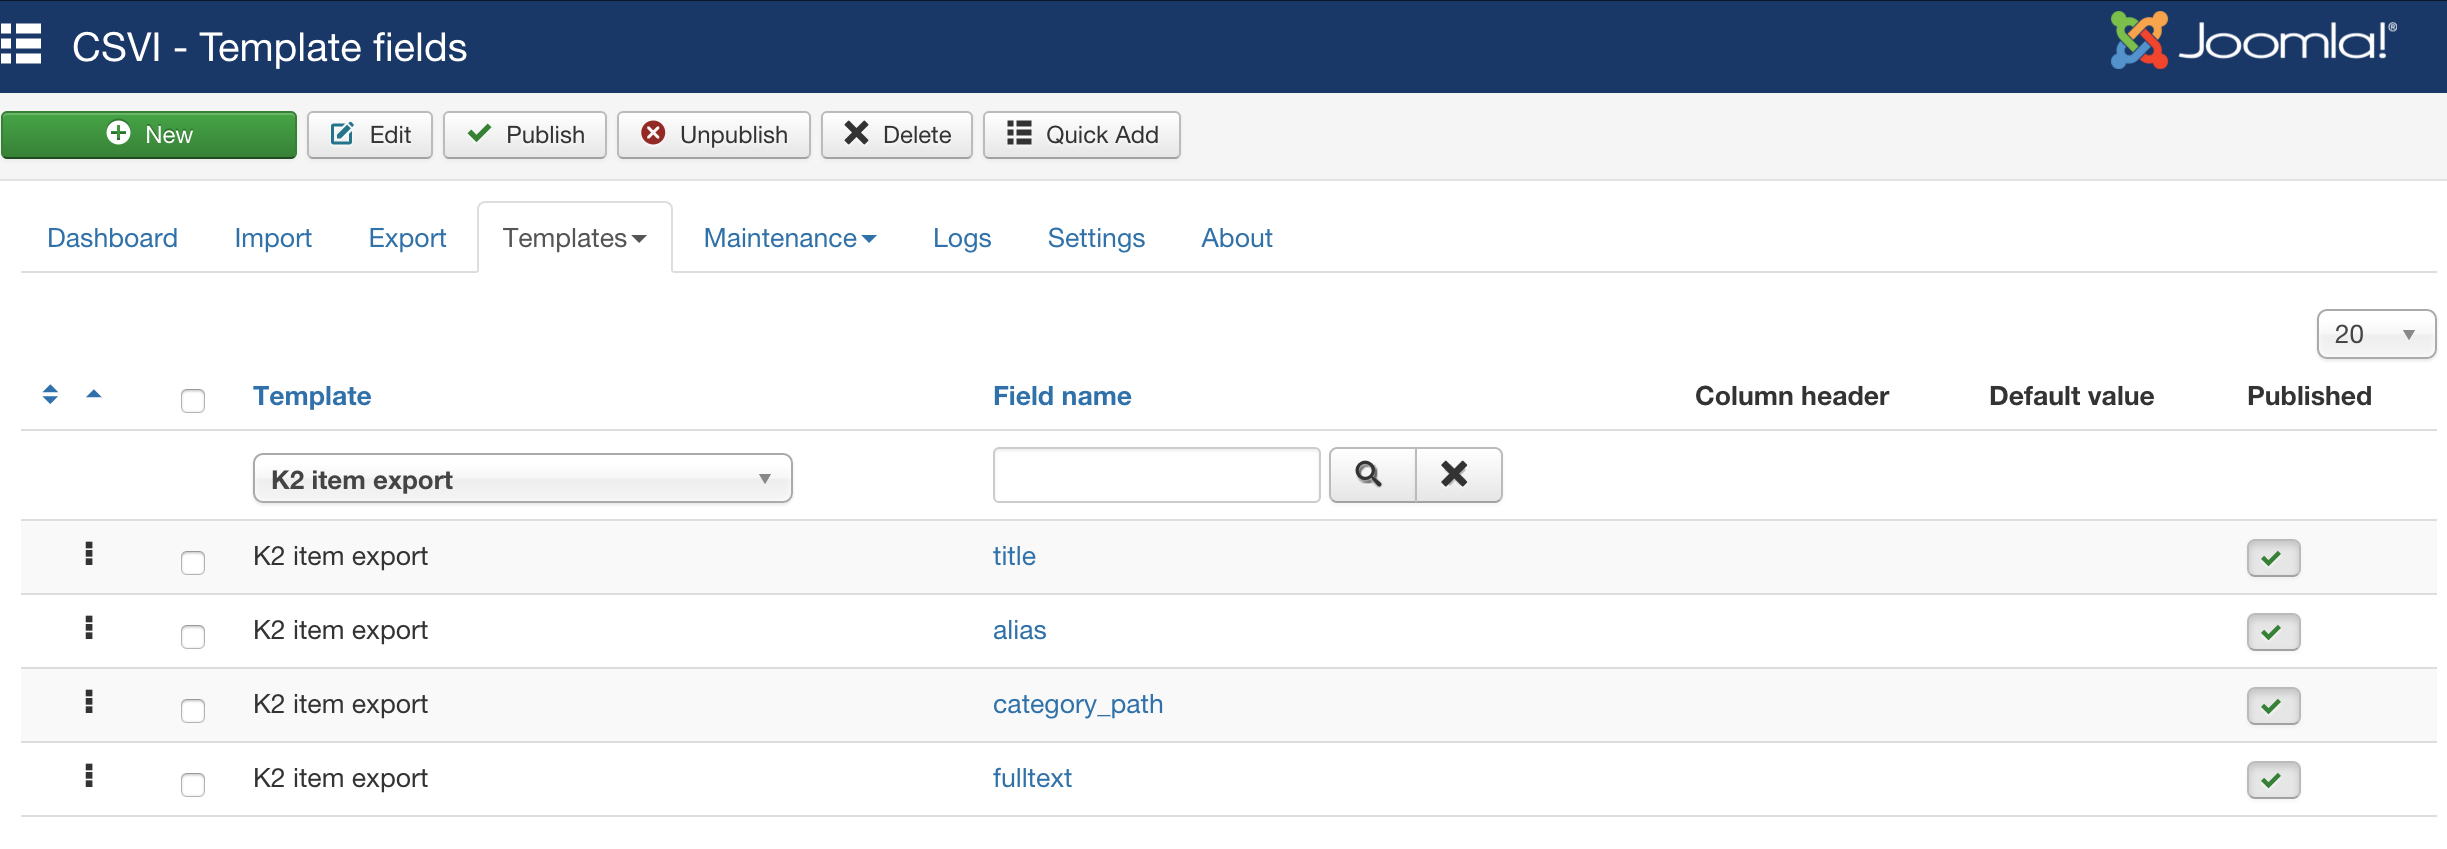
In this tutorial we are going to export the following fields:
- title
- alias
- category_path
- fulltext
Let's tell CSVI which fields you want to export. You can follow the tutorial at Adding tempate fields.
When you are done you have 4 fields here.
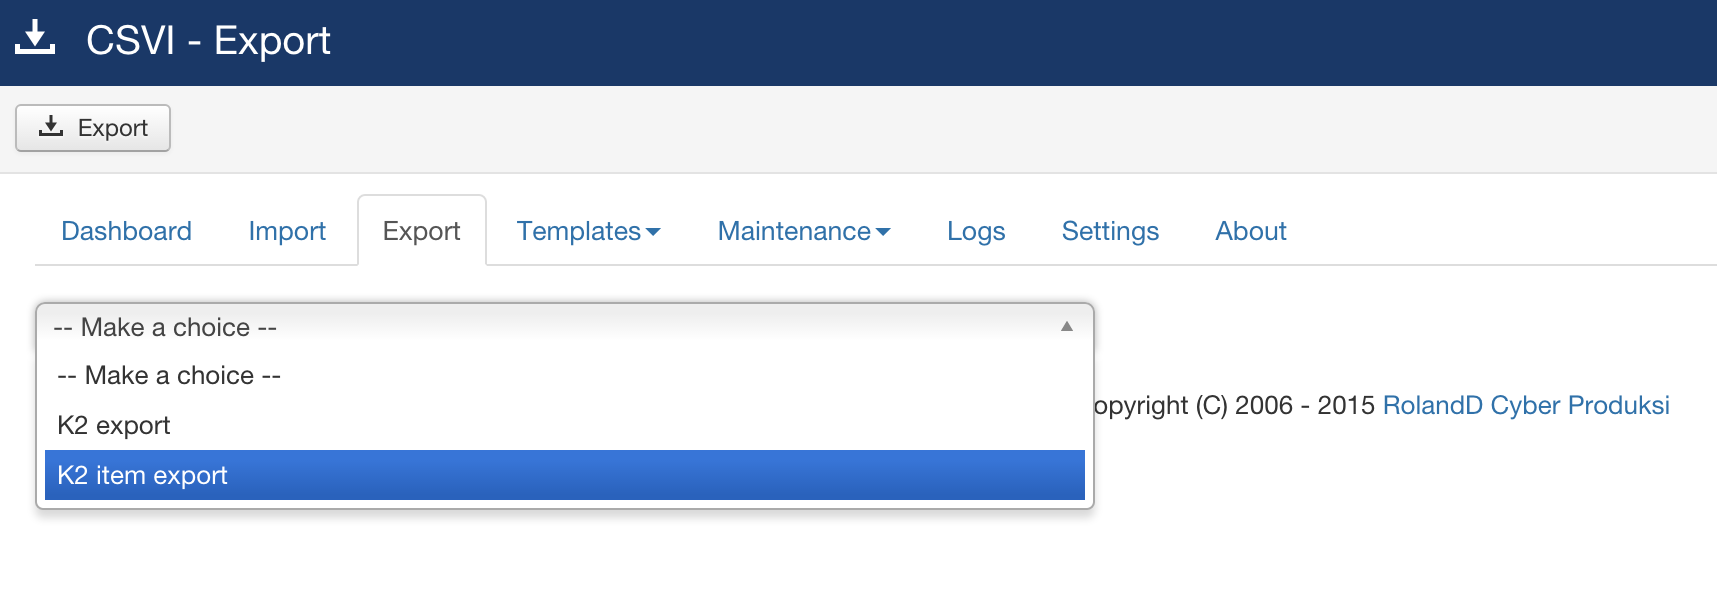
Creating the export file
To create the export file, go to Export and select your template from the list and click on the Export button.
Depending on your browser you might get a Save dialog or the browser saves the export file directly in your default download folder.