Background information
The custom tables import is a special import. This import allows you to import data into any available database table in your system. The table must have a primary key, otherwise it will not work.
Creating the template
First we will create an import/export template in which we can store all our preference. Let's say we are going to do an custom table import
- Go to Components
- Go to RO CSVI -> Templates
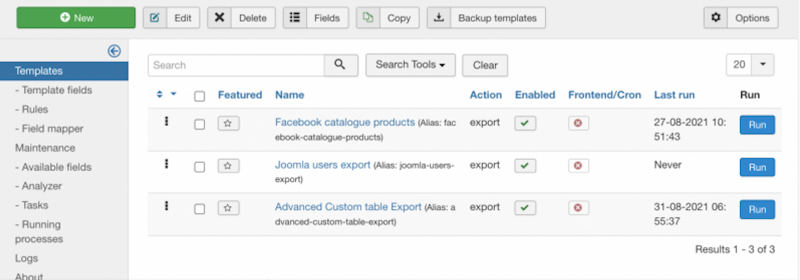
Now you are on the templates page, this is where the import and export templates are created. Click on New button on top corner and follow the Create a template tutorial to create your template.
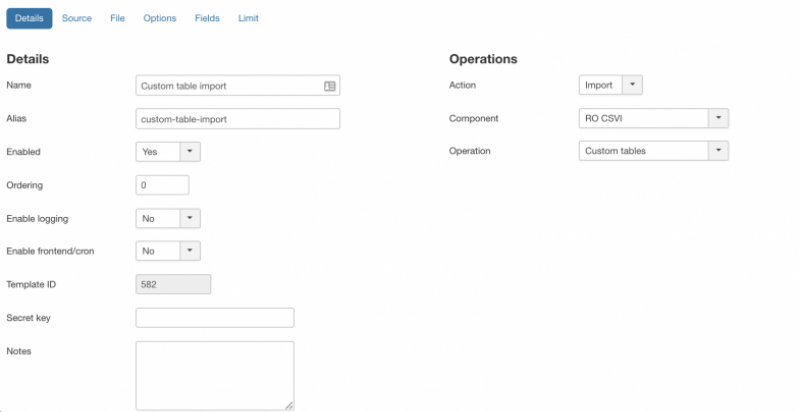
- Give a descriptive name for the template
- Select Import as Action
- Component as RO CSVI
- Operation as Custom tables
- Enable logging if set to Yes
This is a very important option. Setting this to Yes will tell RO CSVI to create a detailed log of all steps taken during export. This is a very useful report to find any potential problems. Whenever you post a question on the forum, make sure you post this file also. It is the only way to help you out. The How to collect debug information article explains this in further detail.
Setting the options
The next step is to tell CSVI for which custom table you want to import, from the options tab, select the table.
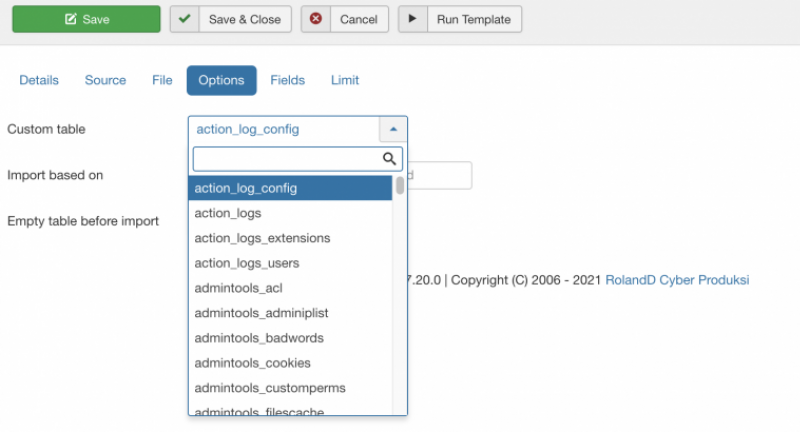
You can now set the field based on with which import should be done. It is now not restricted to primary key field but to any valid column name from the database table. On options tab, under the custom table, you can select the import based on field. If nothing is set then custom table primary key field will be used.

Now that the options are set, Don't forget to click on Save to save your changes in your template and make sure they don't get lost.
Adding the fields
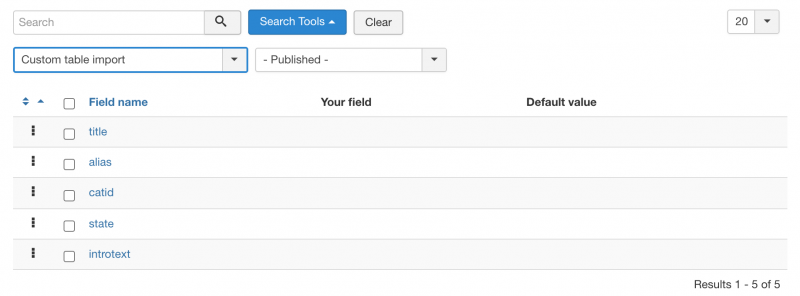
Now that template is created we need to add fields to be imported. Fields depend on the custom table you have selected for importing. In this tutorial, content table is taken as example, so for importing into content table, fields are added like
Once the template and template fields are set, importing is done in a normal way as we do for other templates.
Validation
The custom import does not do any validation on the data being imported. You will have to make sure that the import data is correct.
Adding and updating
Data is managed based on the primary key field of the table. If the primary key field is included in the import file, the data is updated regardless if the primary key exists or not. If the primary key field is not included in the import file, the data is added.
Supported tables
RO CSVI supports all tables that are supported in the Joomla installation to be imported/exported.
Creating A Custom Import File
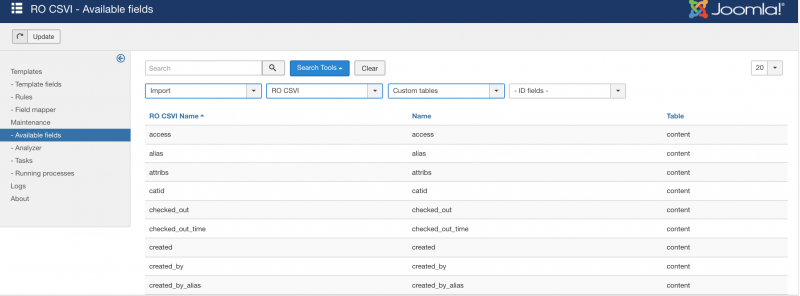
To create an import file for a custom import it is important to know what data is expected for the table you are going to import. To know which fields are available for your custom import, take these steps:
- Go to Components -> RO CSVI ->Maintainence page -> Available Fields
- Select Import
- Select RO CSVI
- Select Custom tables
- Click on Go
- Click on the column Table to sort the fields on Table
- Now scroll to the table you want to import and you can see the fields that are available for import
Import a Custom Import File
To import your custom import file, take these steps:
- Go to Components -> RO CSVI -> Import
- Select Template we created for custom import
- Click Select file
- Choose the file to import and click on Preview from top corner. CSVI will display the lines from the csv file as a preview.
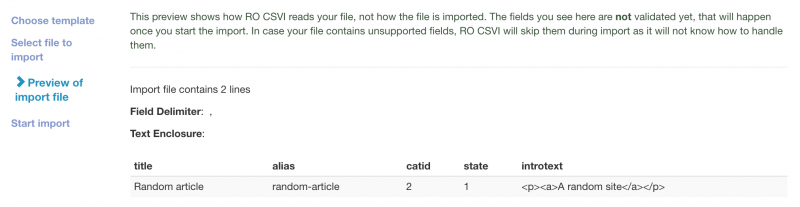
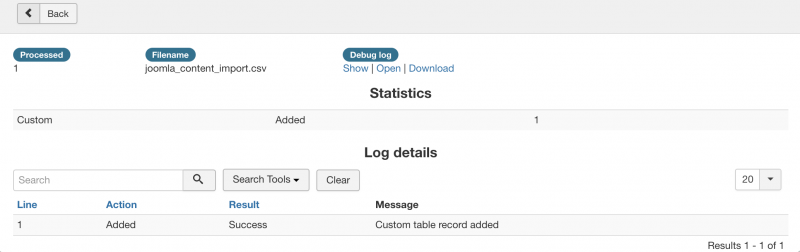
If the data importing is correct, click on Start import from top right corner and RO CSVI will import all data from the csv file. Once import is done status of the import and logs will be displayed as per preferences set in the template.
Support NULL values
Starting from RO CSVI 8.0.0 version, import of NULL values are supported in Custom table import for fields which support it in database. A NULL value can be used to empty a field, to set a field to NULL, the word NULL must be used as shown in the example below.
"name","title","introtext","note"
"sample article","Sample Article","Example sample article to explain usage of NULL values",NULL